My role: User research, product design, graphic design, photography
Tools: Adobe InDesign, Adobe Photoshop, Adobe Lightroom
Organization: Water Rangers
The goal
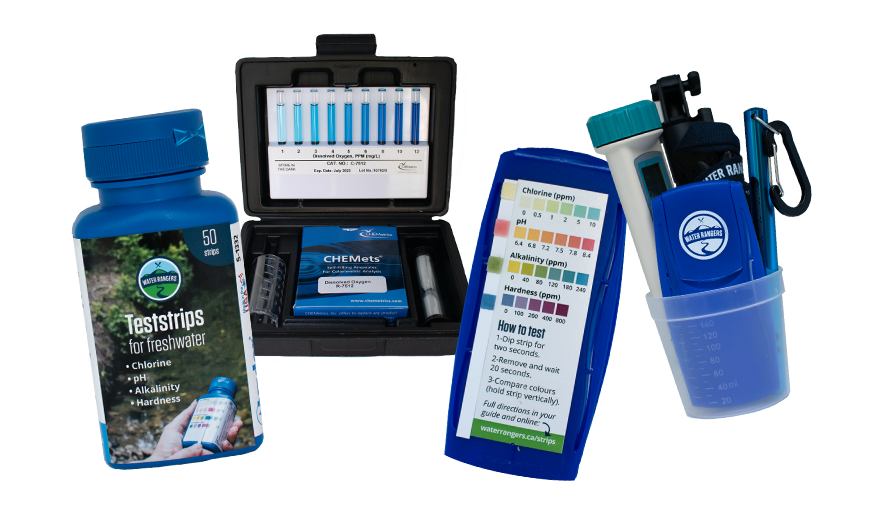
Create a comprehensive water quality testkit designed specifically for classroom use. The kit needs to be simple, inviting, and educational for students and teachers alike.
Prototyping process
My colleague Luke and I started by collecting elements from past testkits all in our cottage office. You can see me absolutely buried in boxes full of water tests, promotional materials, and former testkit bags. This process gave us a jumping off point to determine what equipment to include in the Education Kit and which materials needed to be created.
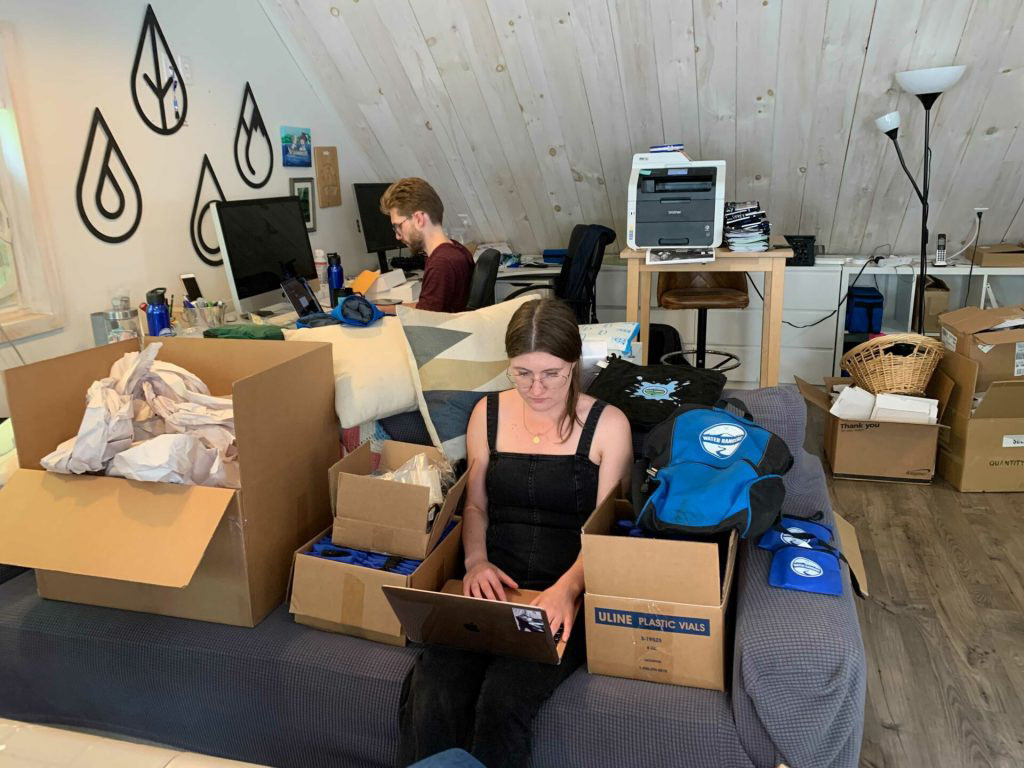
Buried in water testing equipment
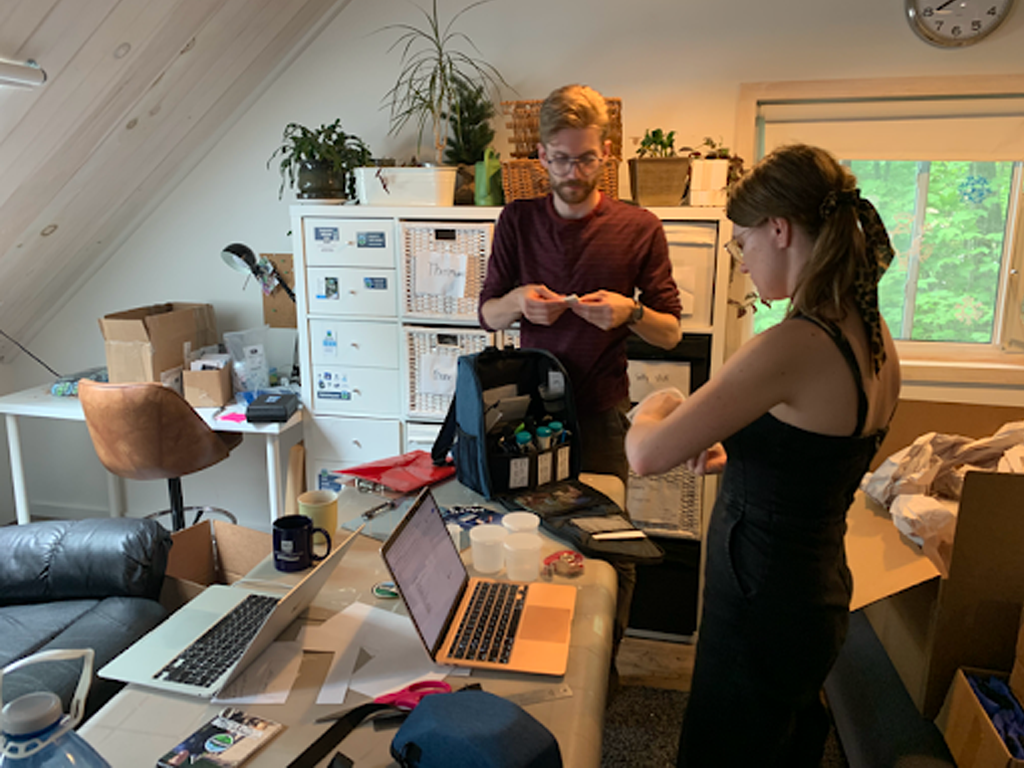
Putting together the first Education Kit
The prototype
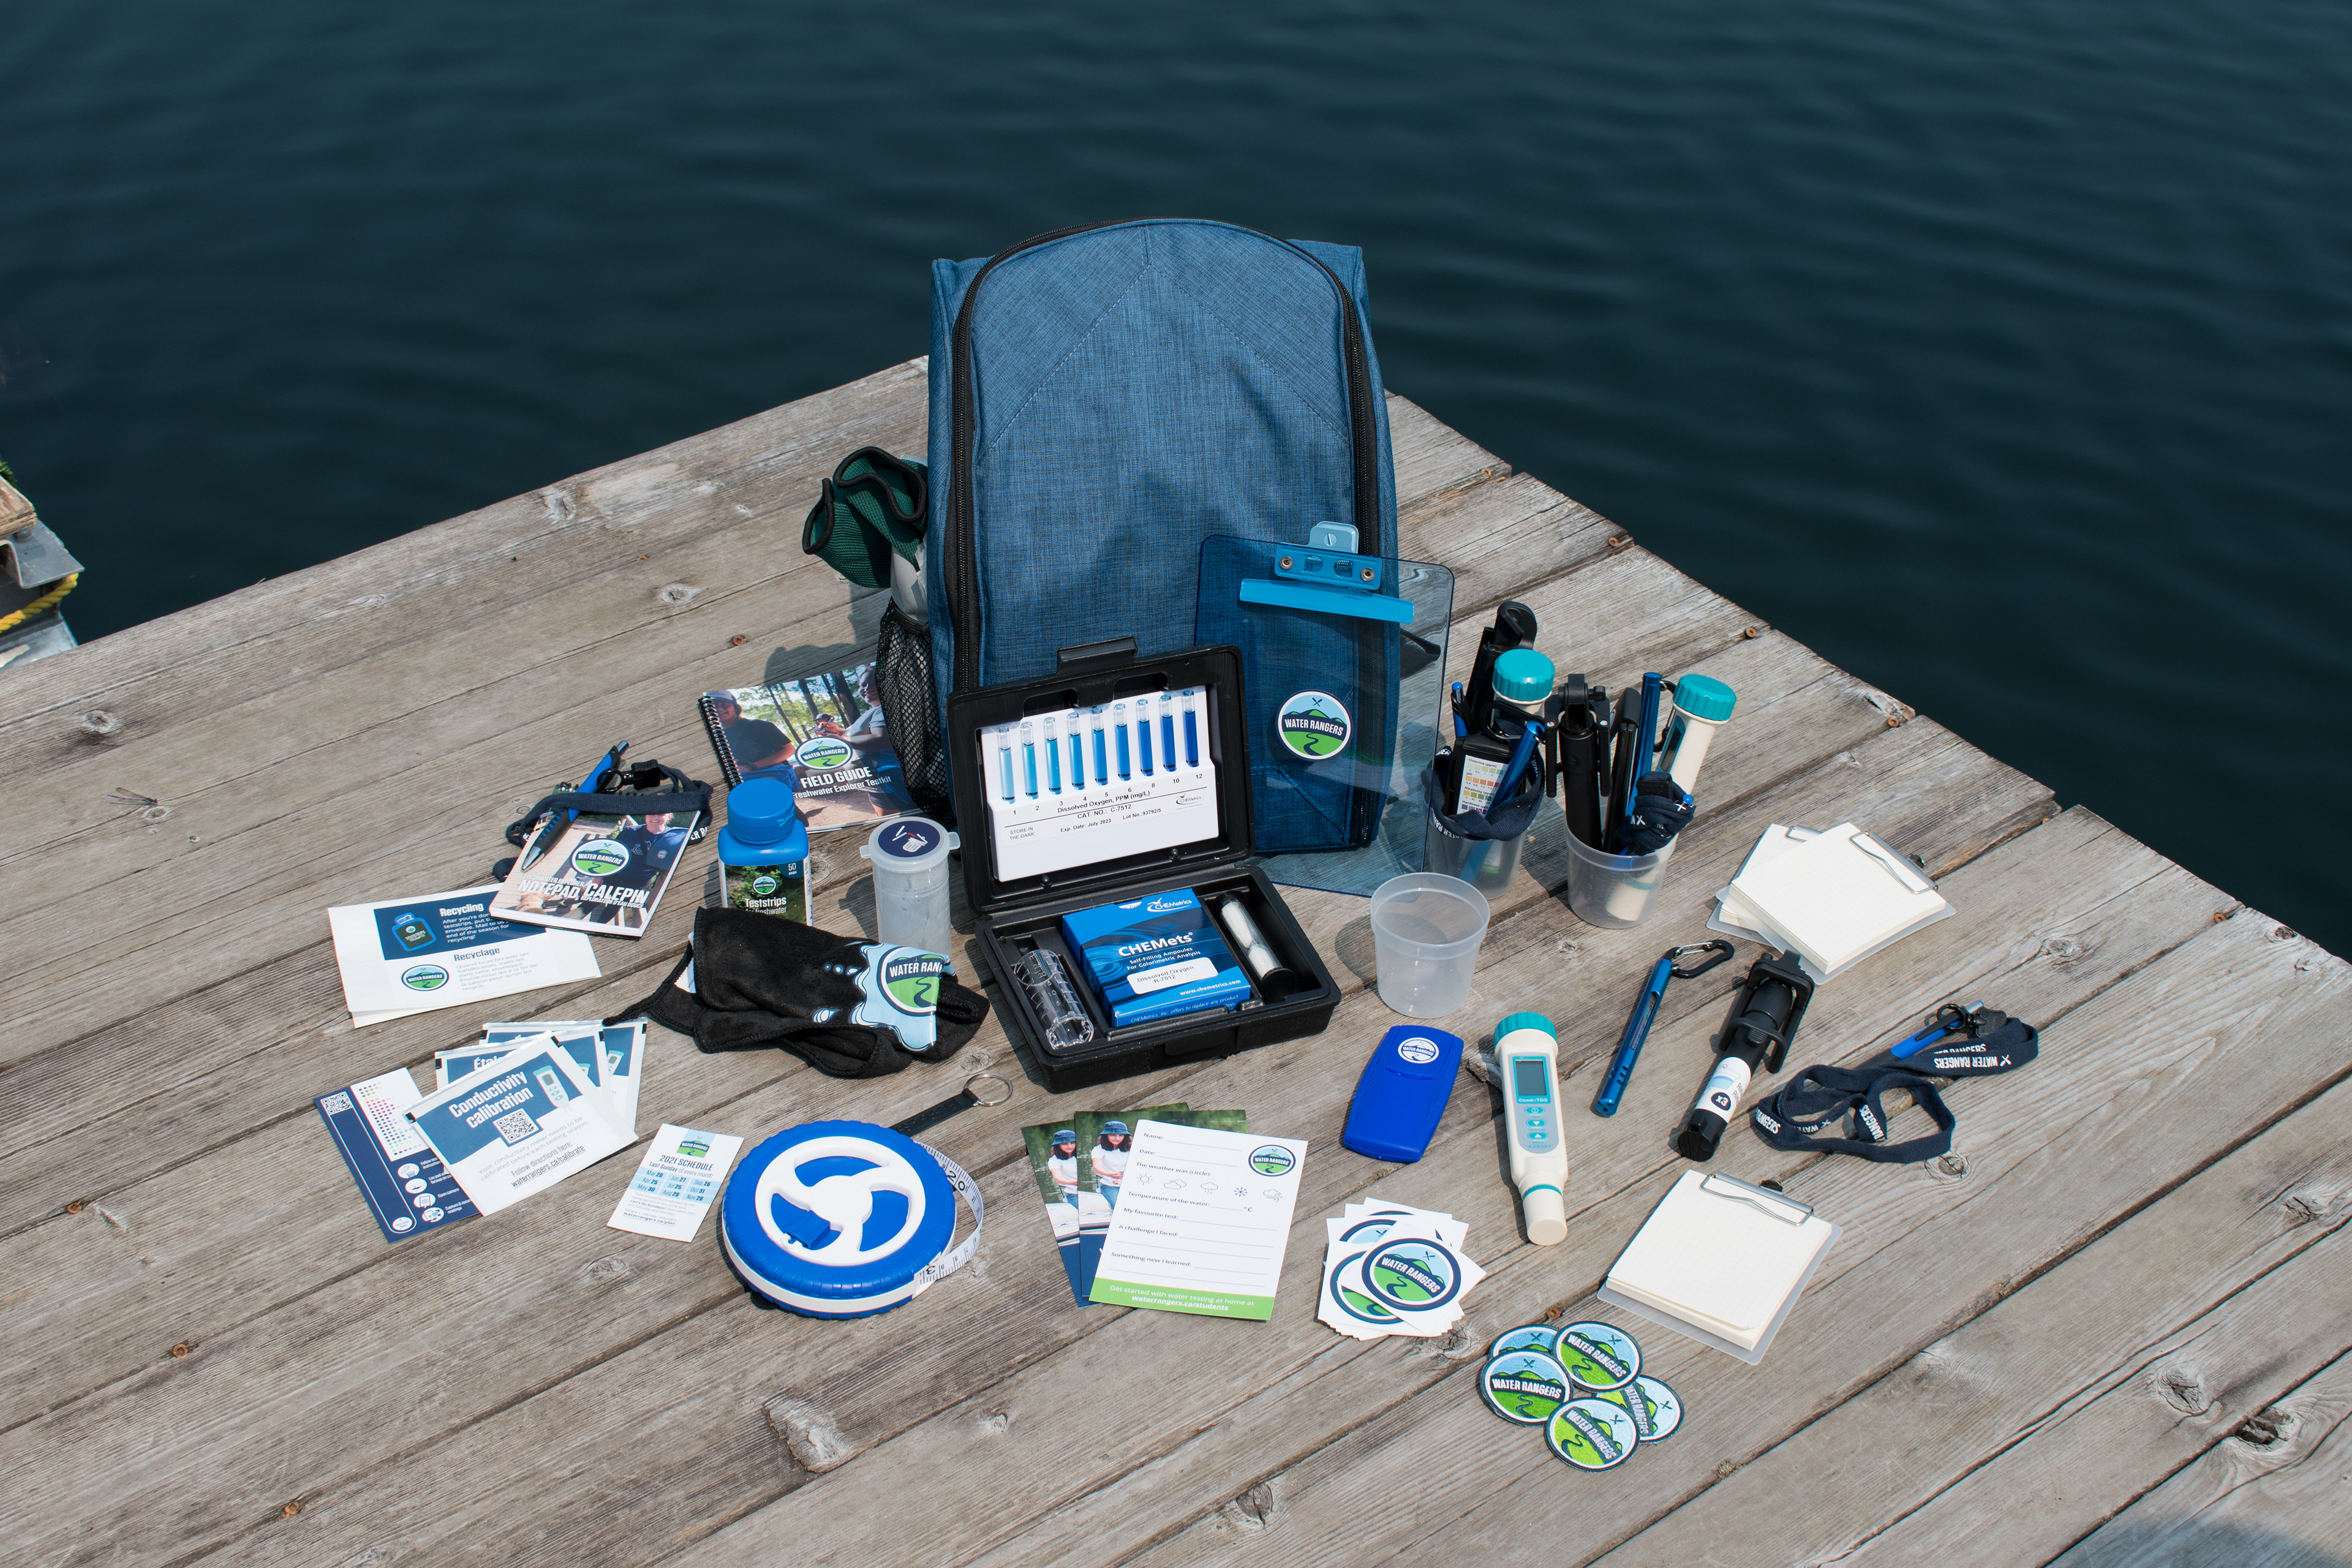
After brainstorming which components to include (and which needed to be made or ordered), we drafted up a list to share with our supervisor.
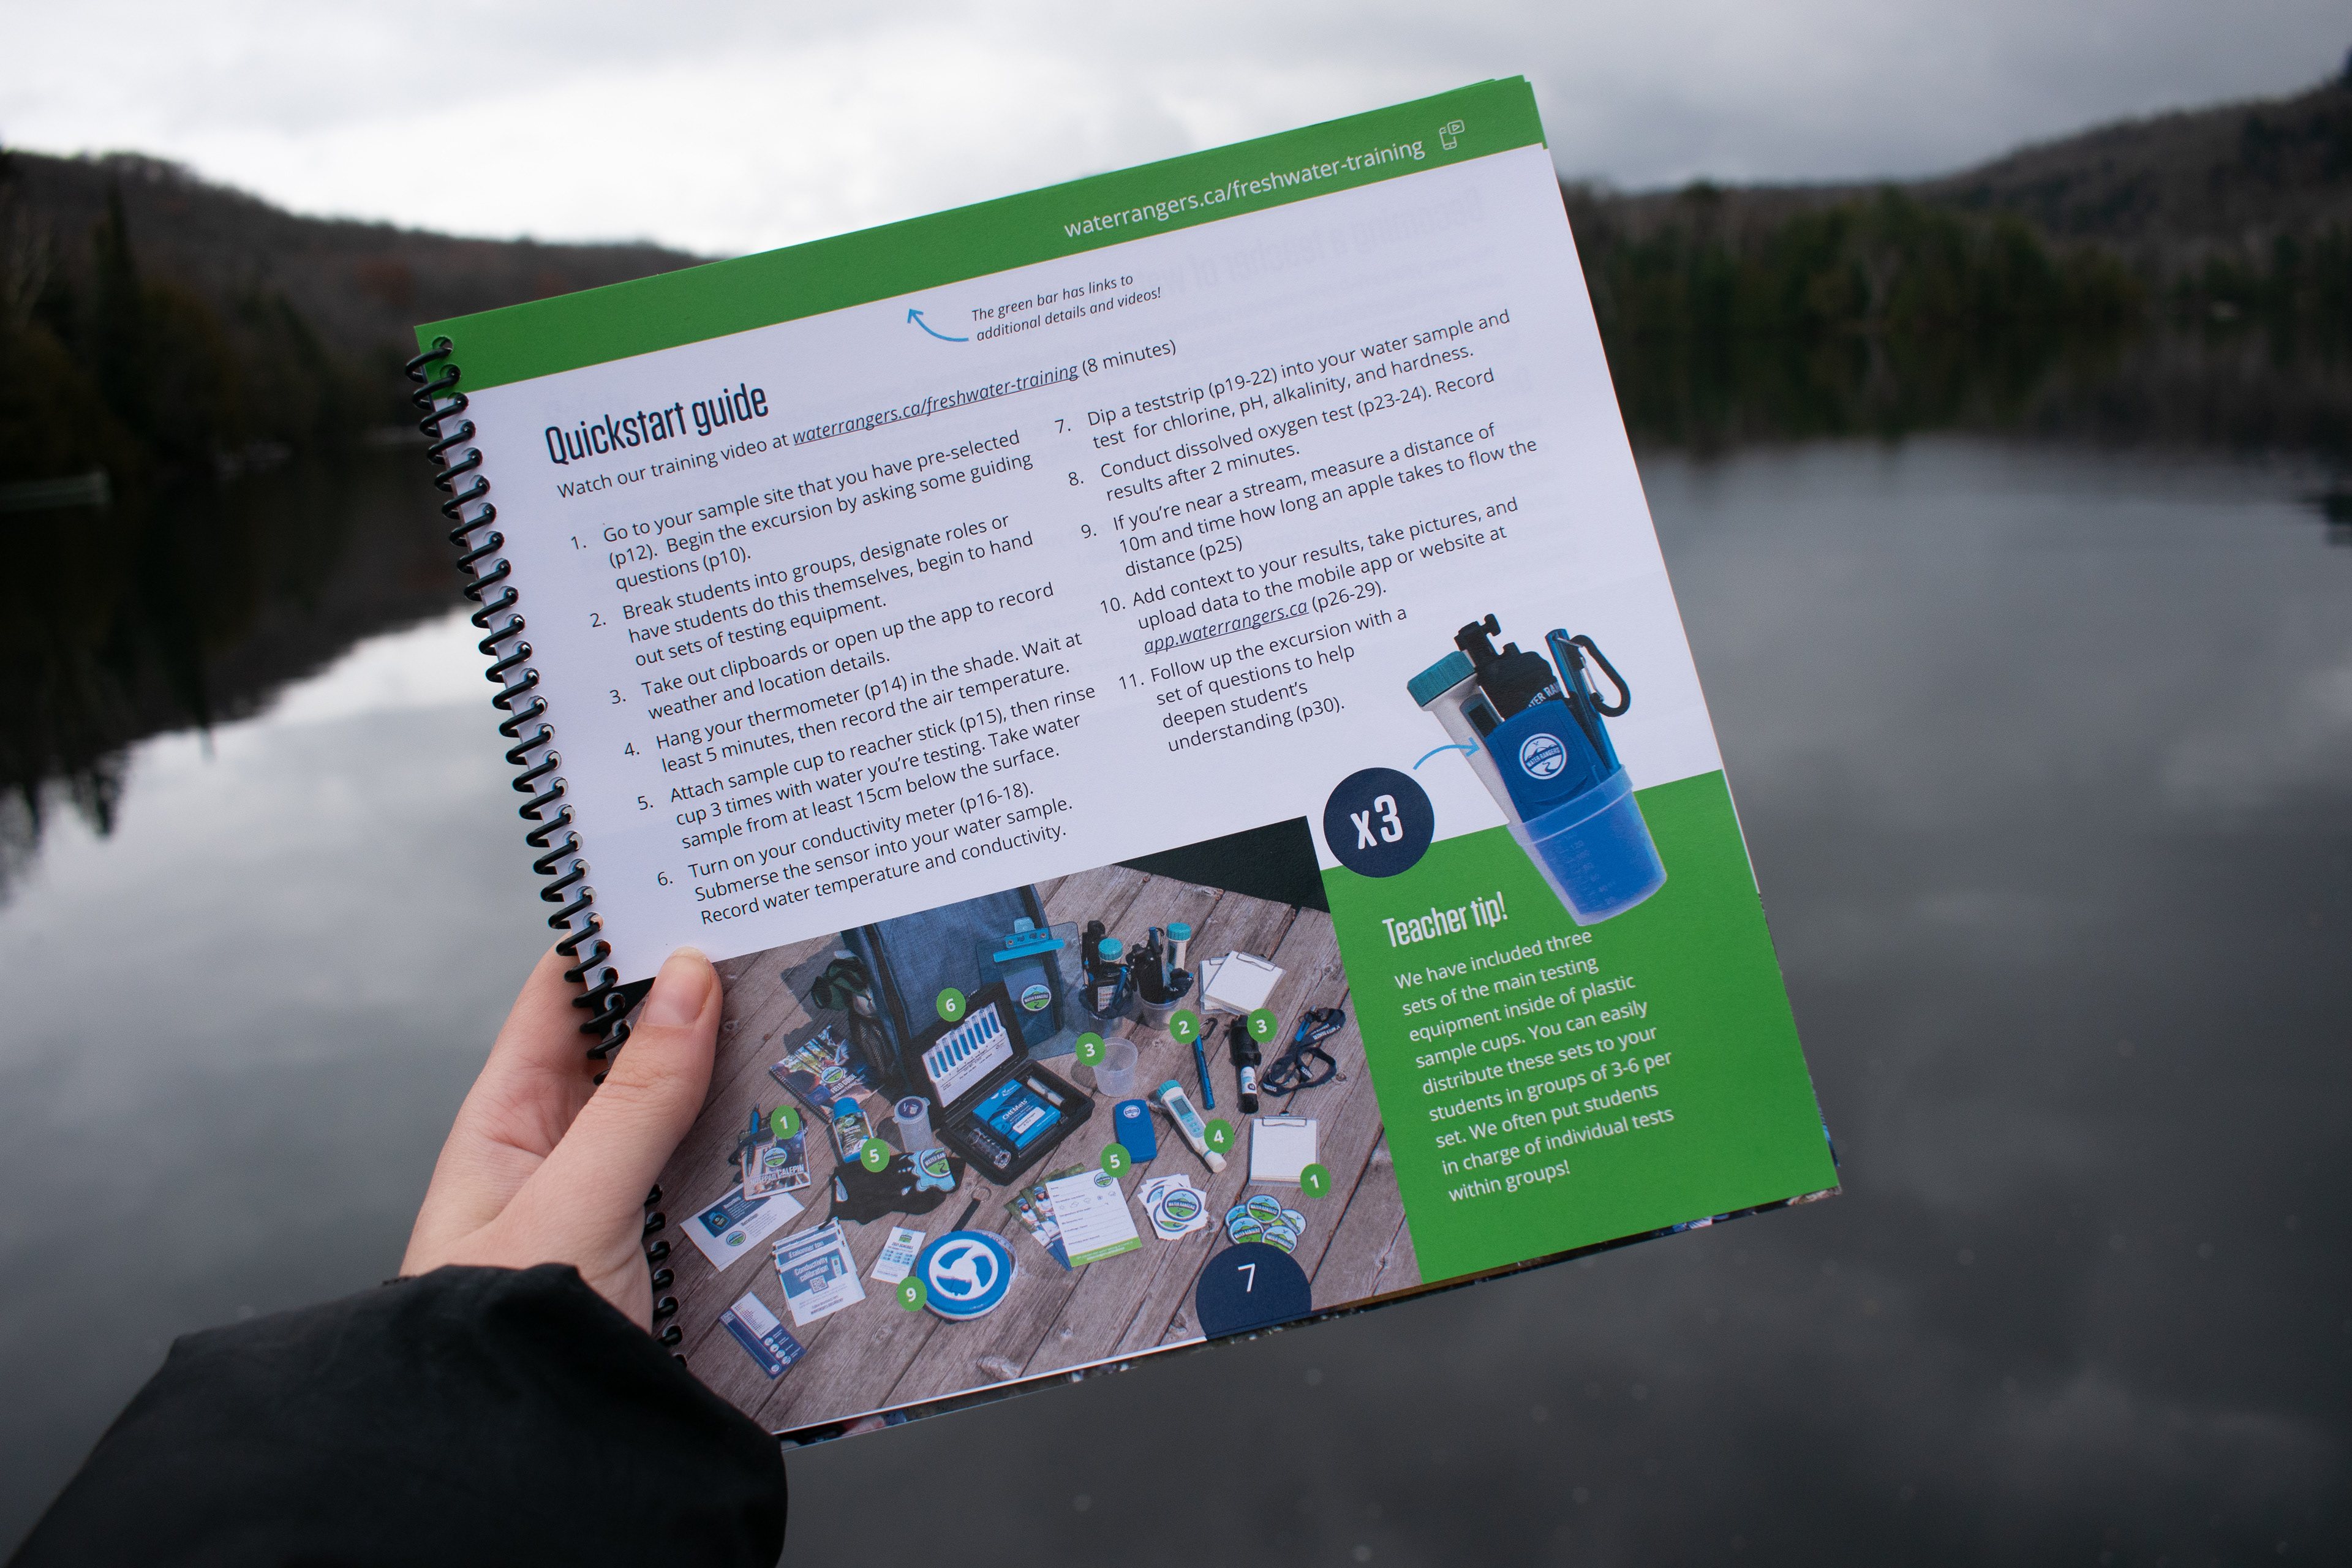
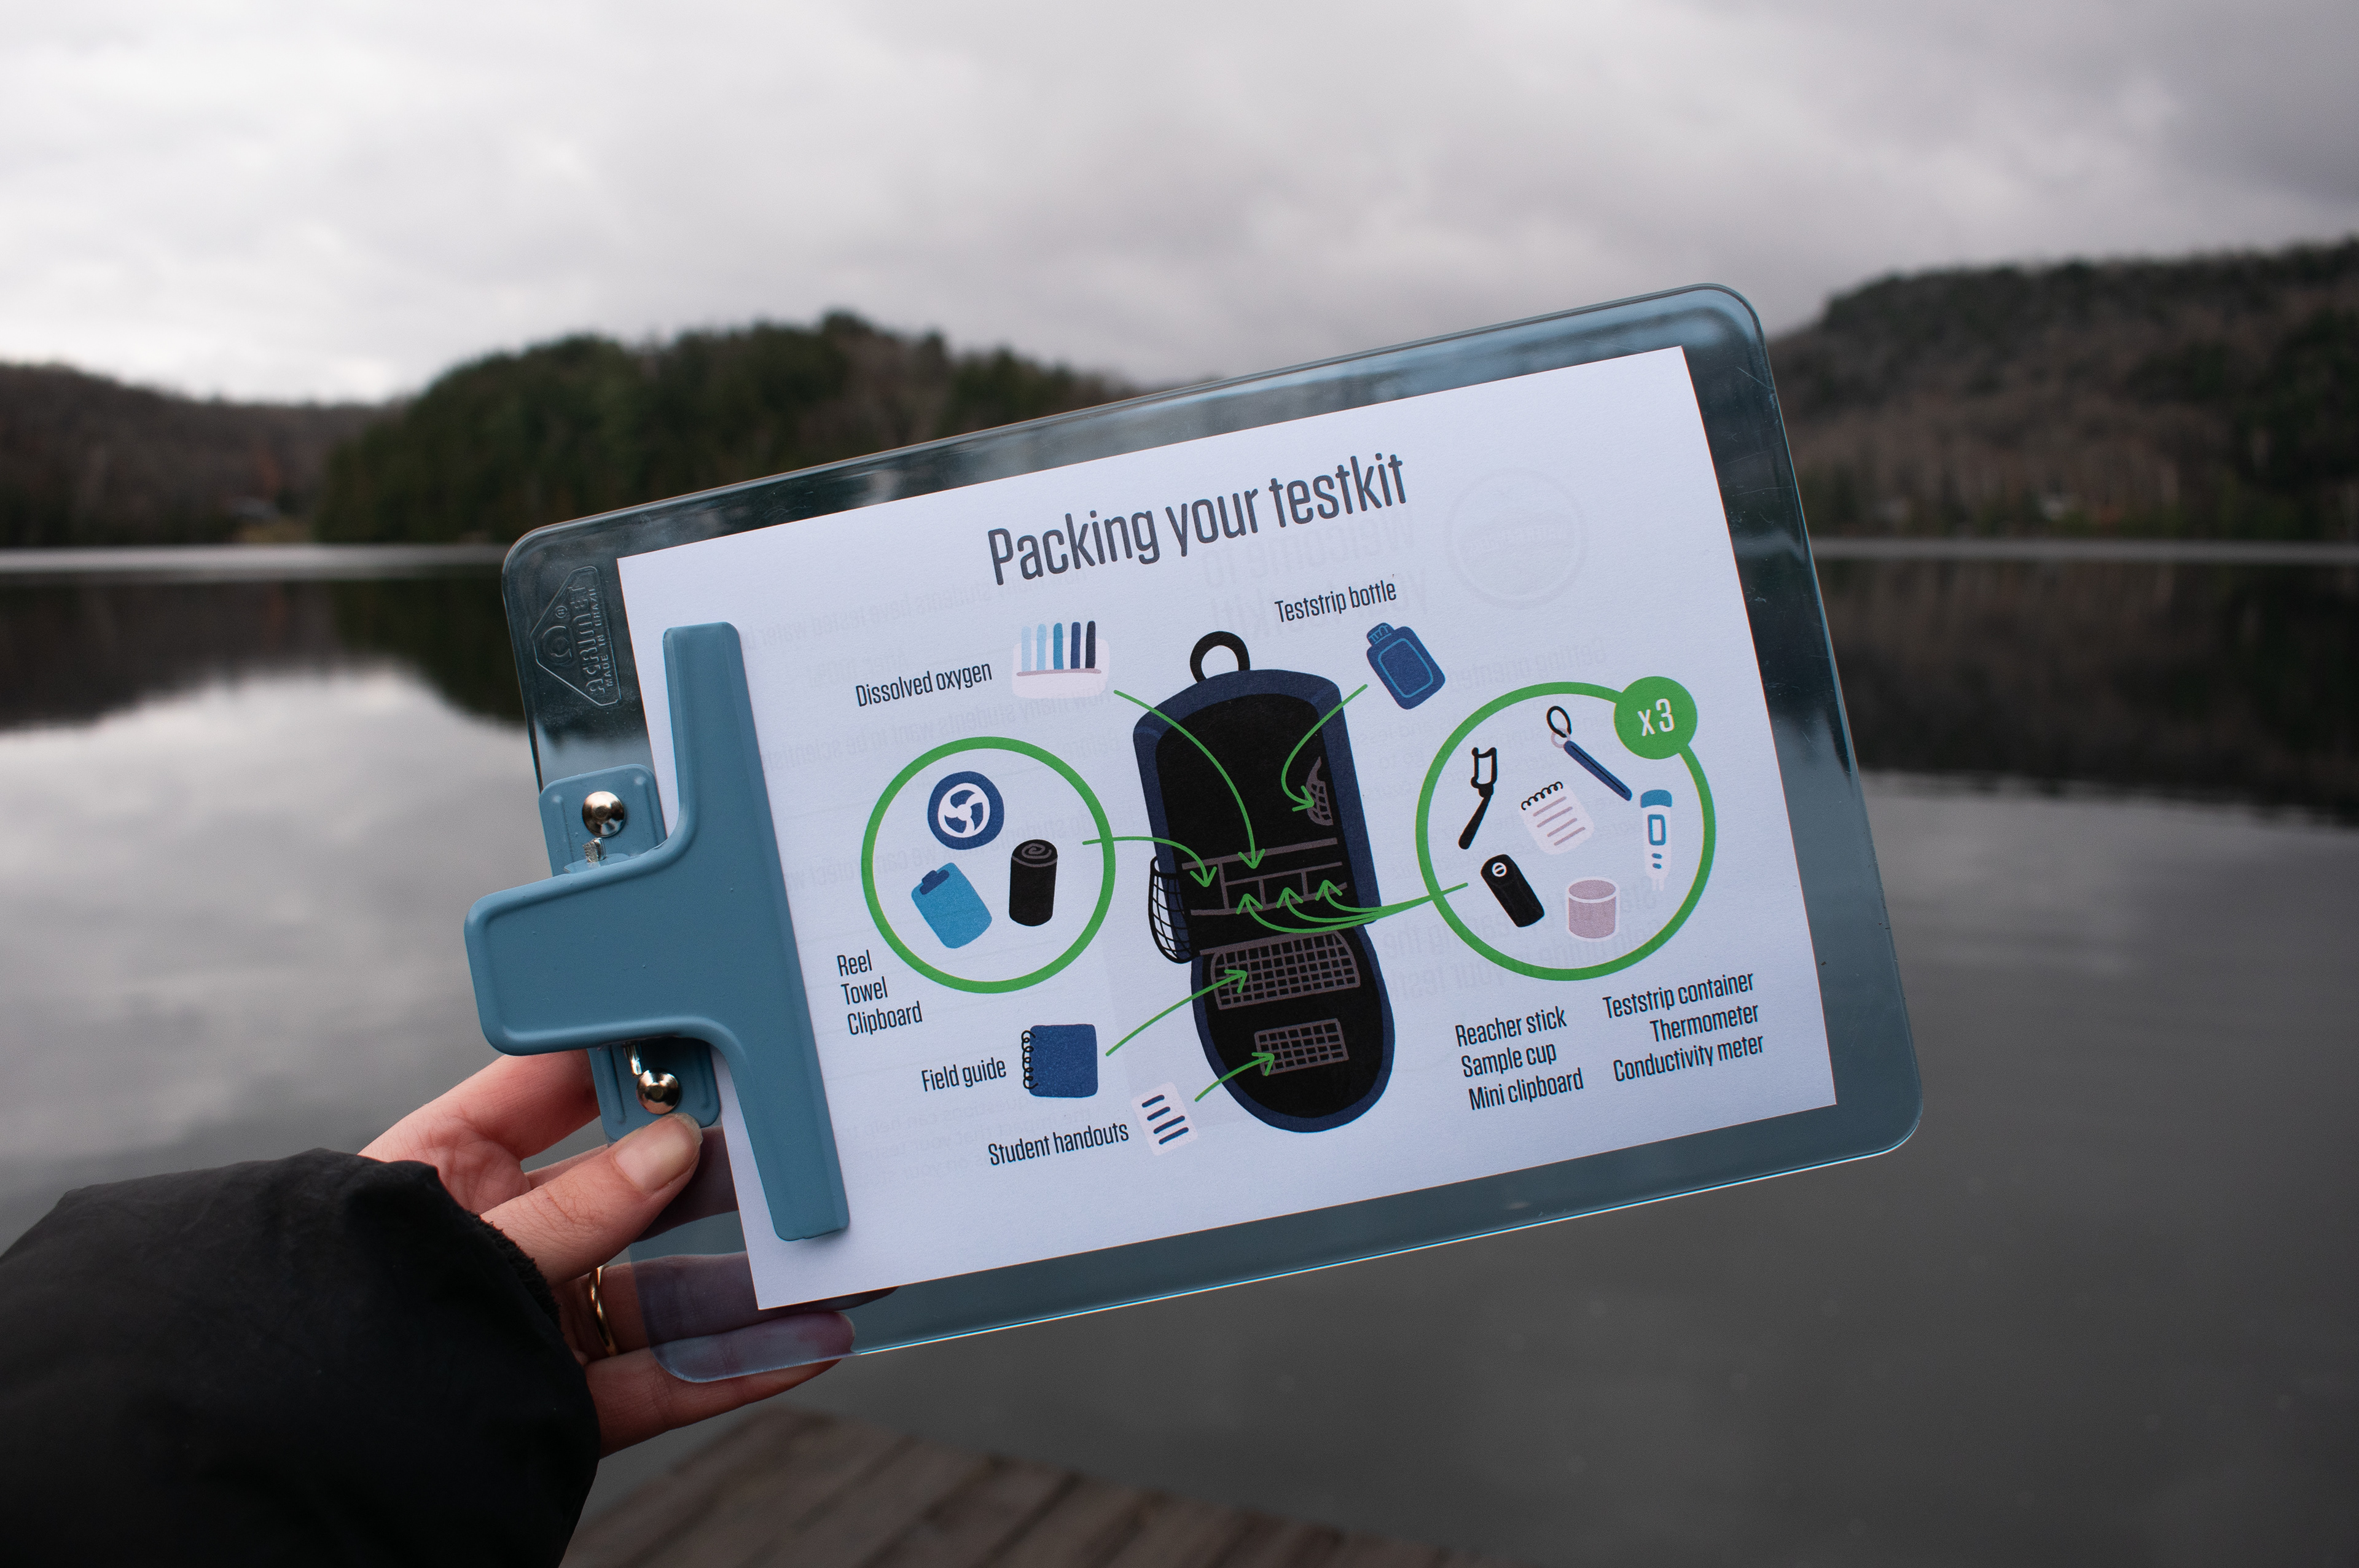
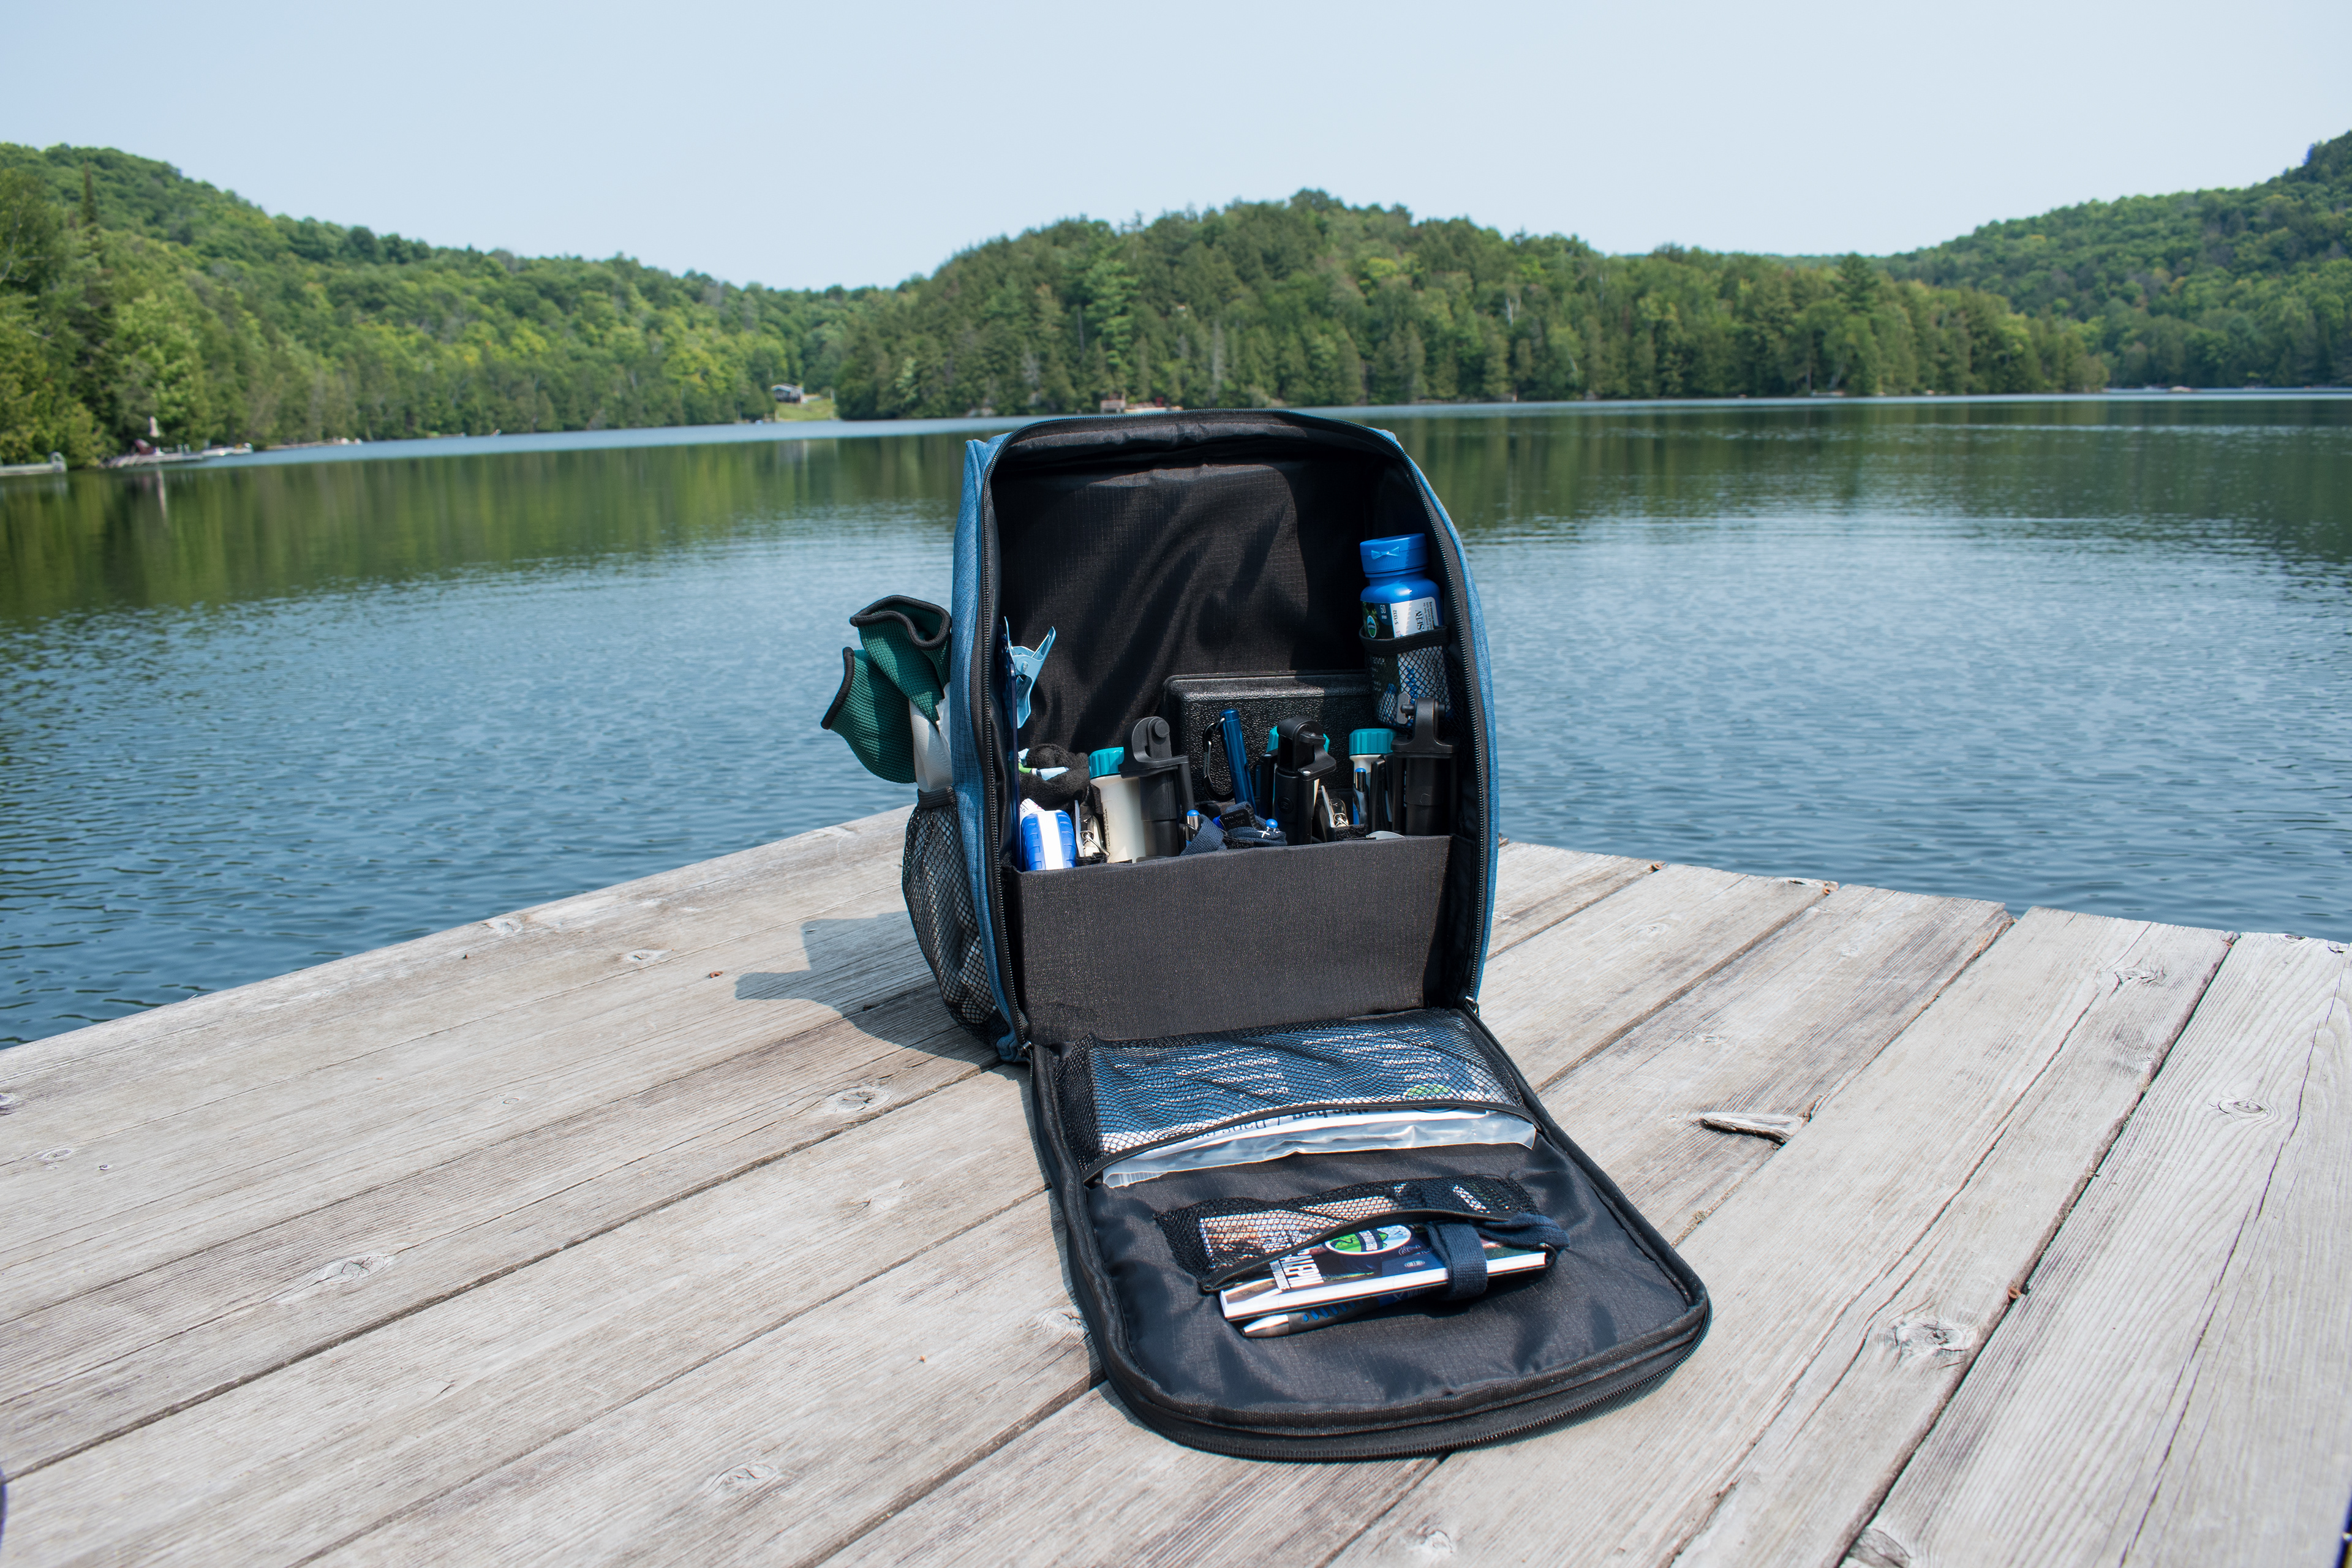
Some of the significant changes to the Education Kit from the Freshwater Testkit include 3 sets of testing equipment, extra teststrips (as they get ruined easily), lanyards and clipboards for students, and a packing diagram as there is little extra space to pack the kit differently.
We wanted to add labels to the kit compartments but were unable to find a material that worked for this iteration.

User testing
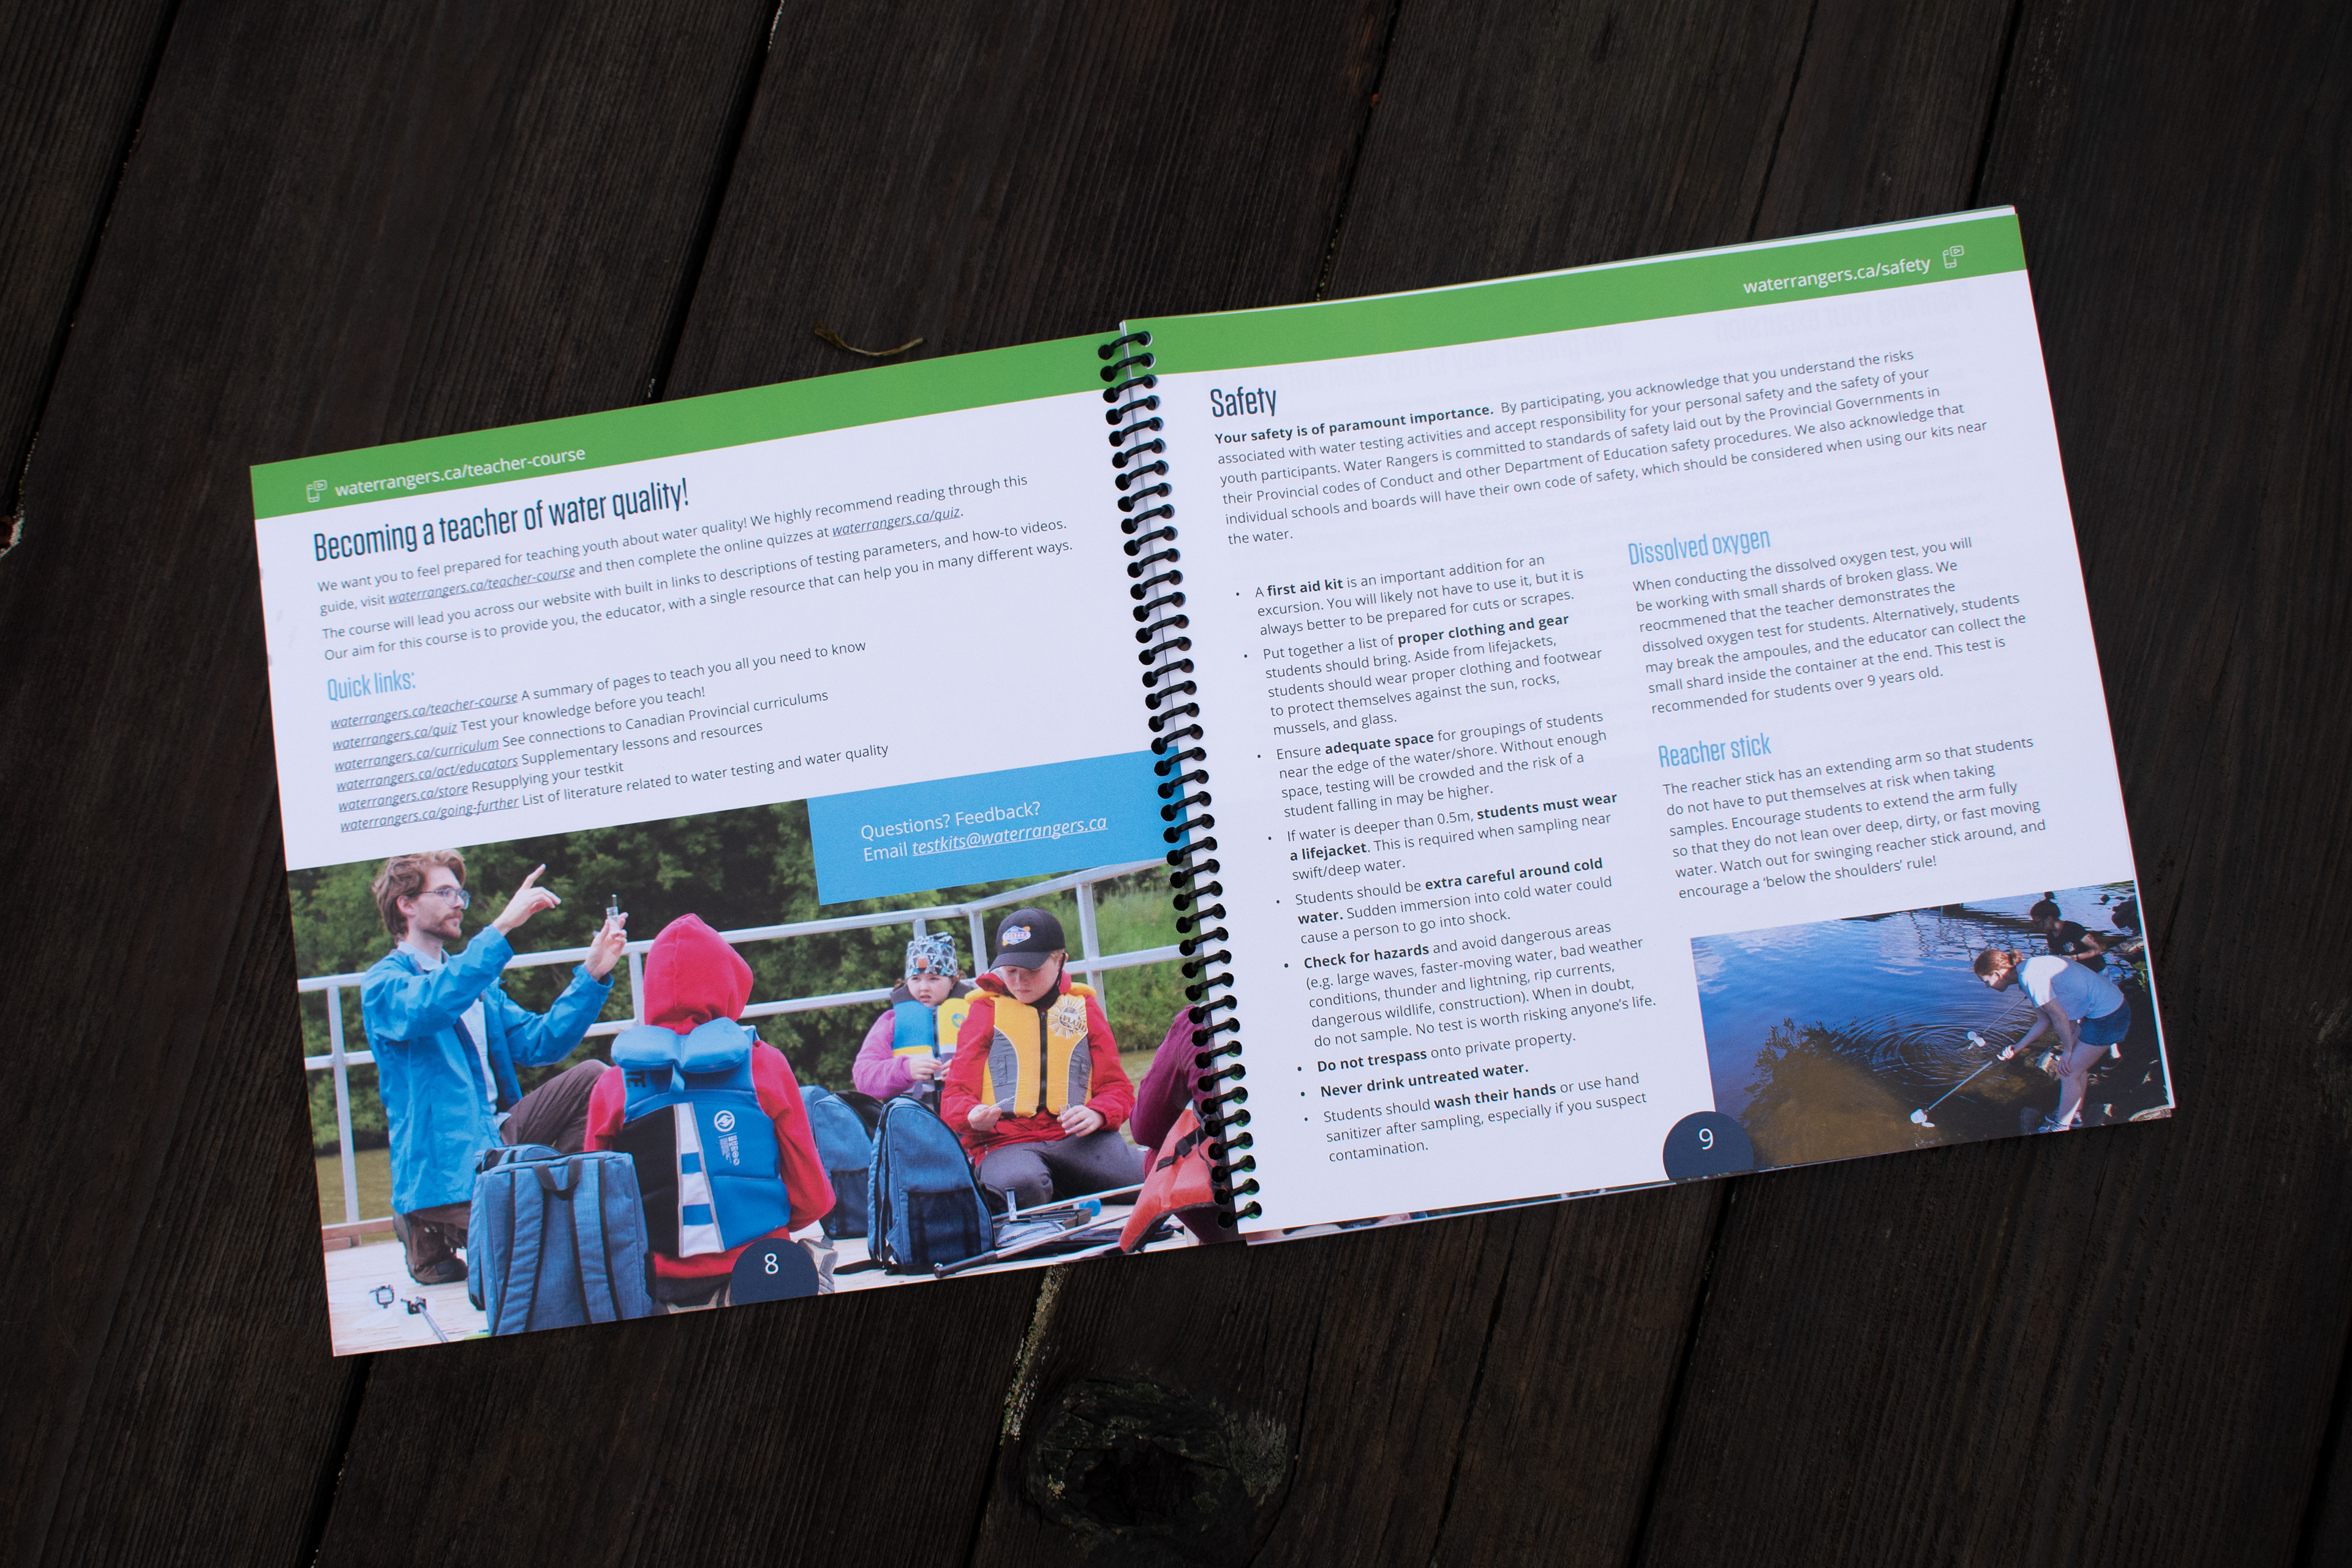
We tested our prototype with a teacher and two young students. As Luke taught them how to use the kit, I noted their reactions, pain points, and opportunities for improvement. Some of the changes we made included:
• Removing the wrist straps as they weren't being used.
• Removing the Secchi disk as teachers find it hard to supervise students over deep water, which is needed for that test.
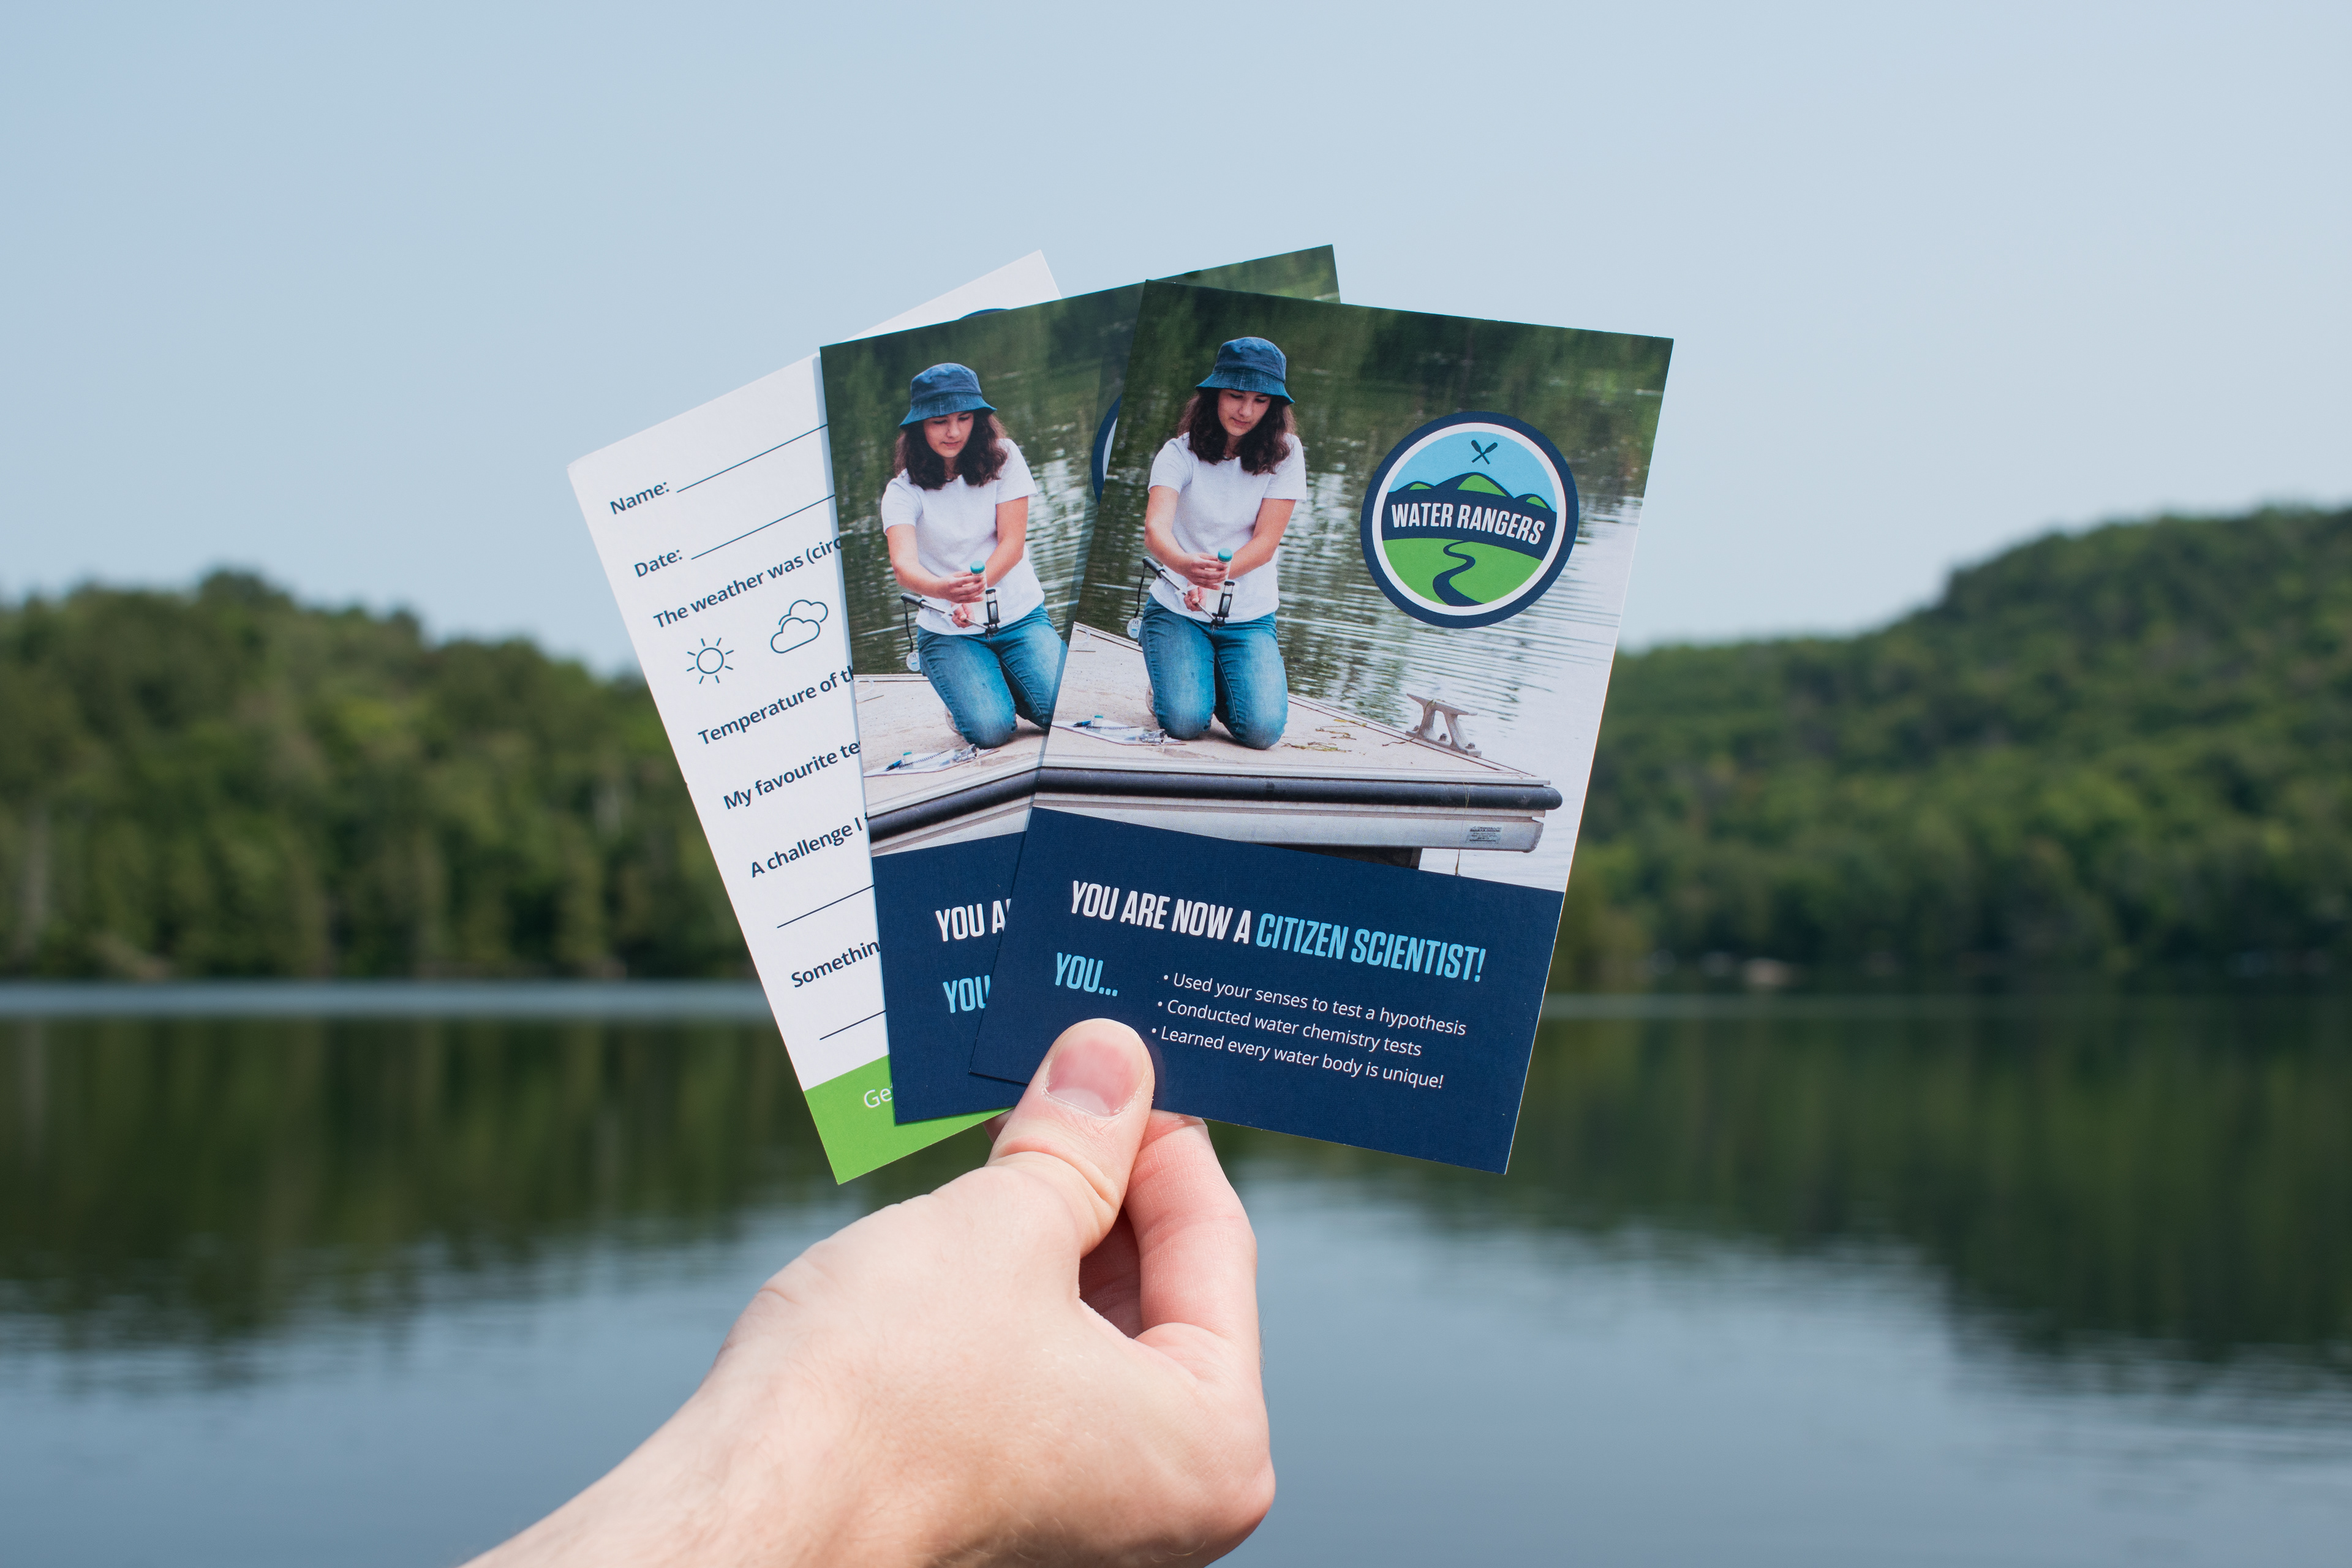
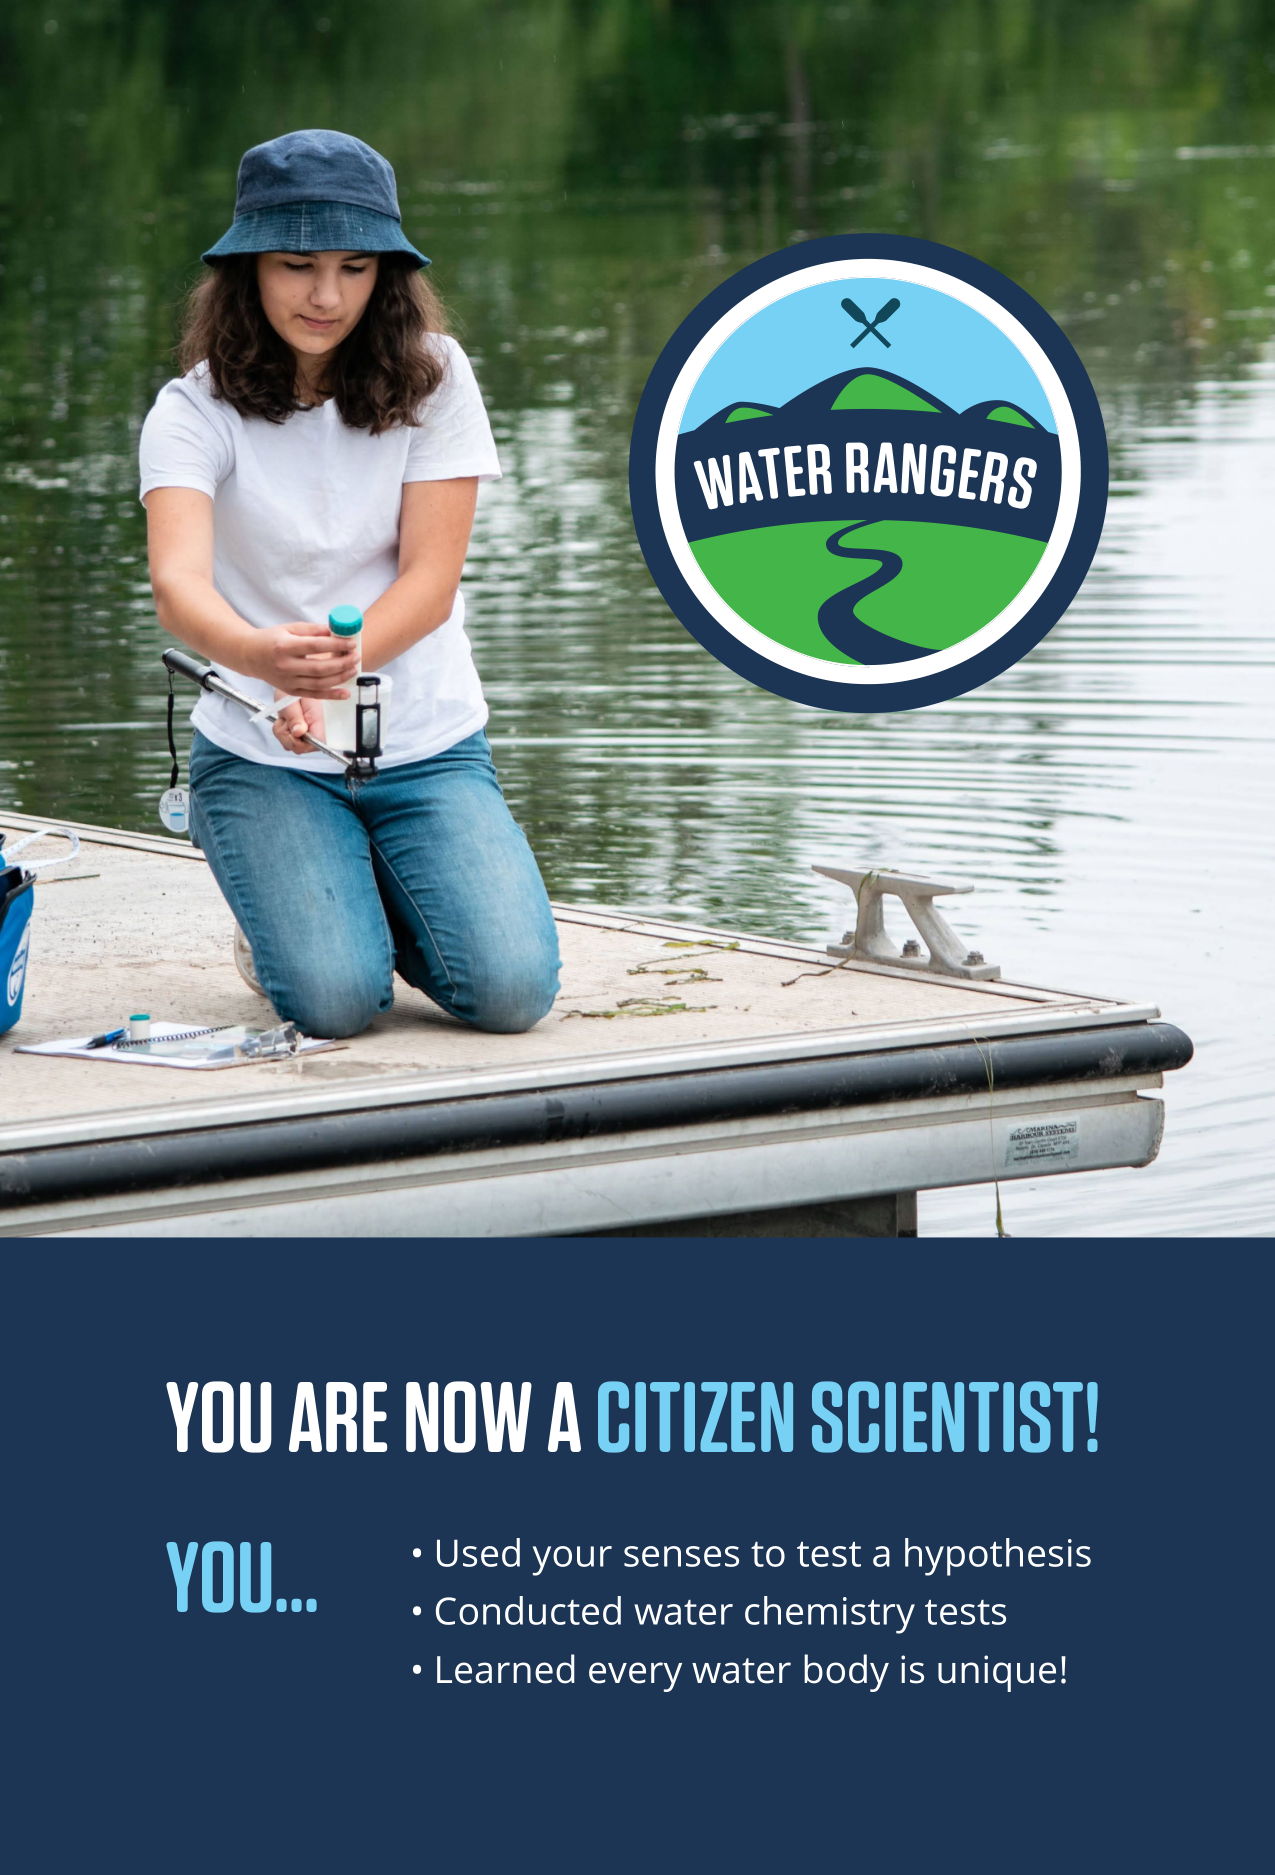
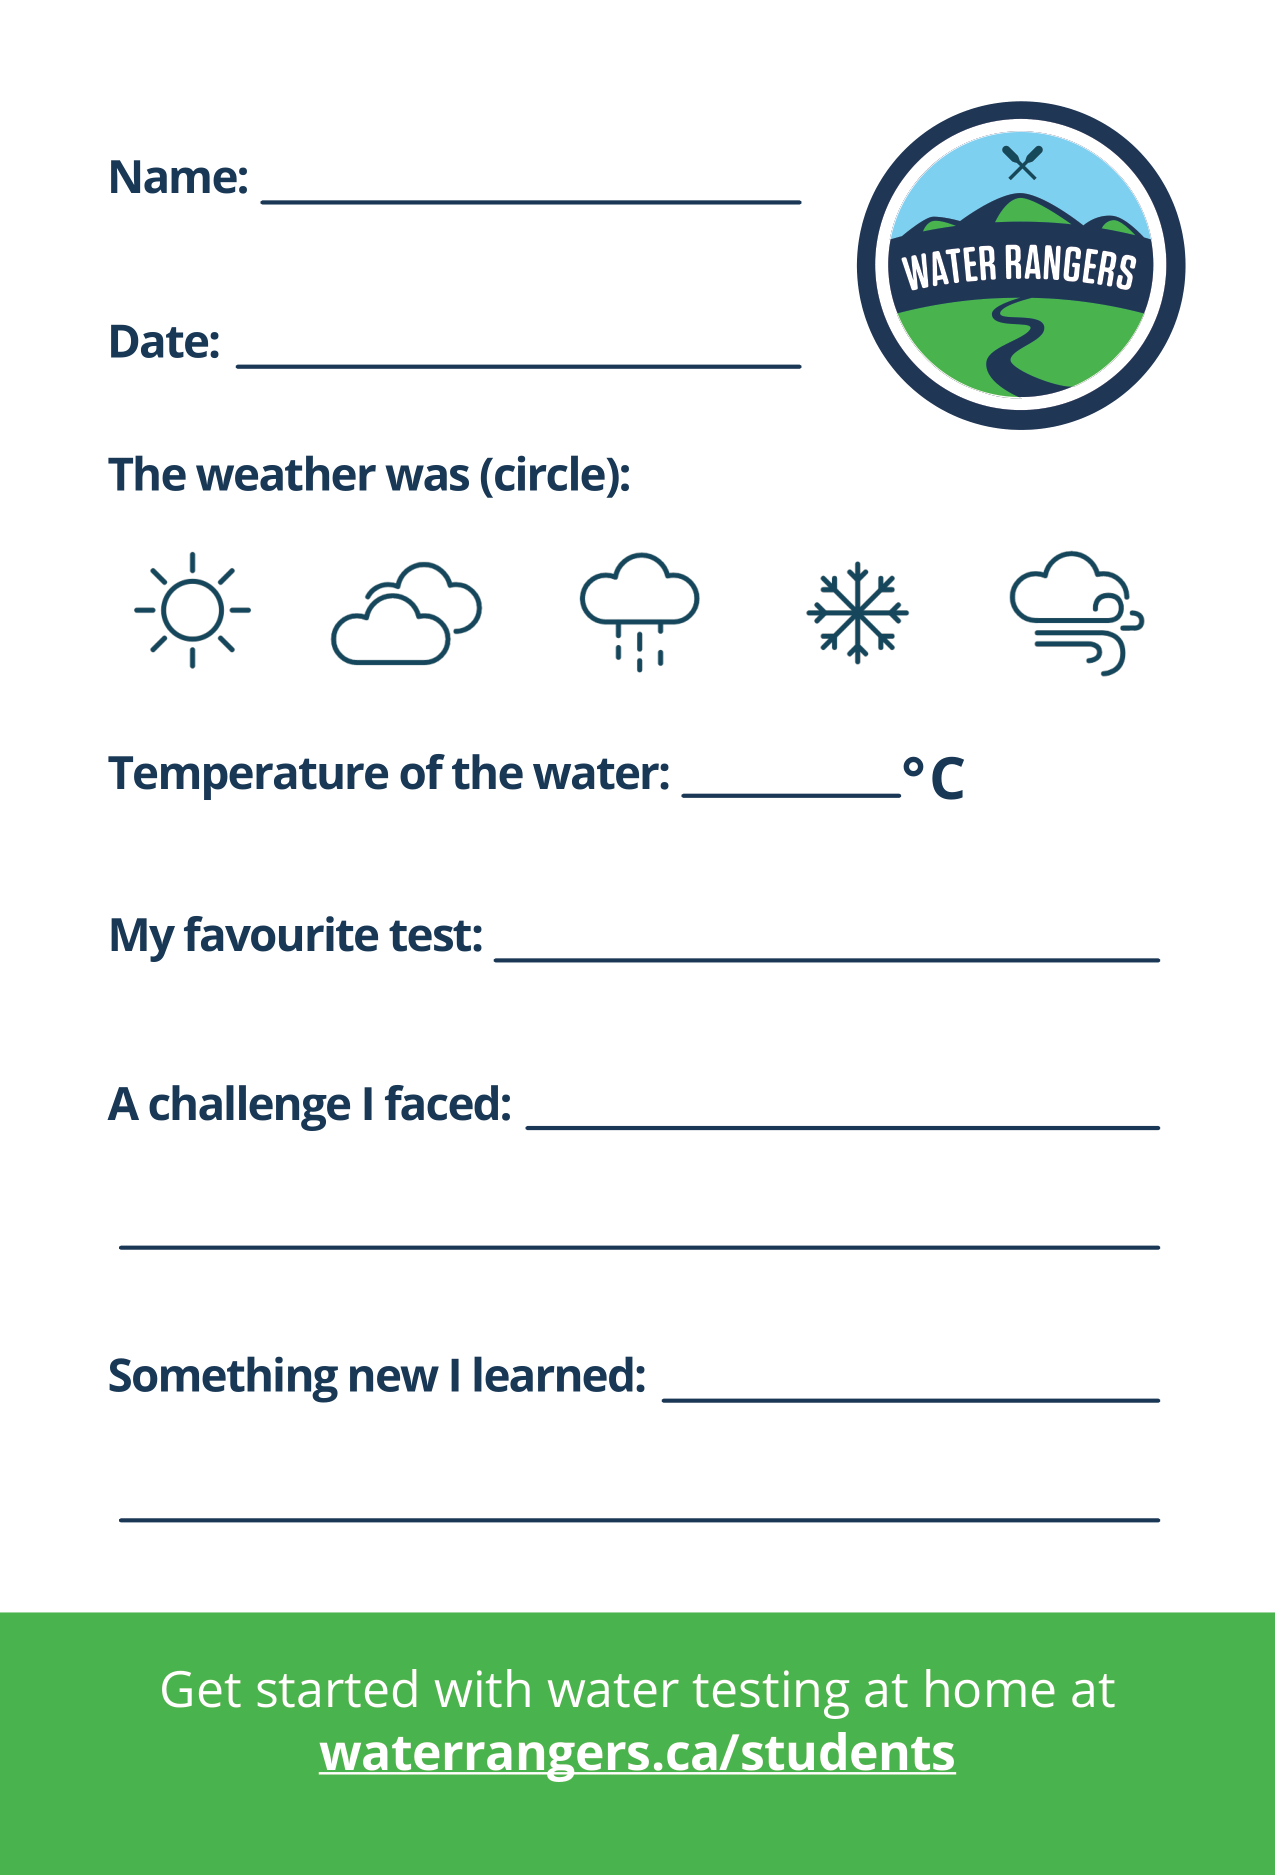
• Swapping the standard notepad for postcards that students can take home.
• Removing the Secchi disk as teachers find it hard to supervise students over deep water, which is needed for that test.
• Swapping the standard notepad for postcards that students can take home.
Wireframe
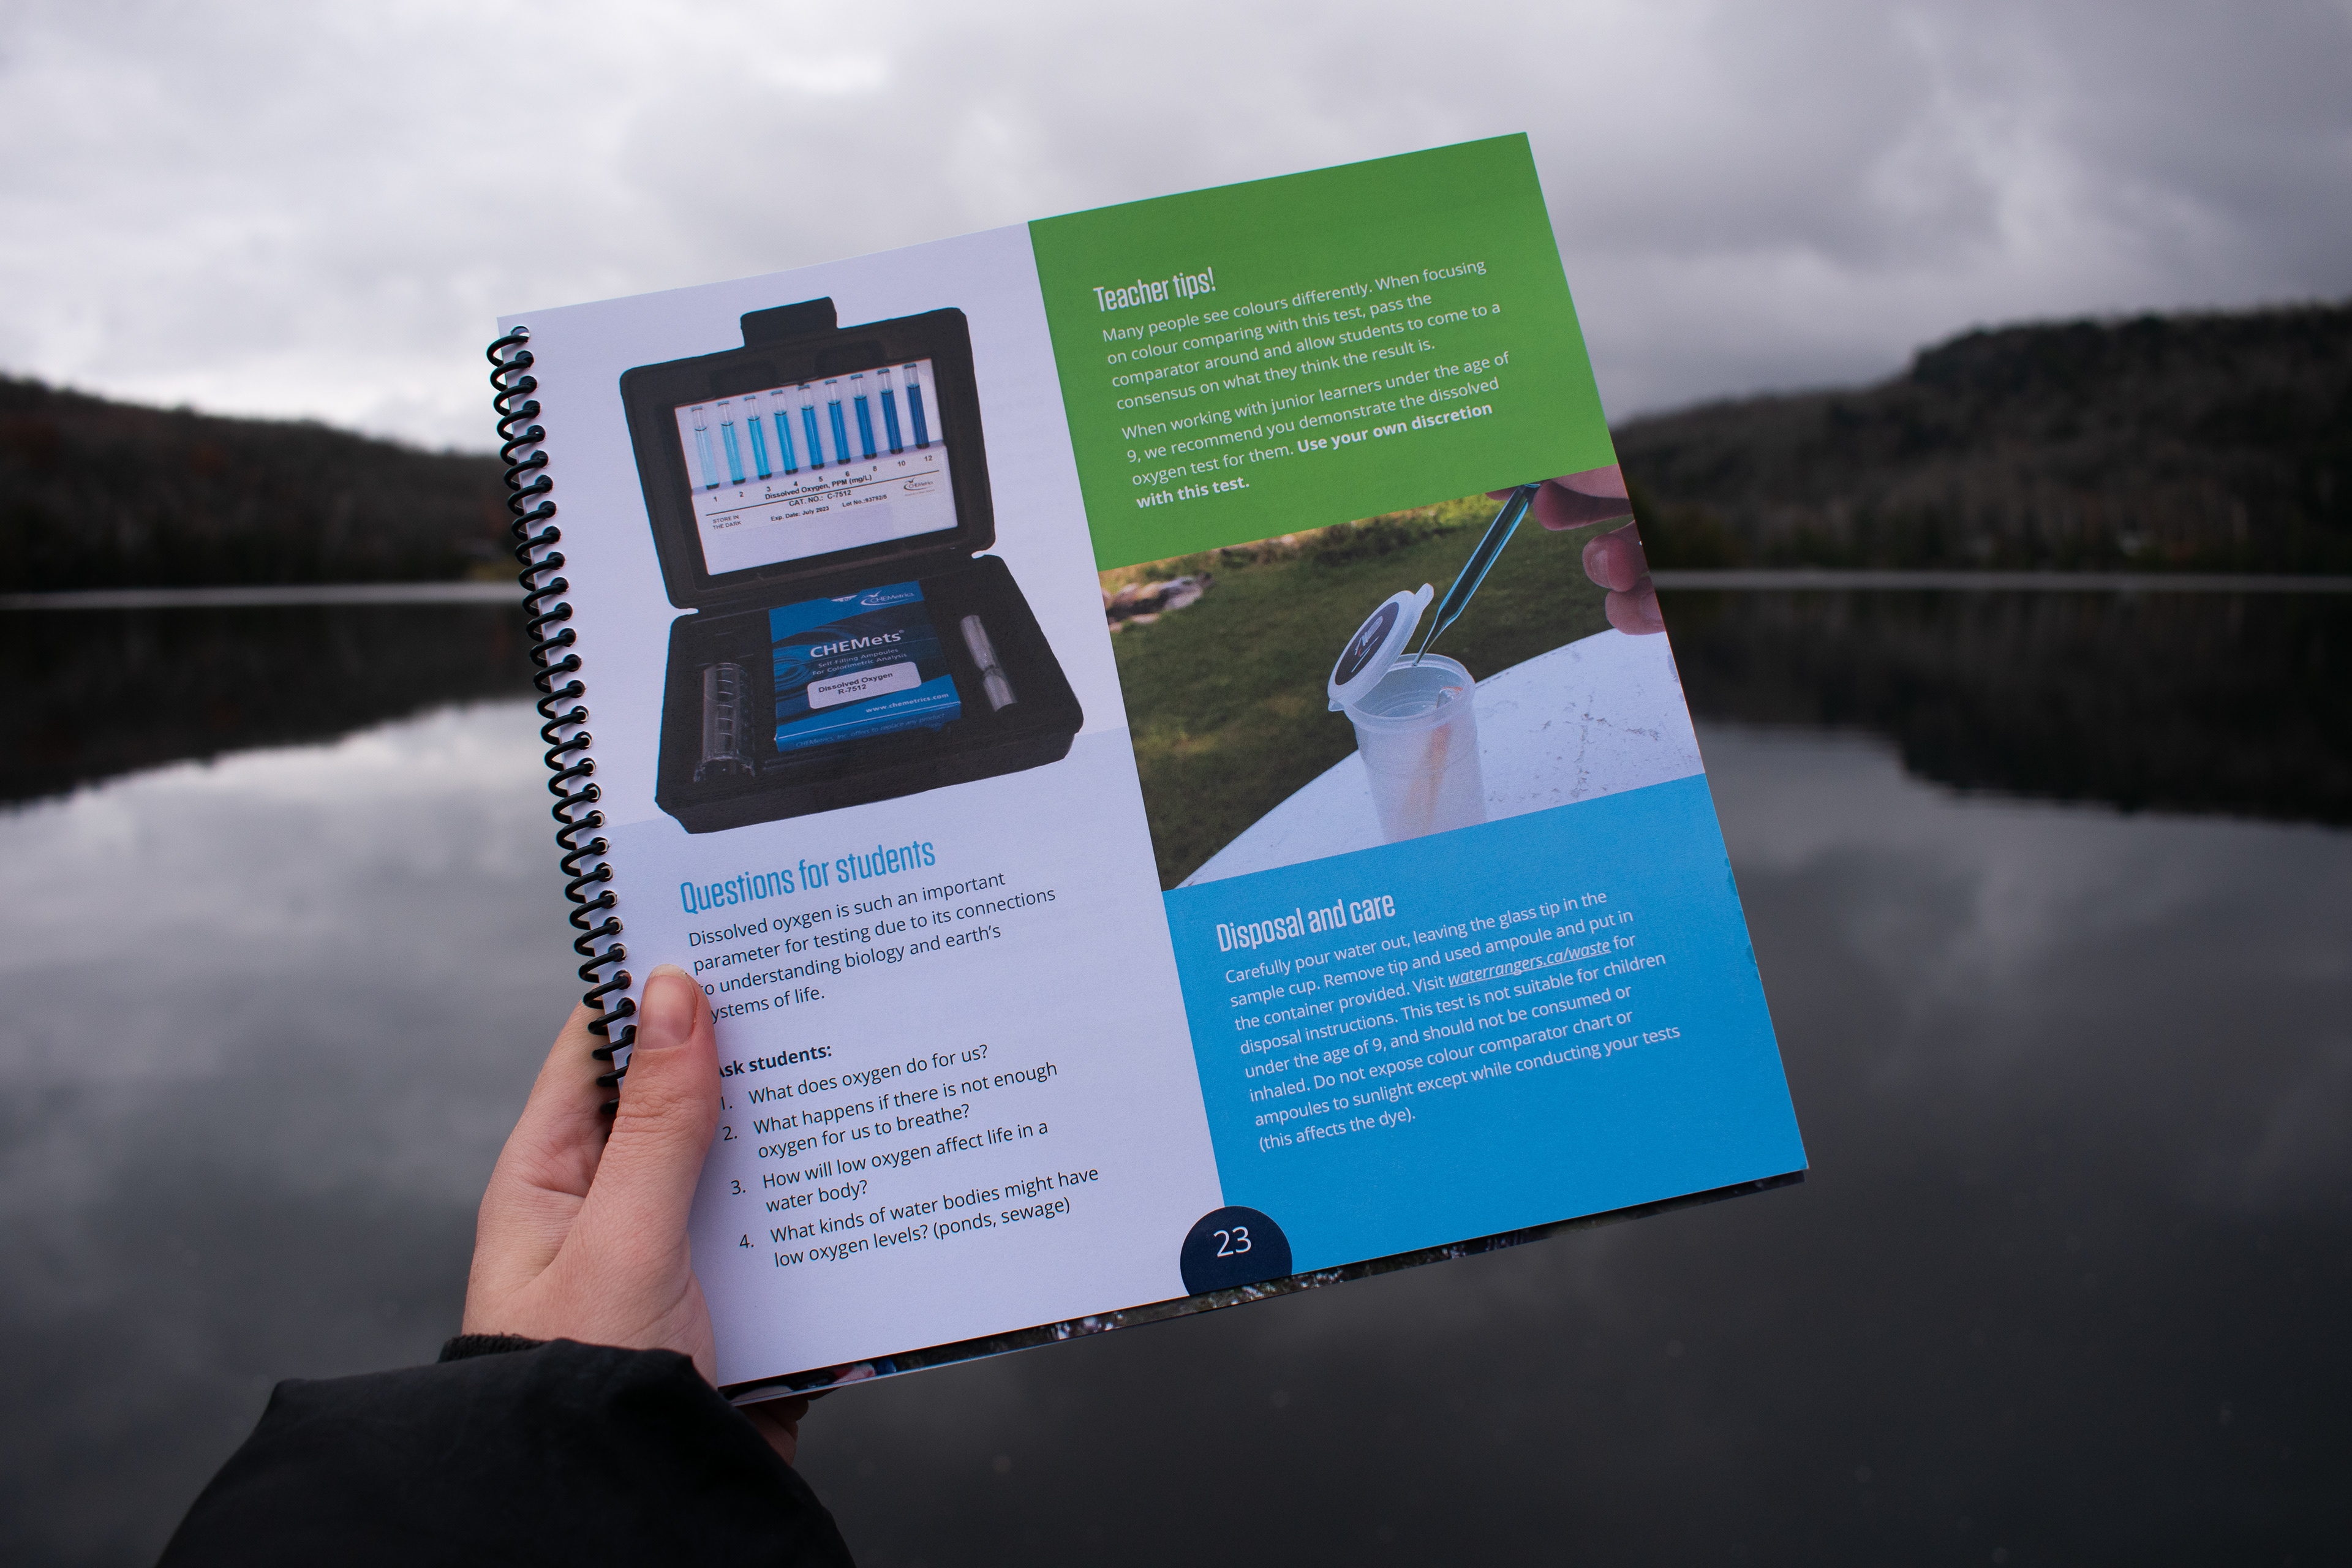
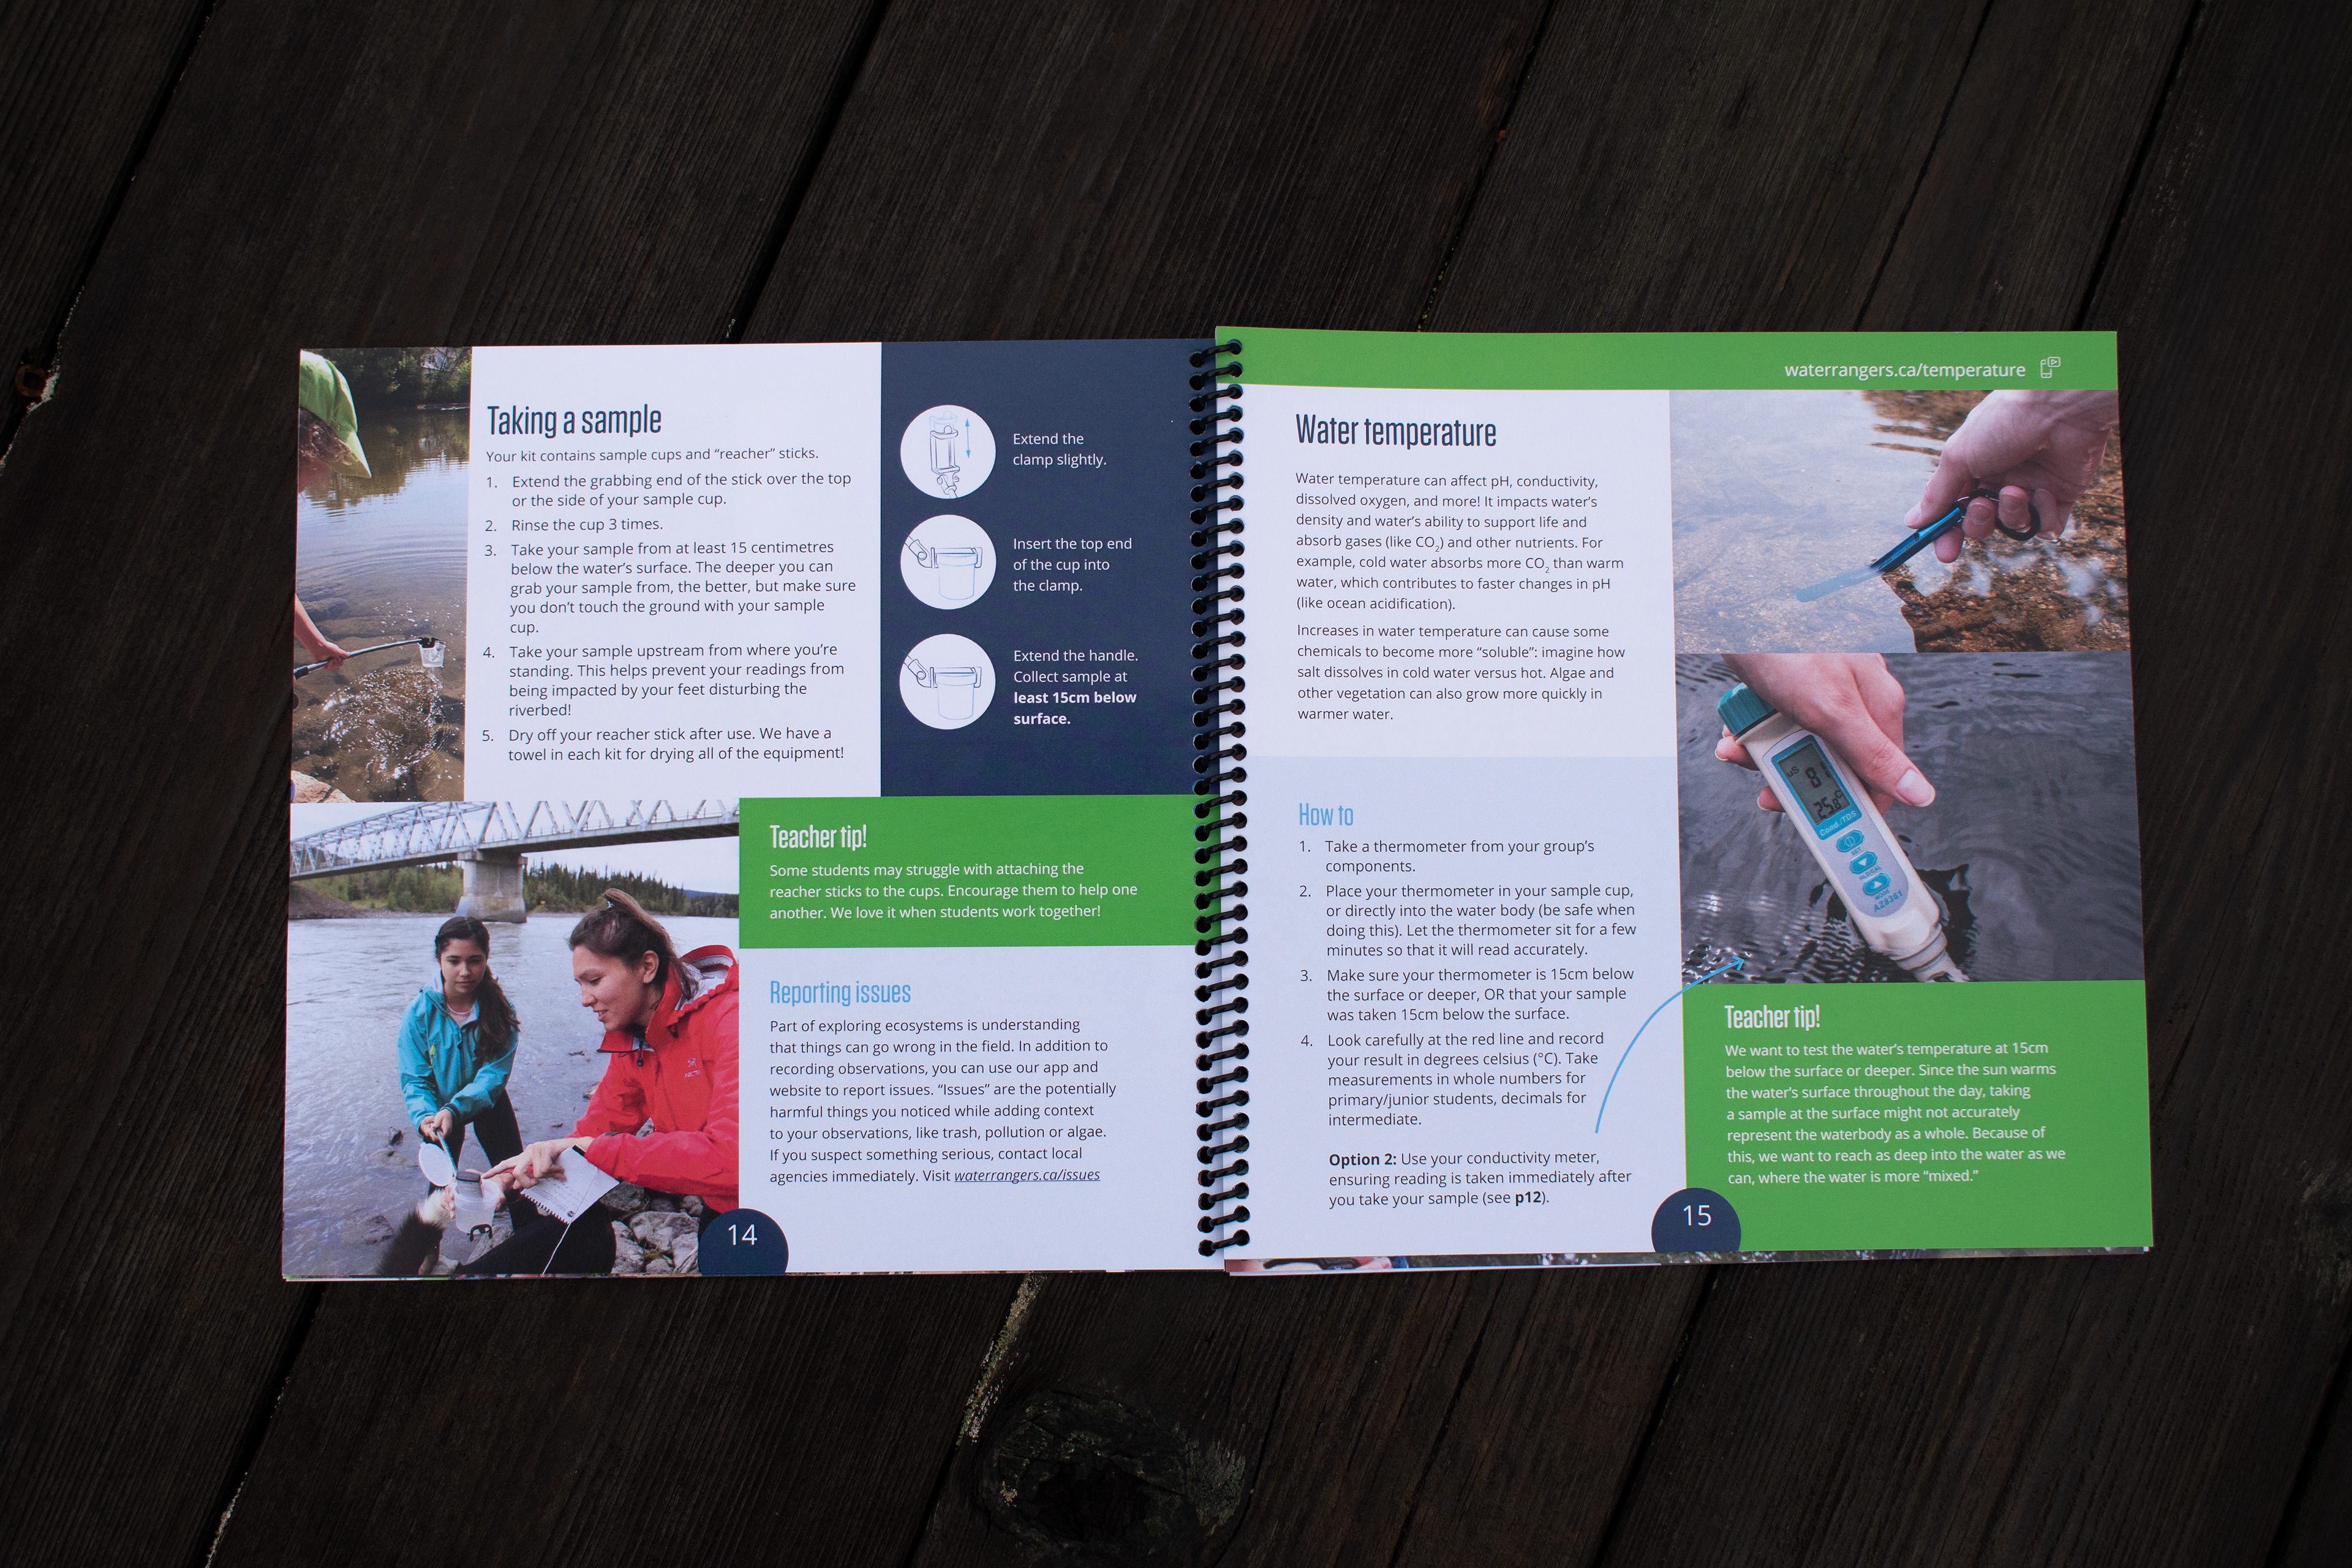
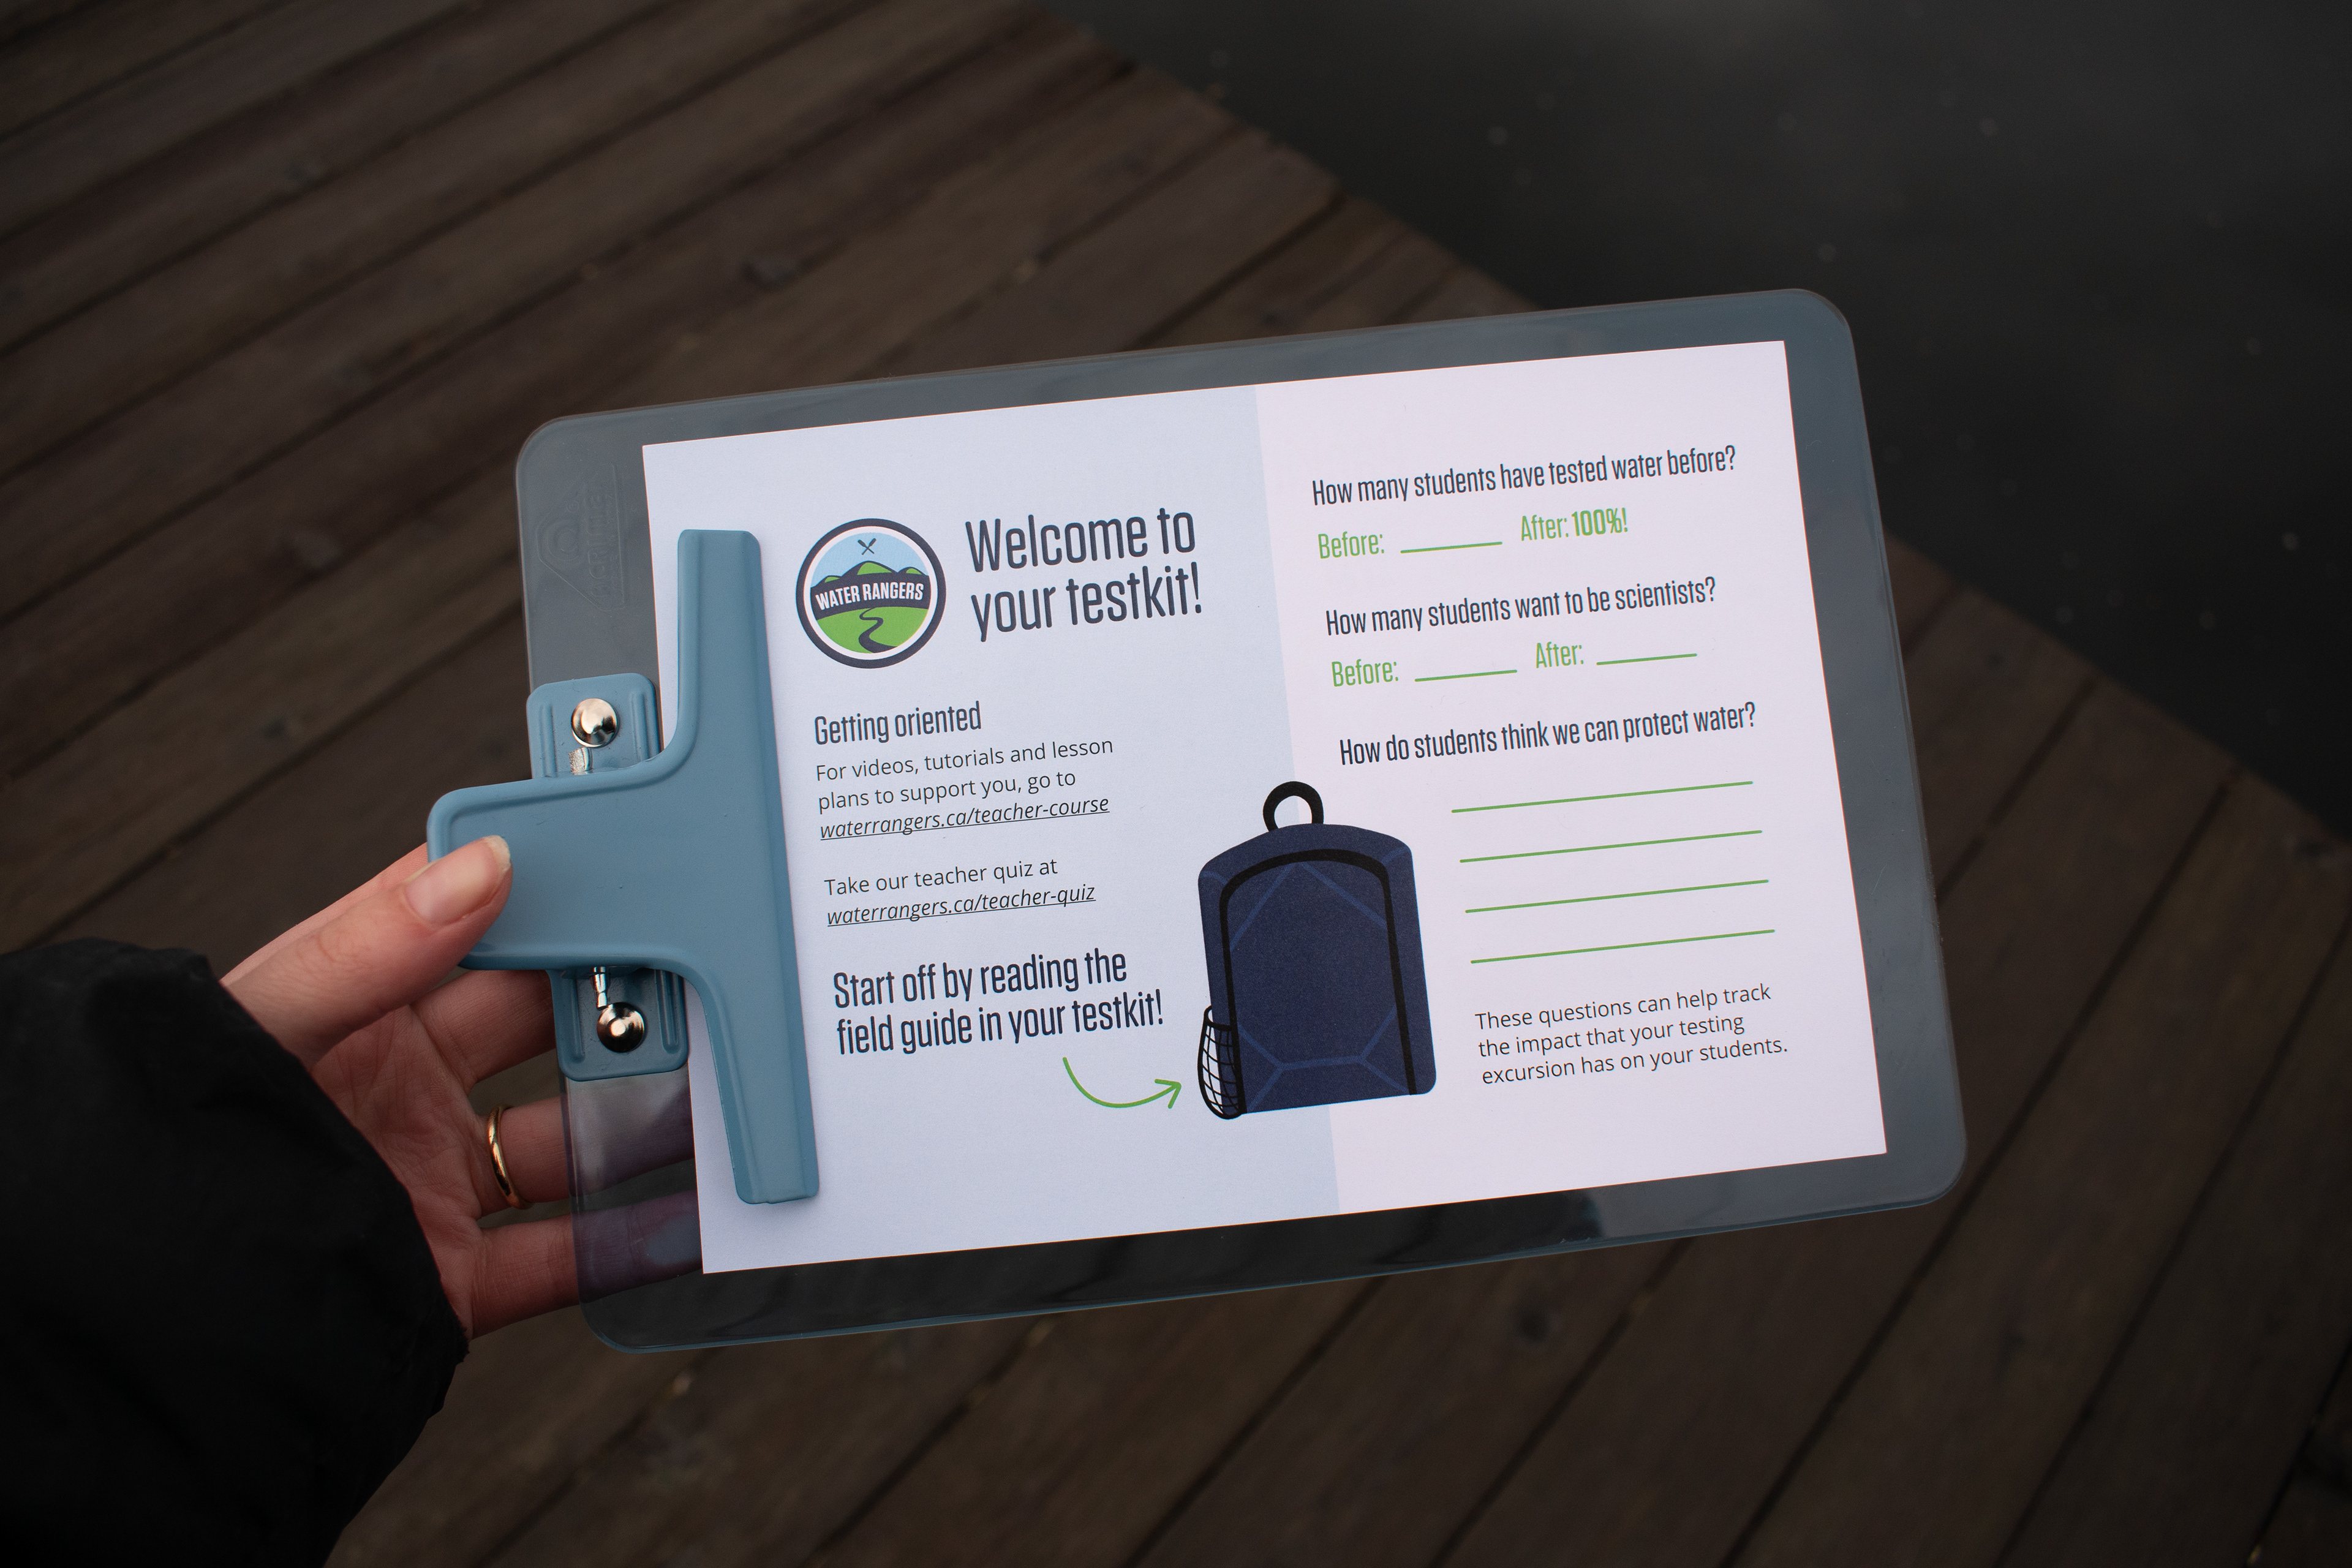
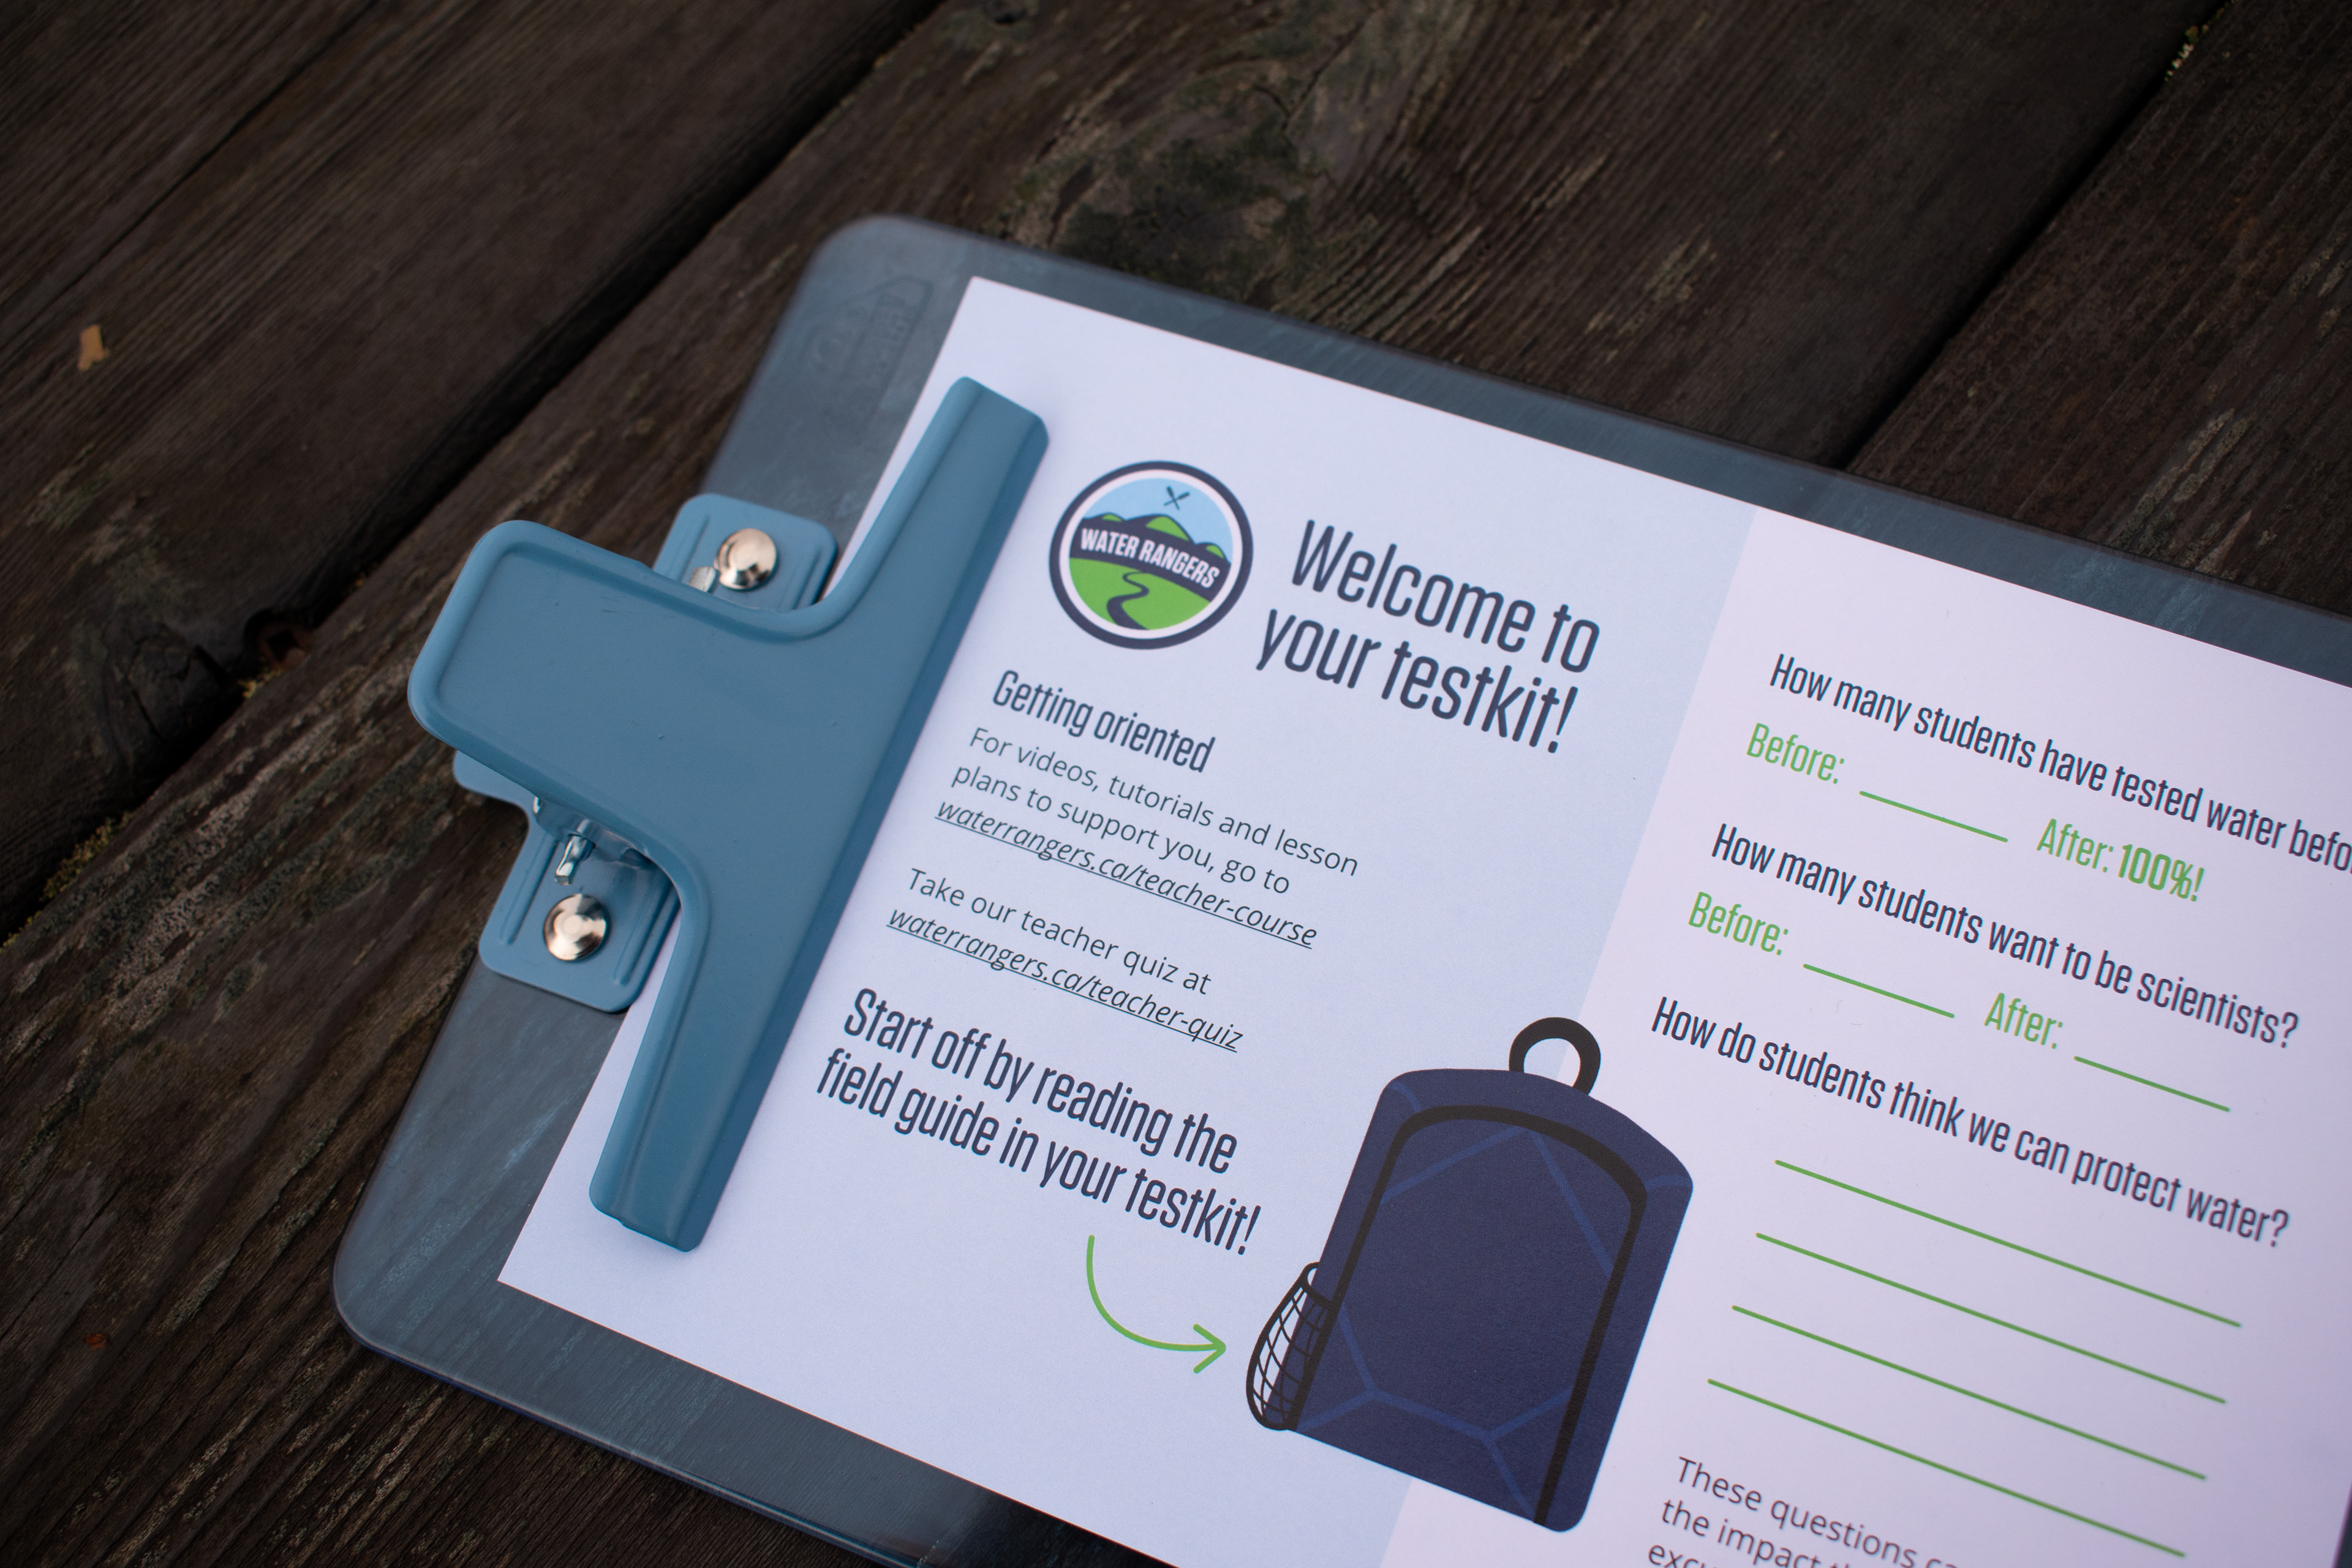
A significant portion of my time on this project was spent designing the 'field guide' (instruction manual) for the kit. My colleagues and I brainstormed what information to include in the field guide, and I created a basic wireframe. We were on a quick deadline for this stage of the project, and we had to remotely collaborate to meet it. Because my colleagues are not familiar with standard collaborative wireframing tools, I made due with software they all knew - Google Slides!
I can 100% say this is the first time I've used a slideshow program to design layouts.

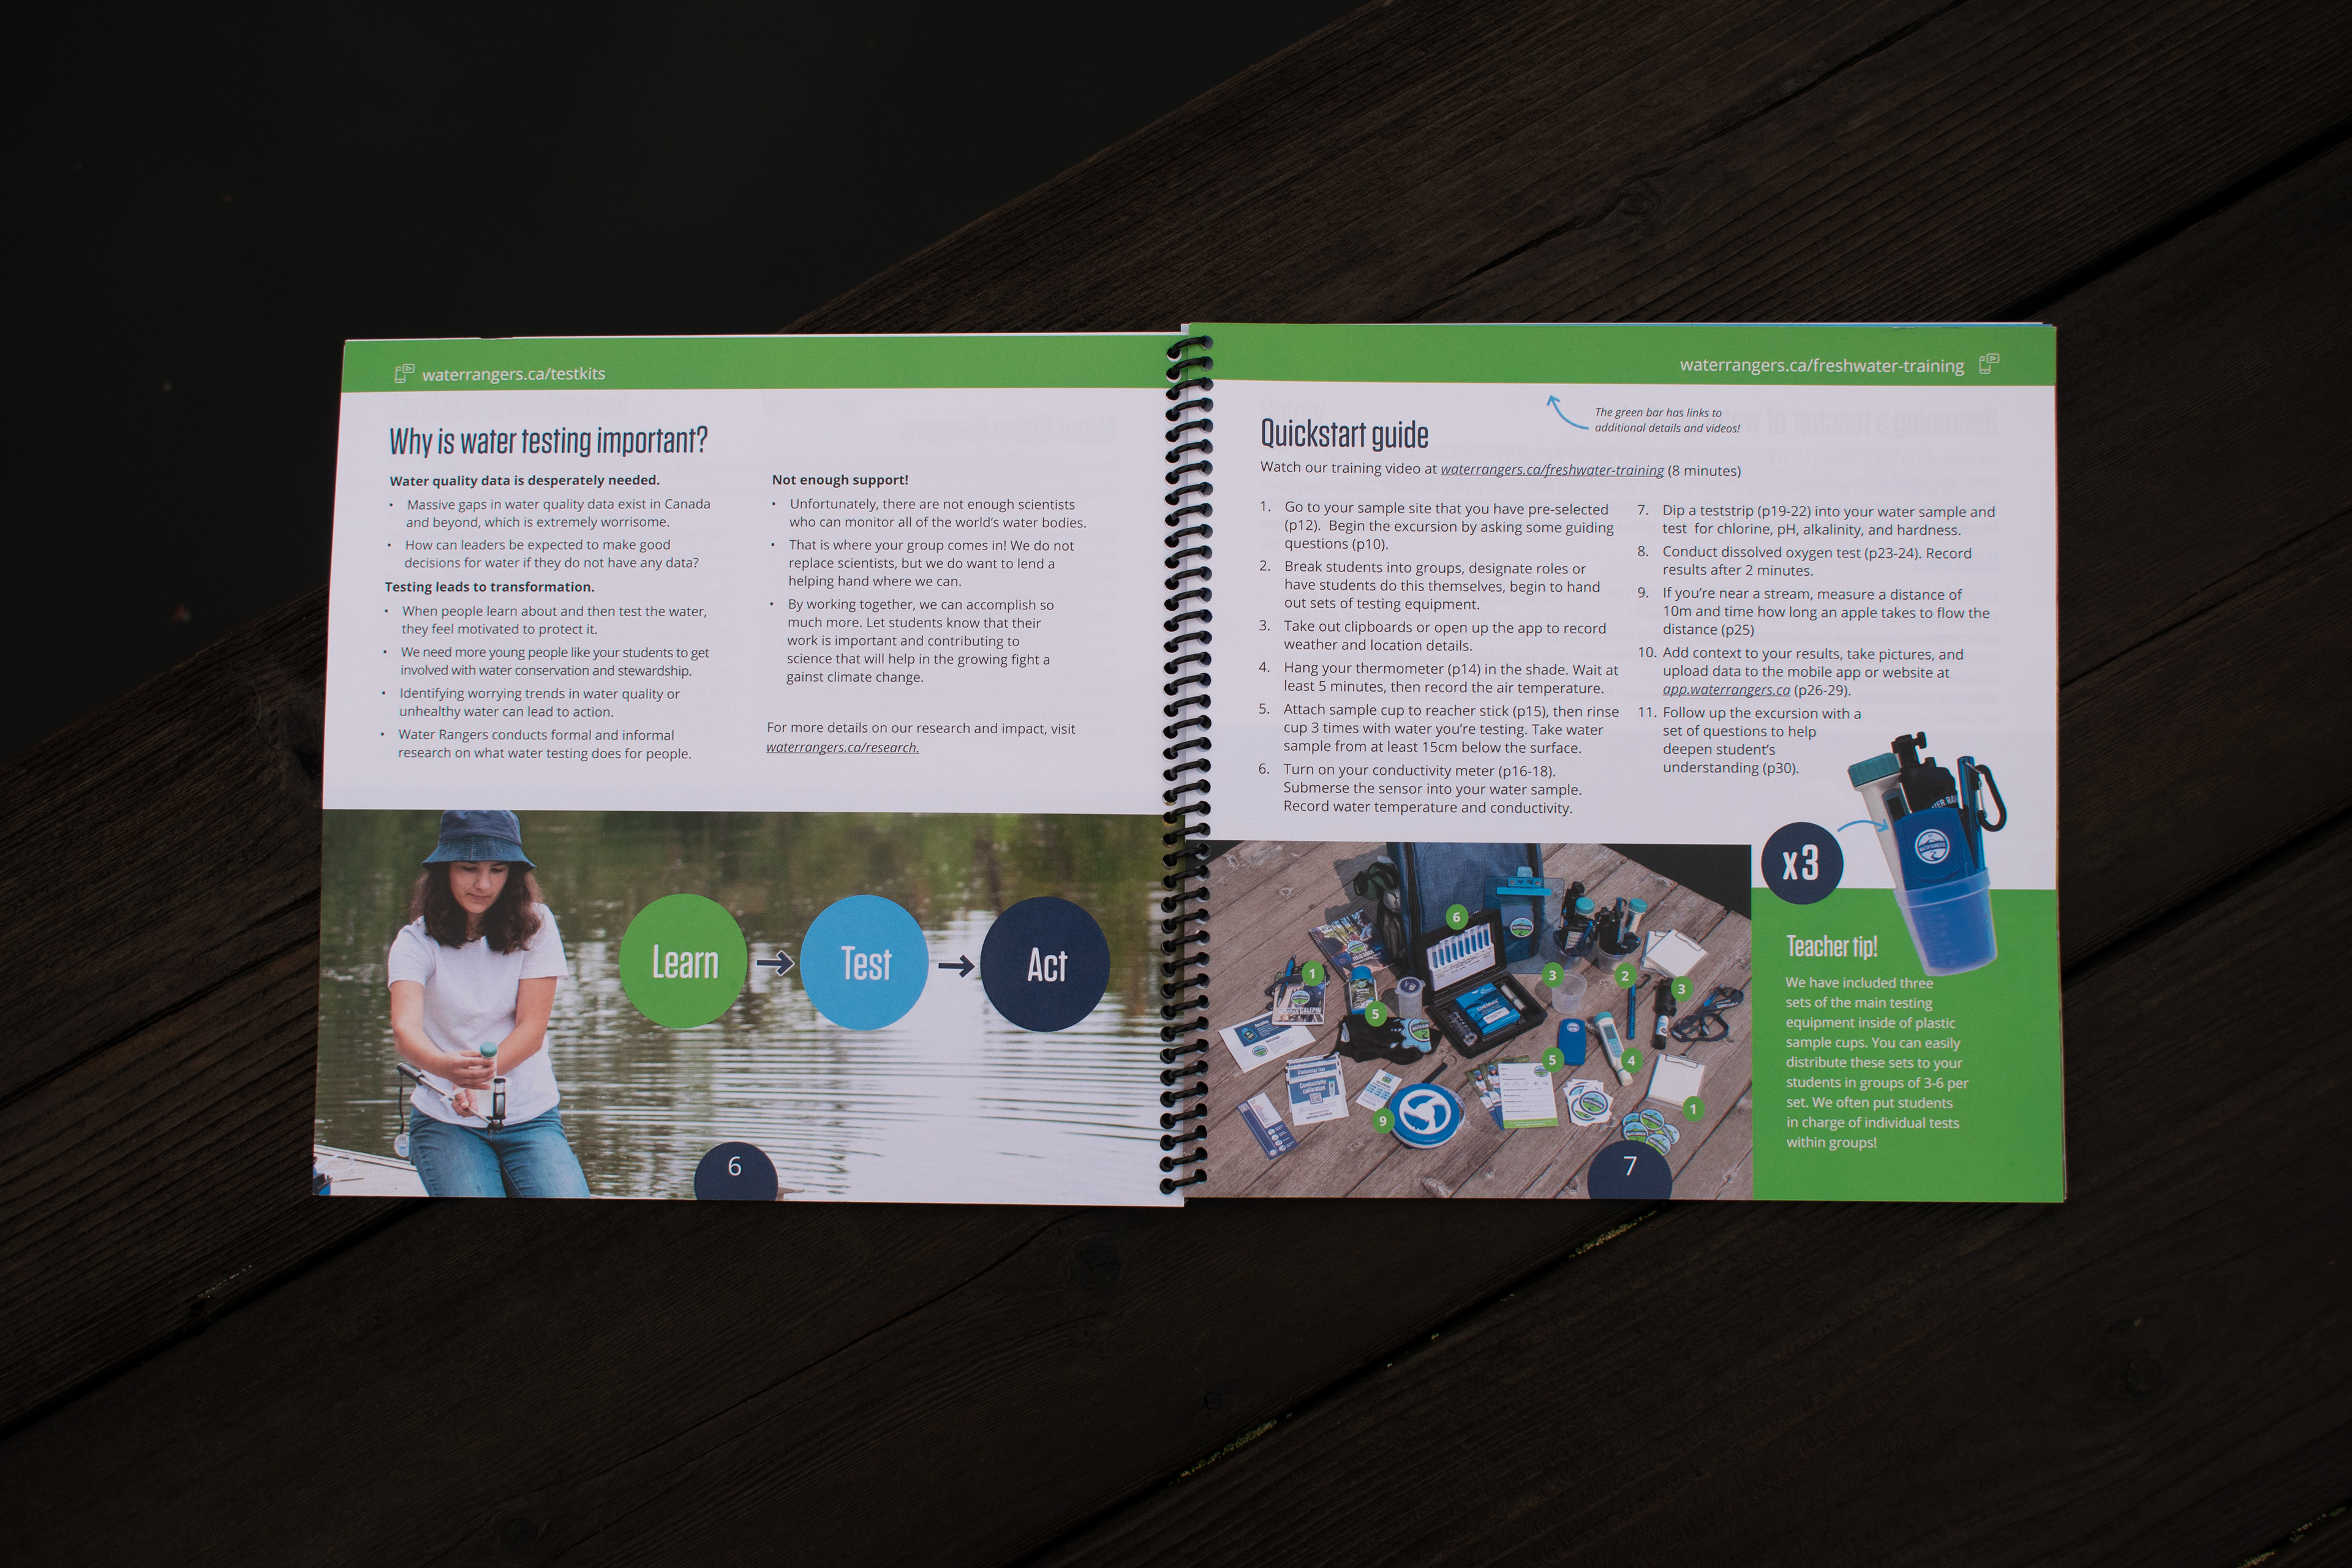
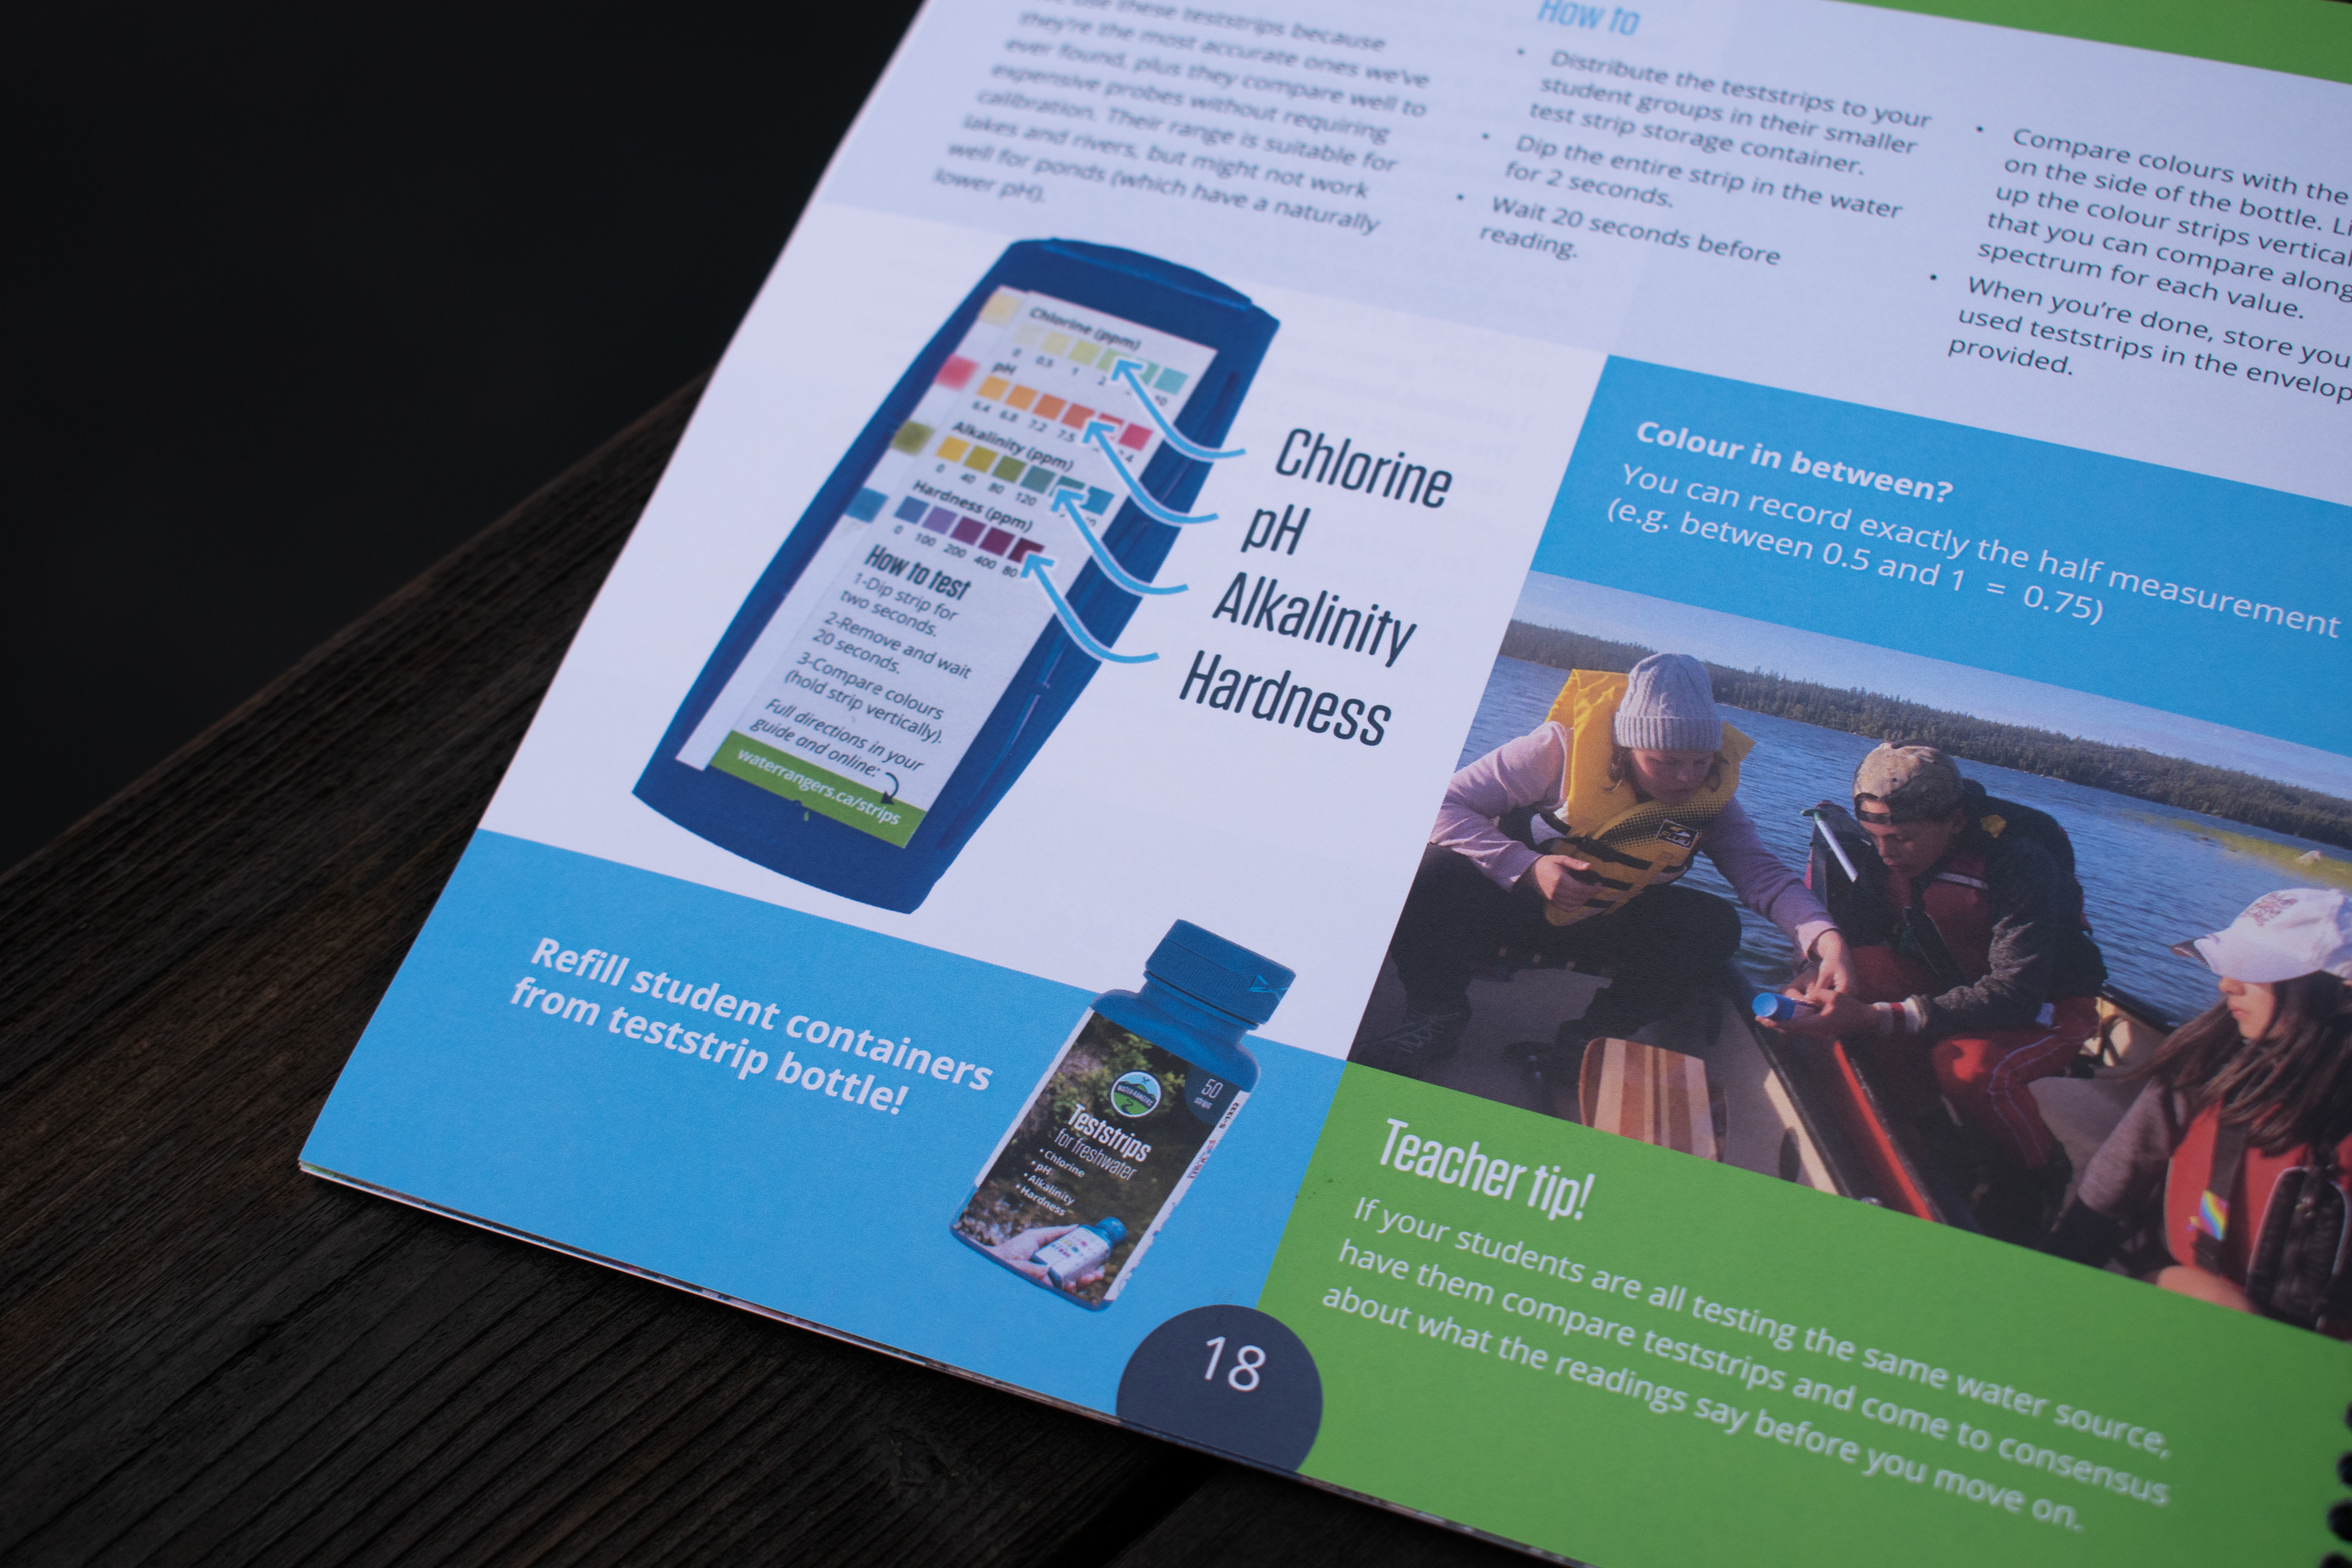
Wireframe of page 18
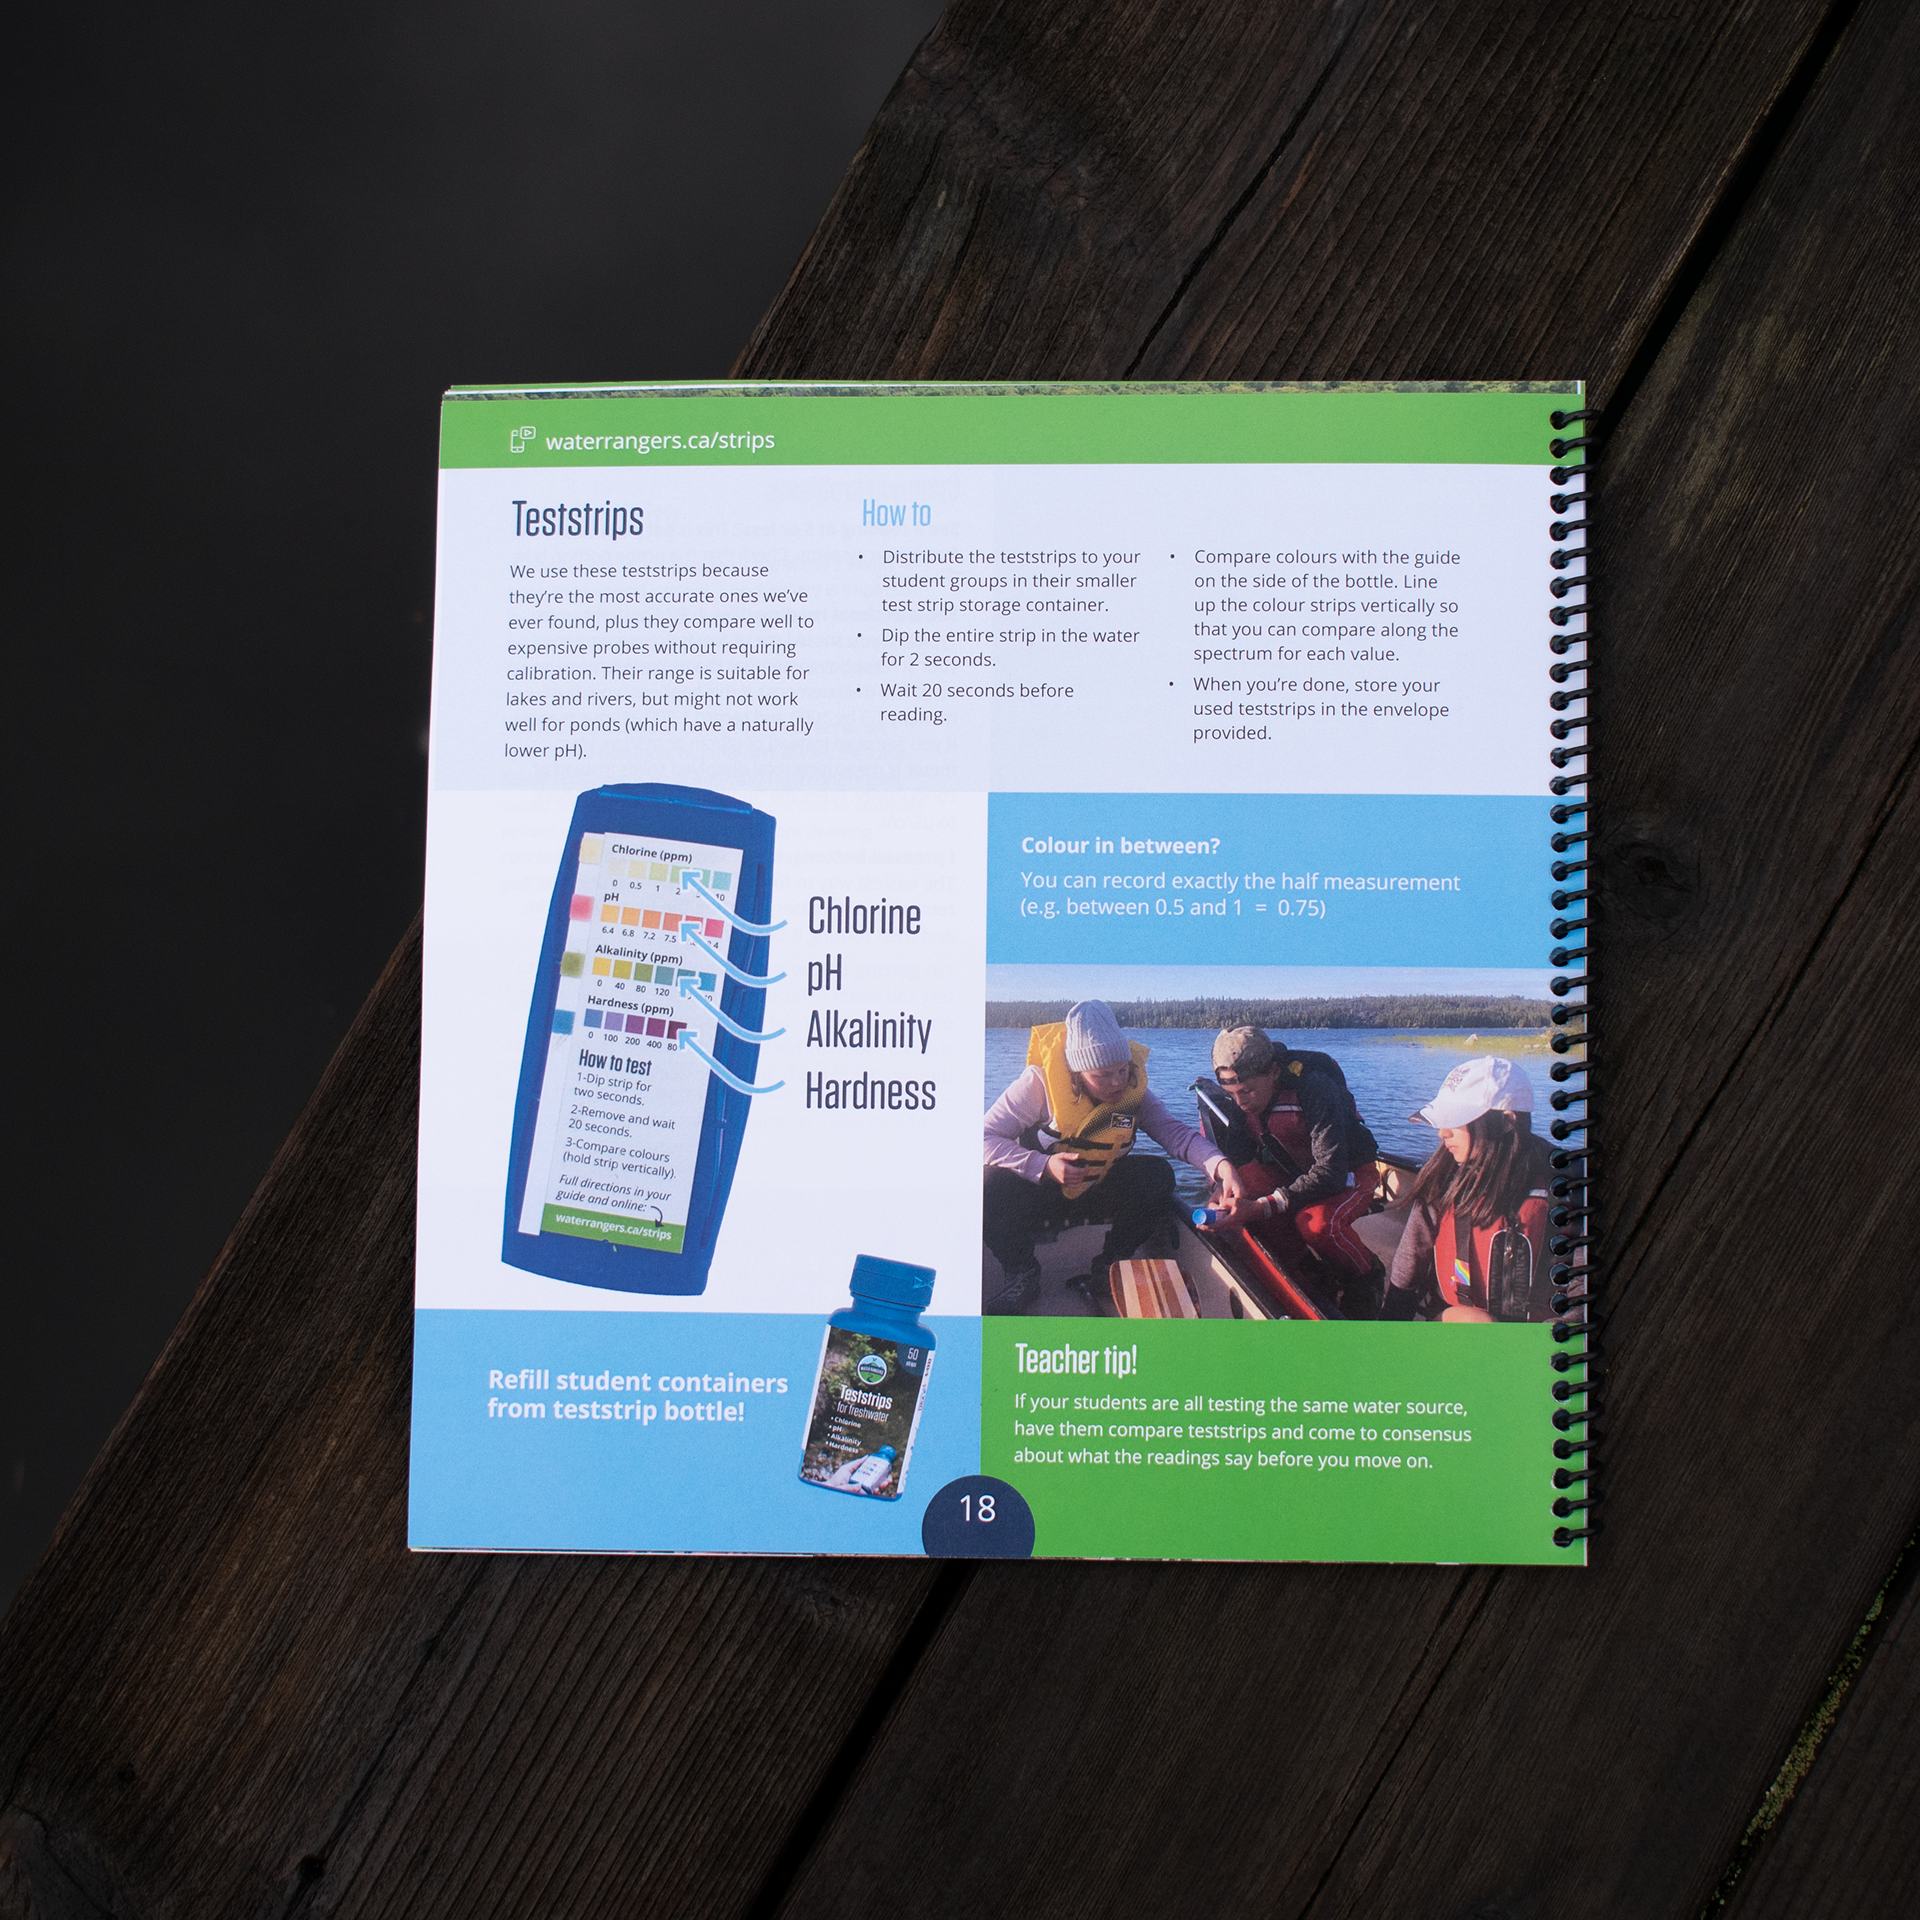
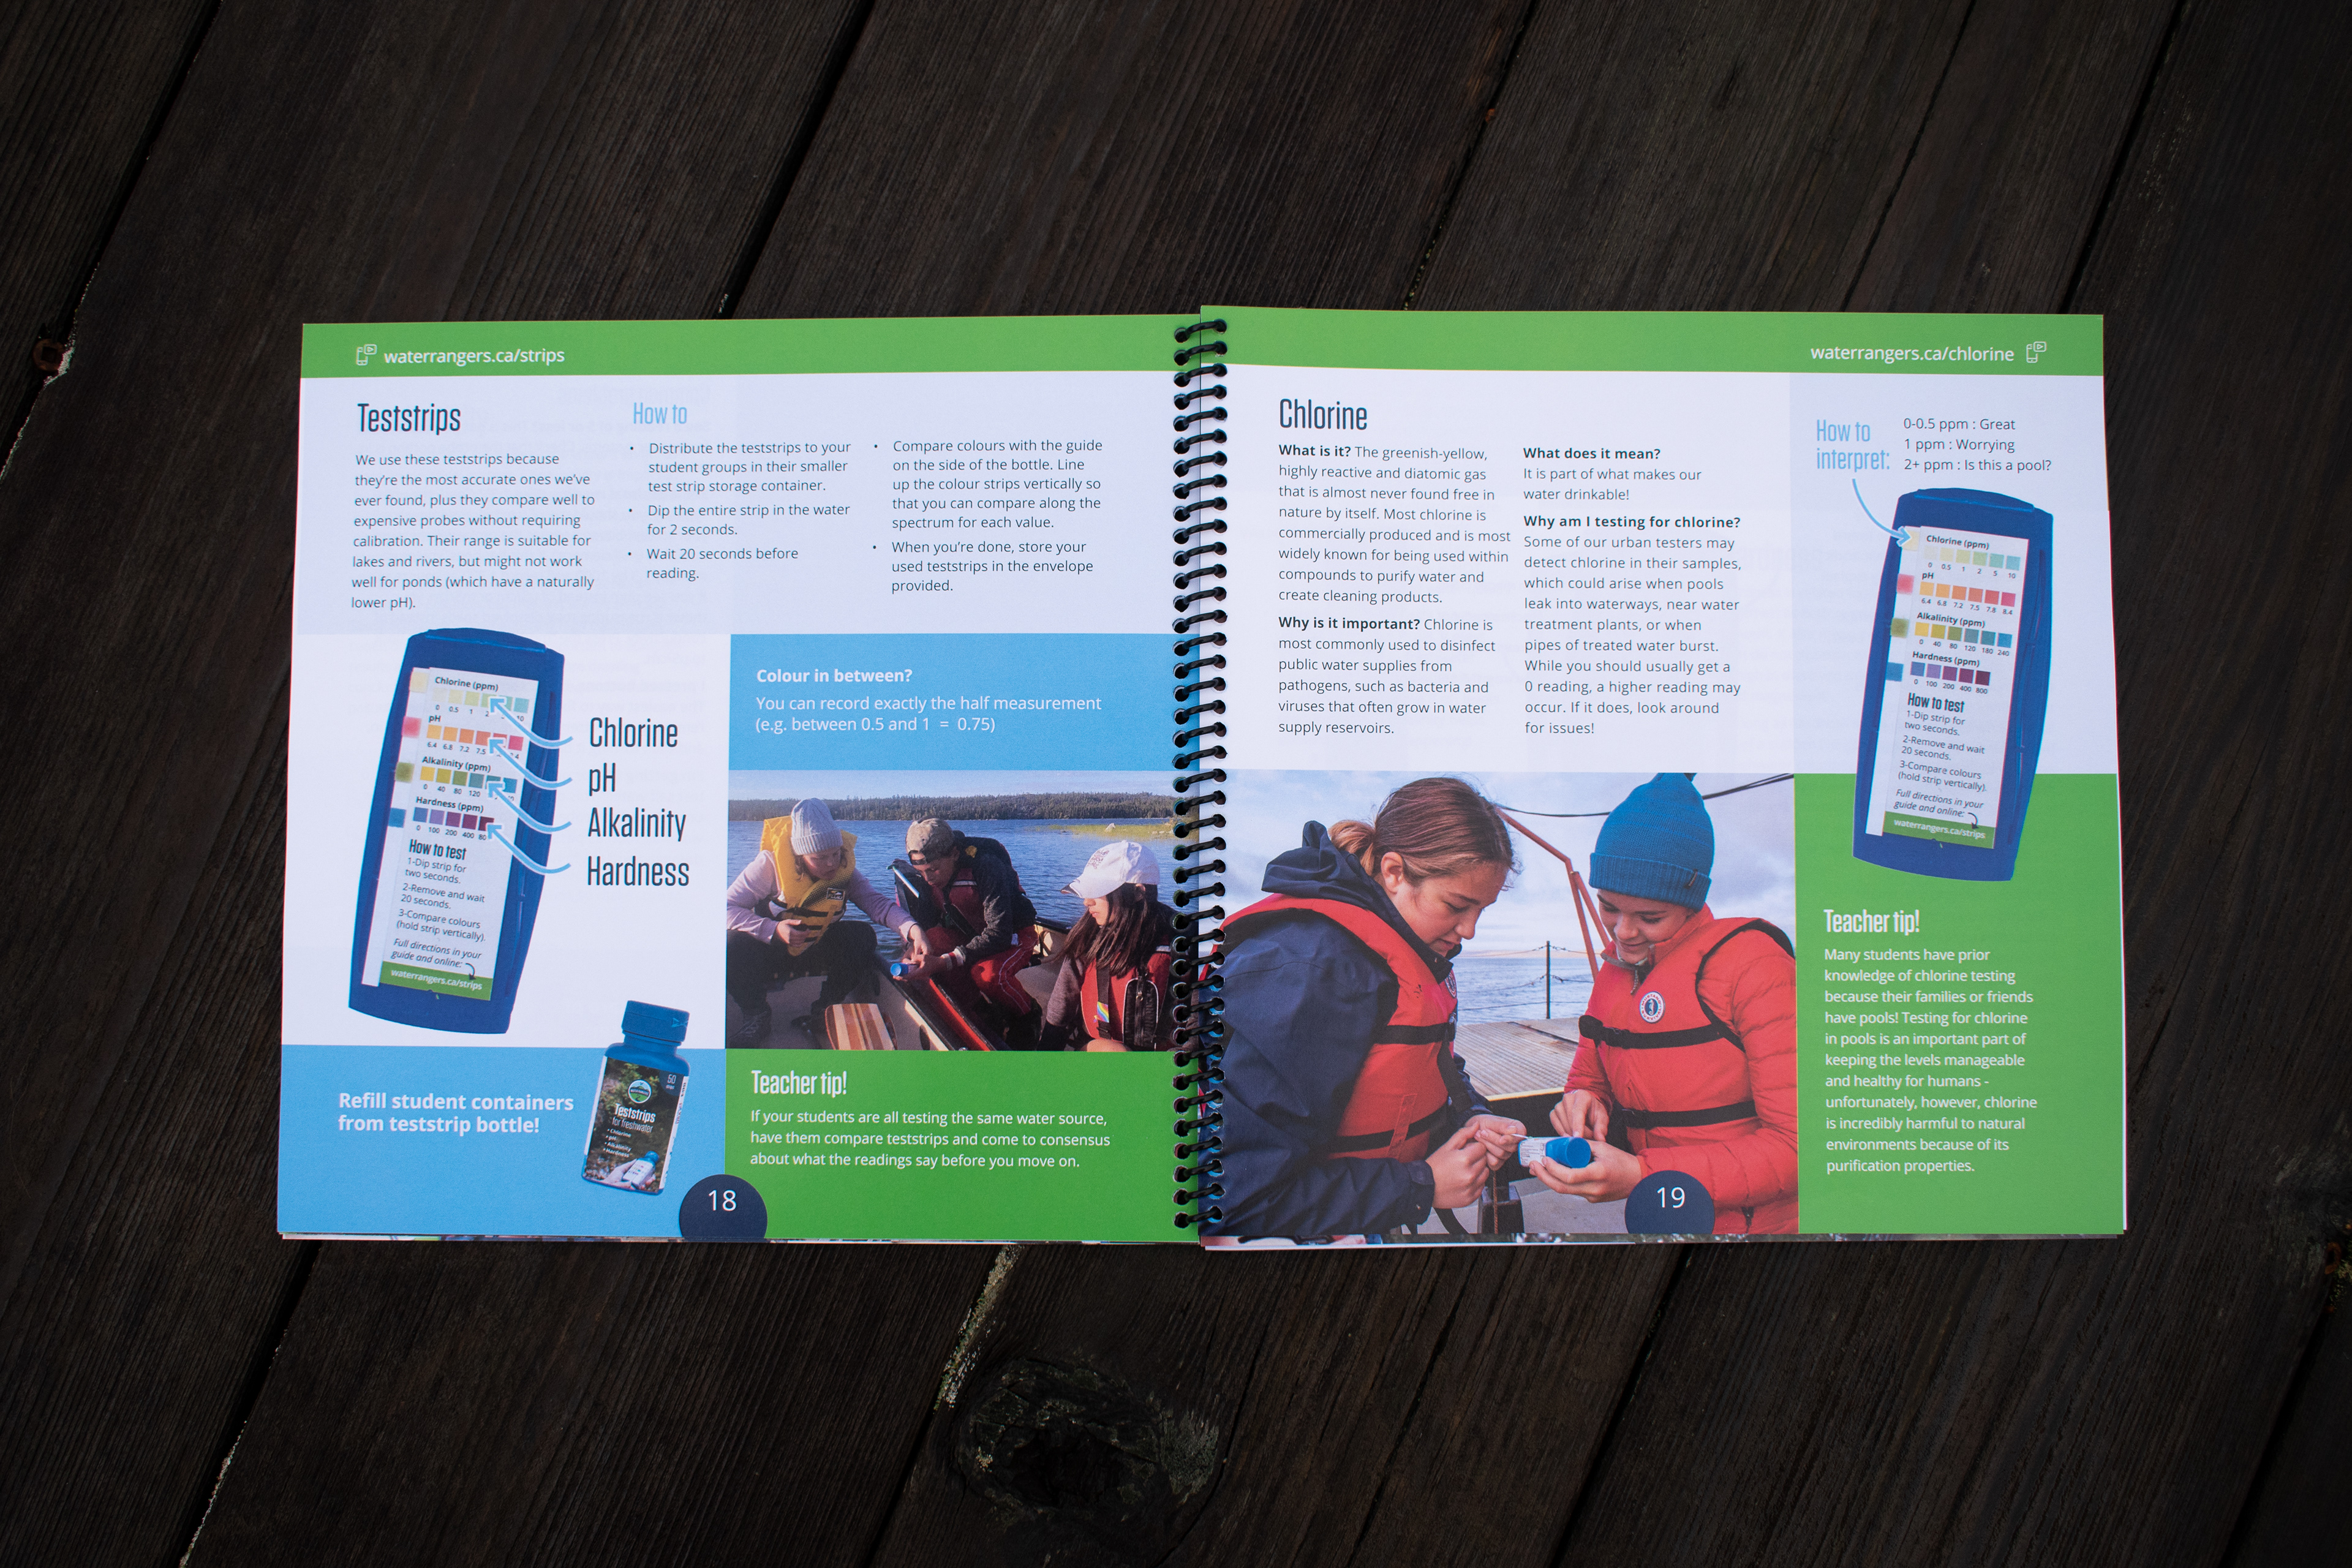
Final layout of page 18
Assets
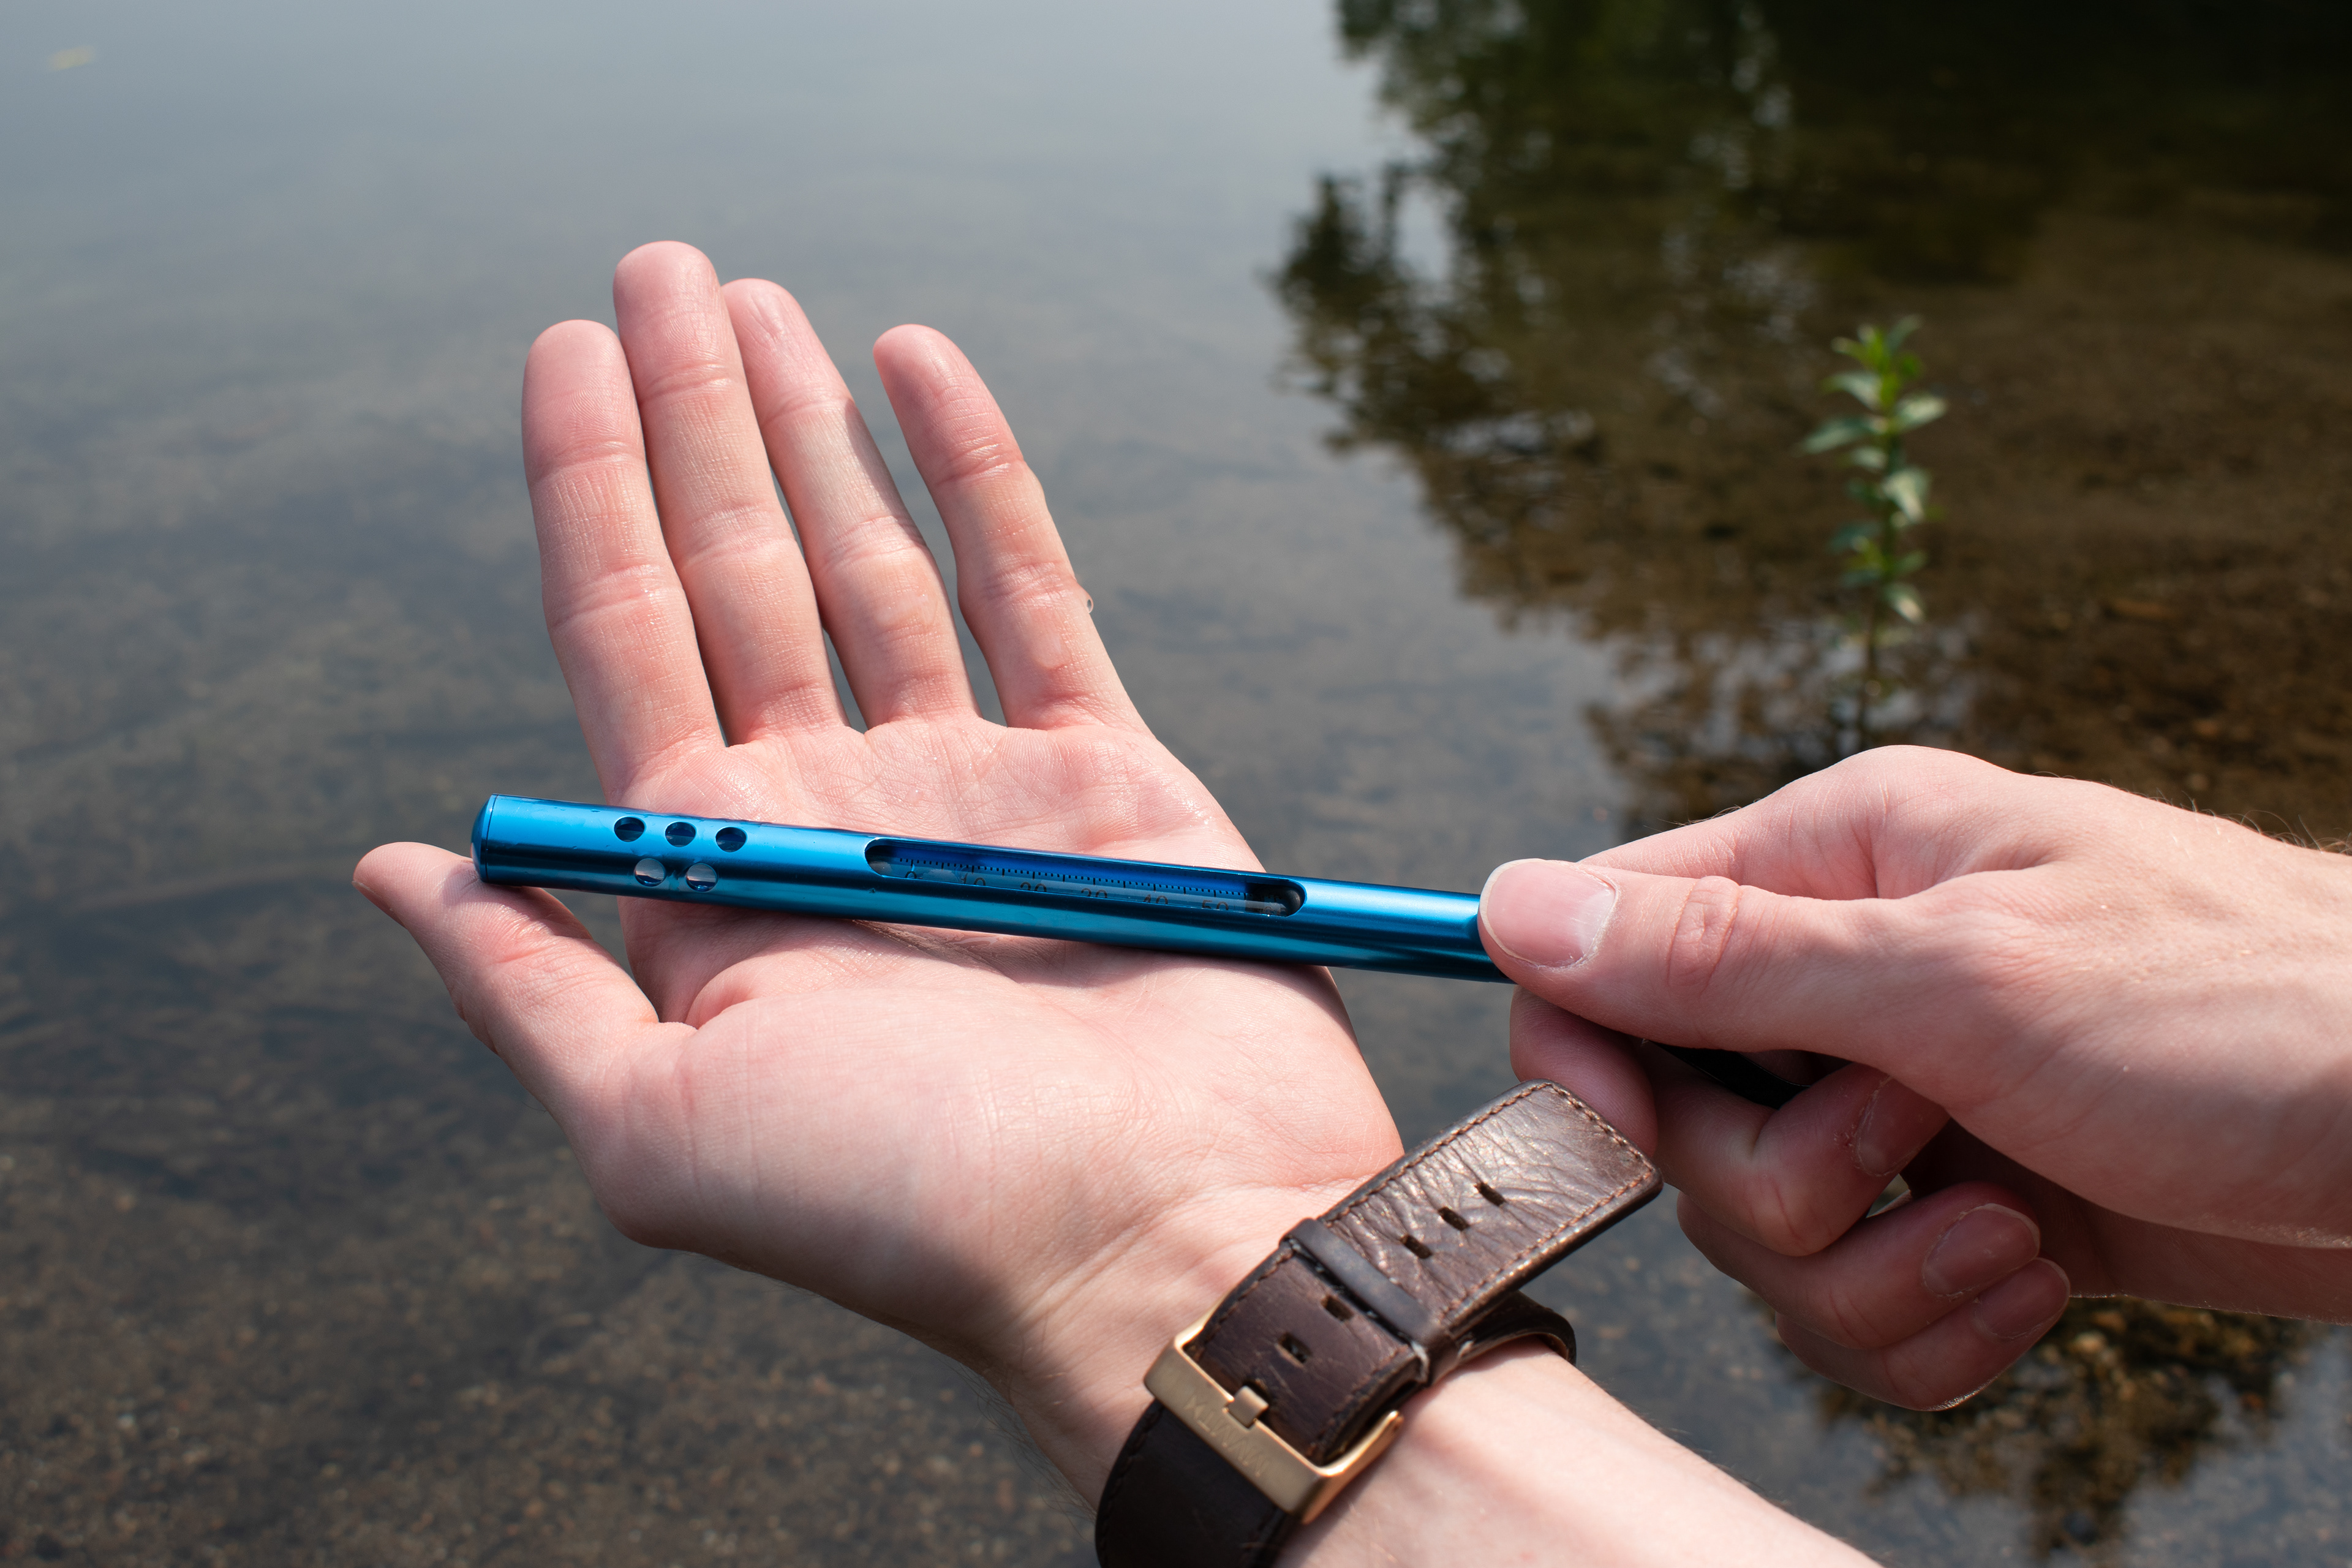
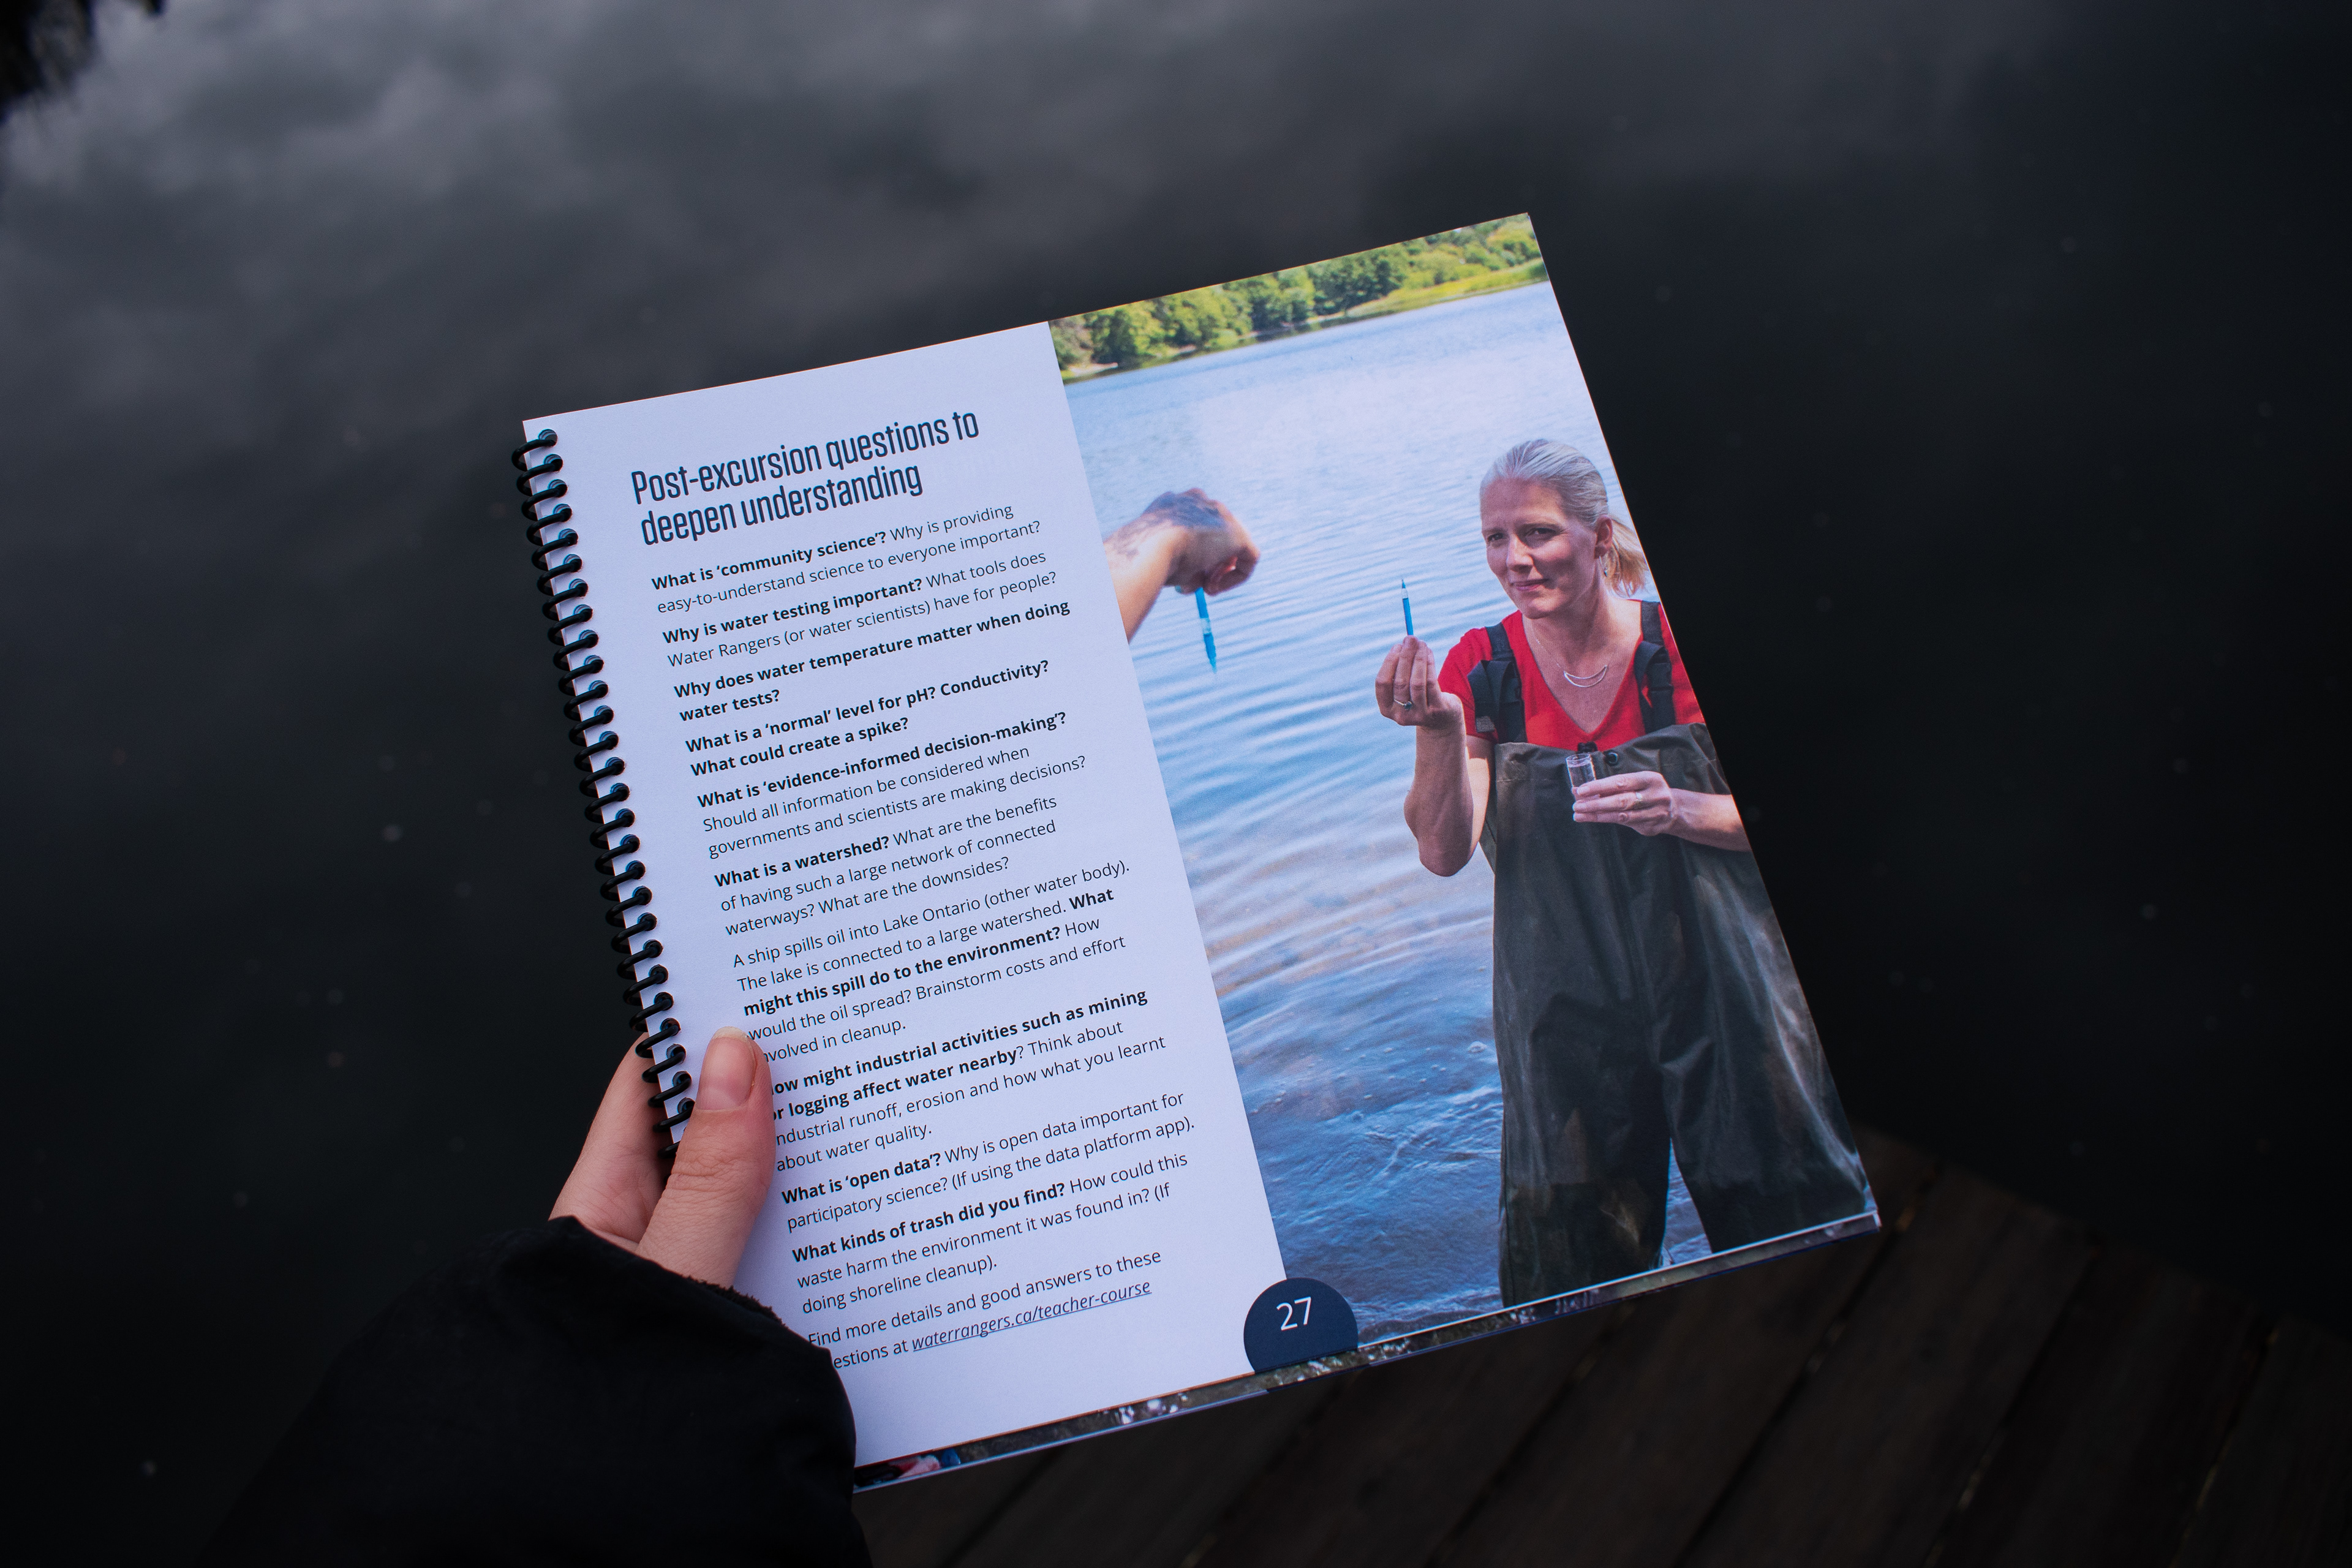
Once the wireframe was complete, I created the assets that were still needed for the kit. Many of the photos were lightbox photos of individual testkit components, but I also took a few 'in-the-field' action shots when Water Rangers didn't already have sufficient assets available.
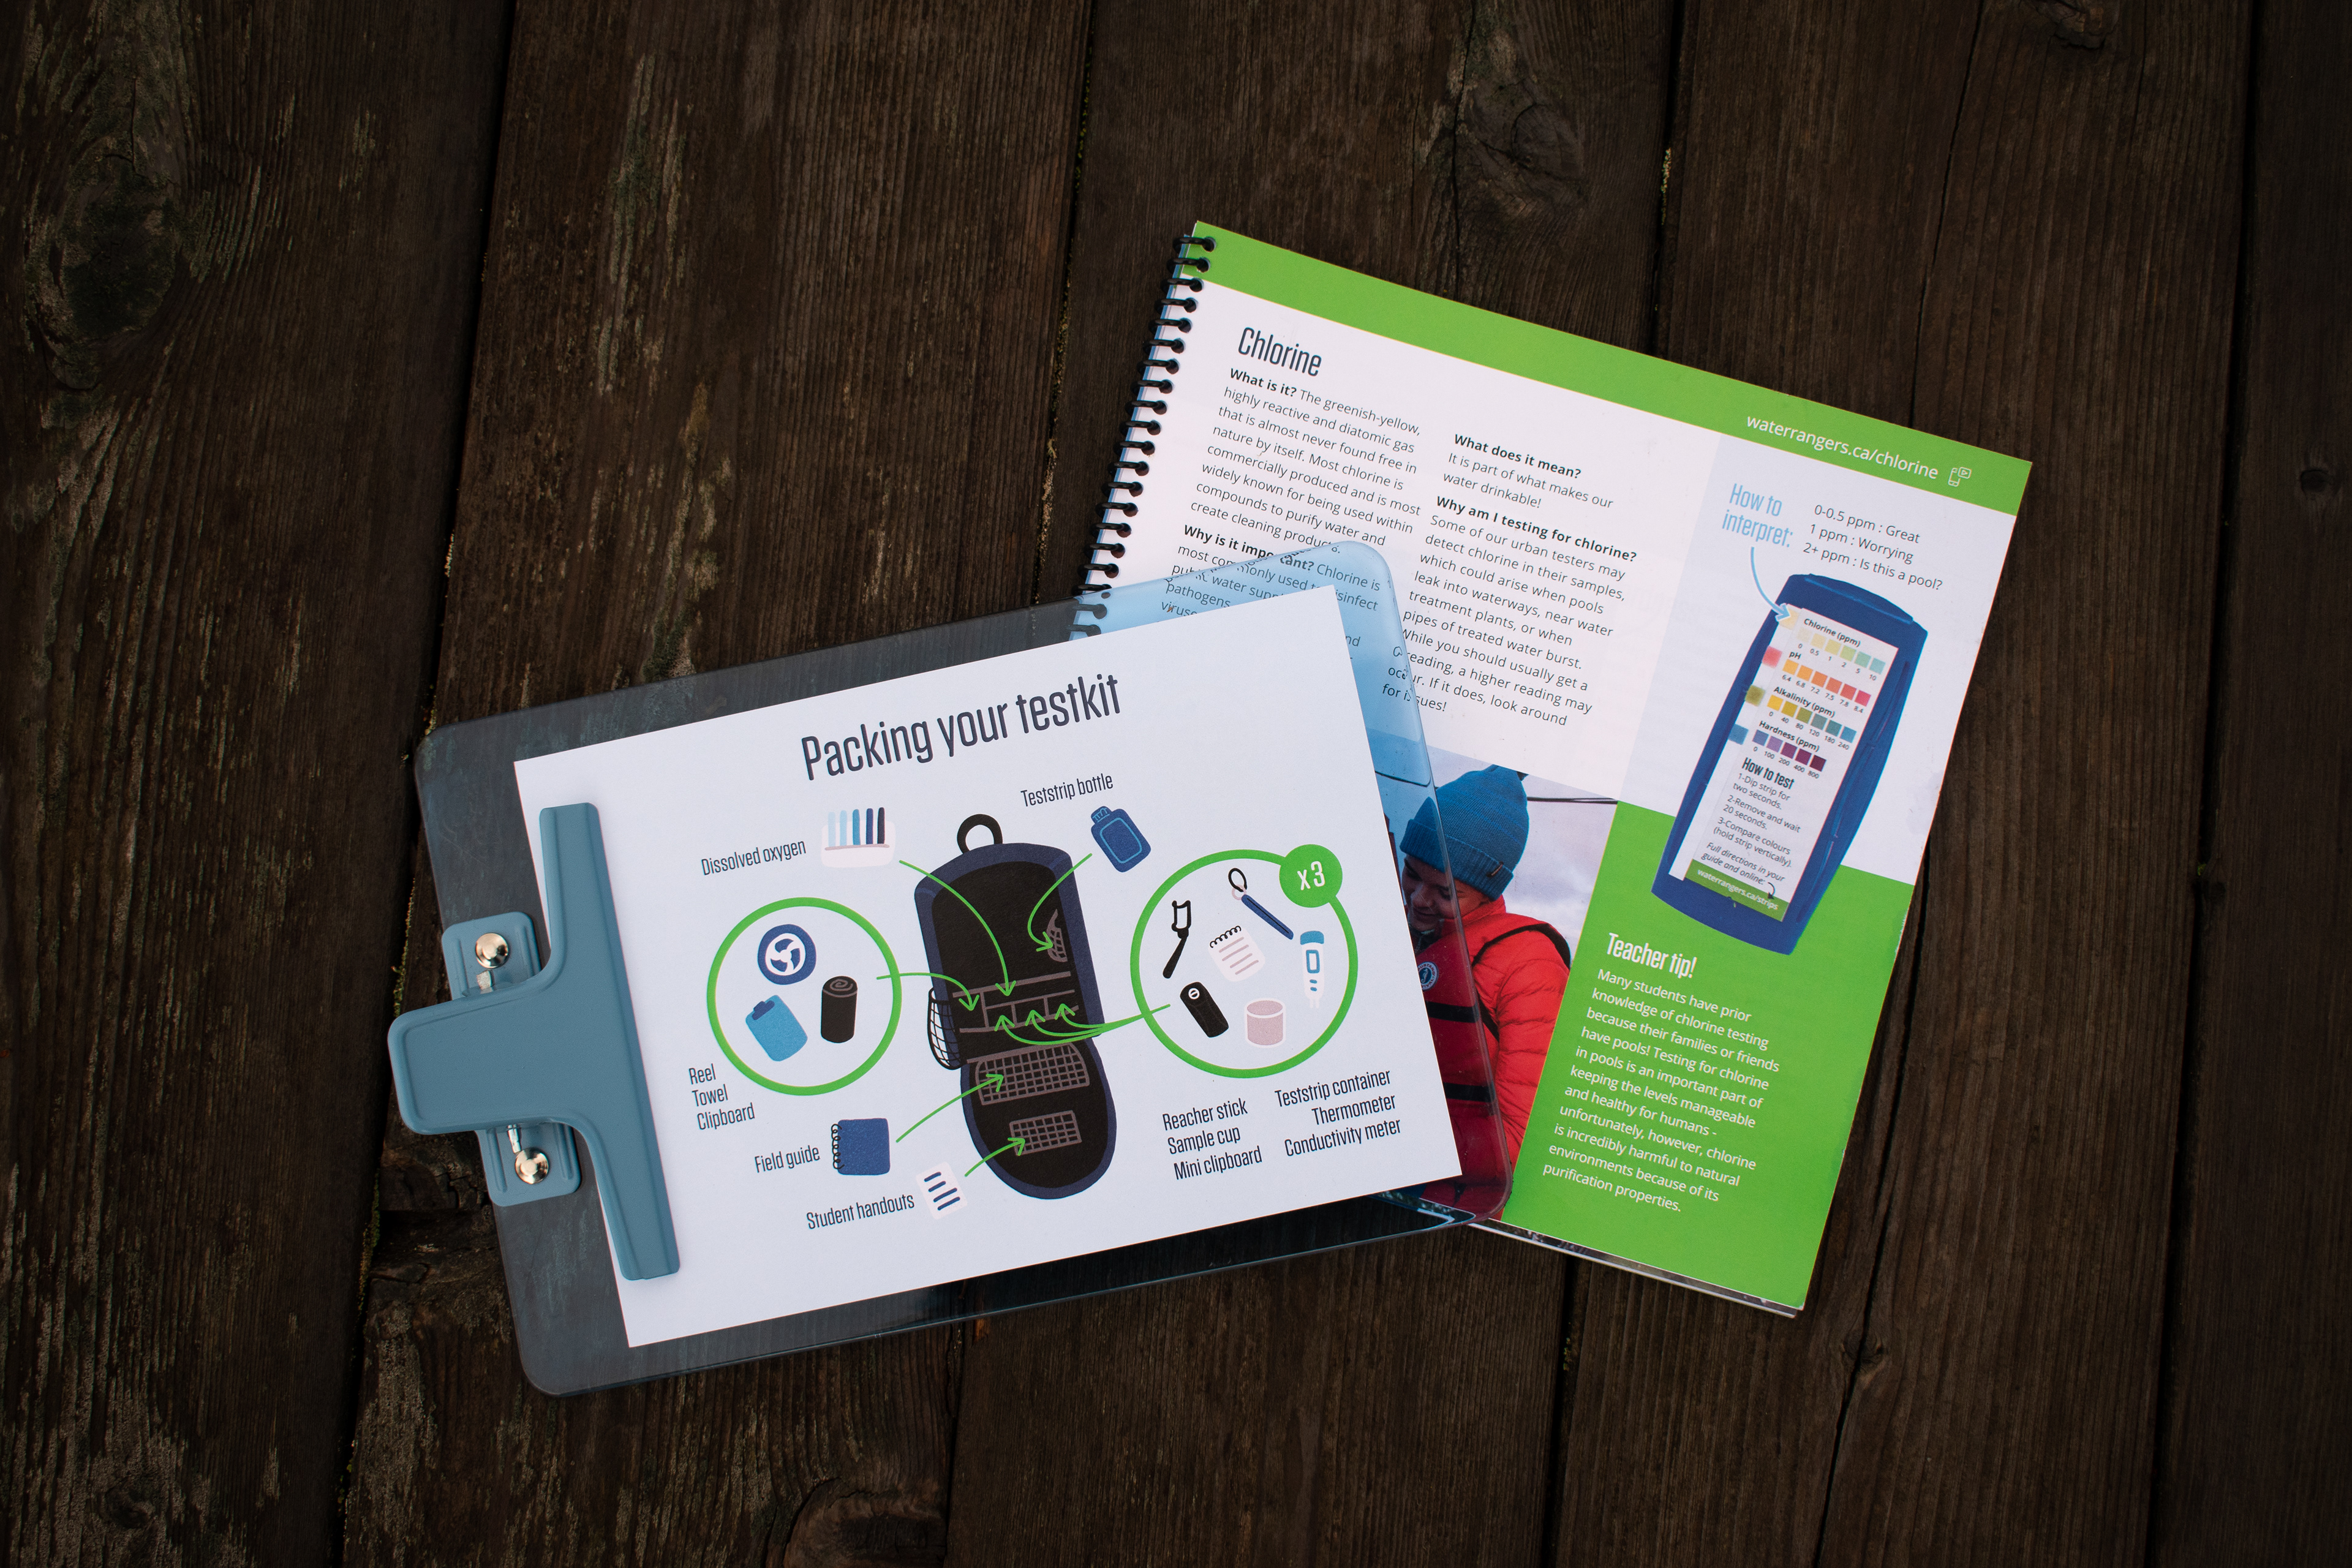
I illustrated the kit components to help teachers remember how to pack the testkit. I also illustrated other Water Rangers products that weren't included in the Education Kit so they can replicate these packing sheets for their other kits.

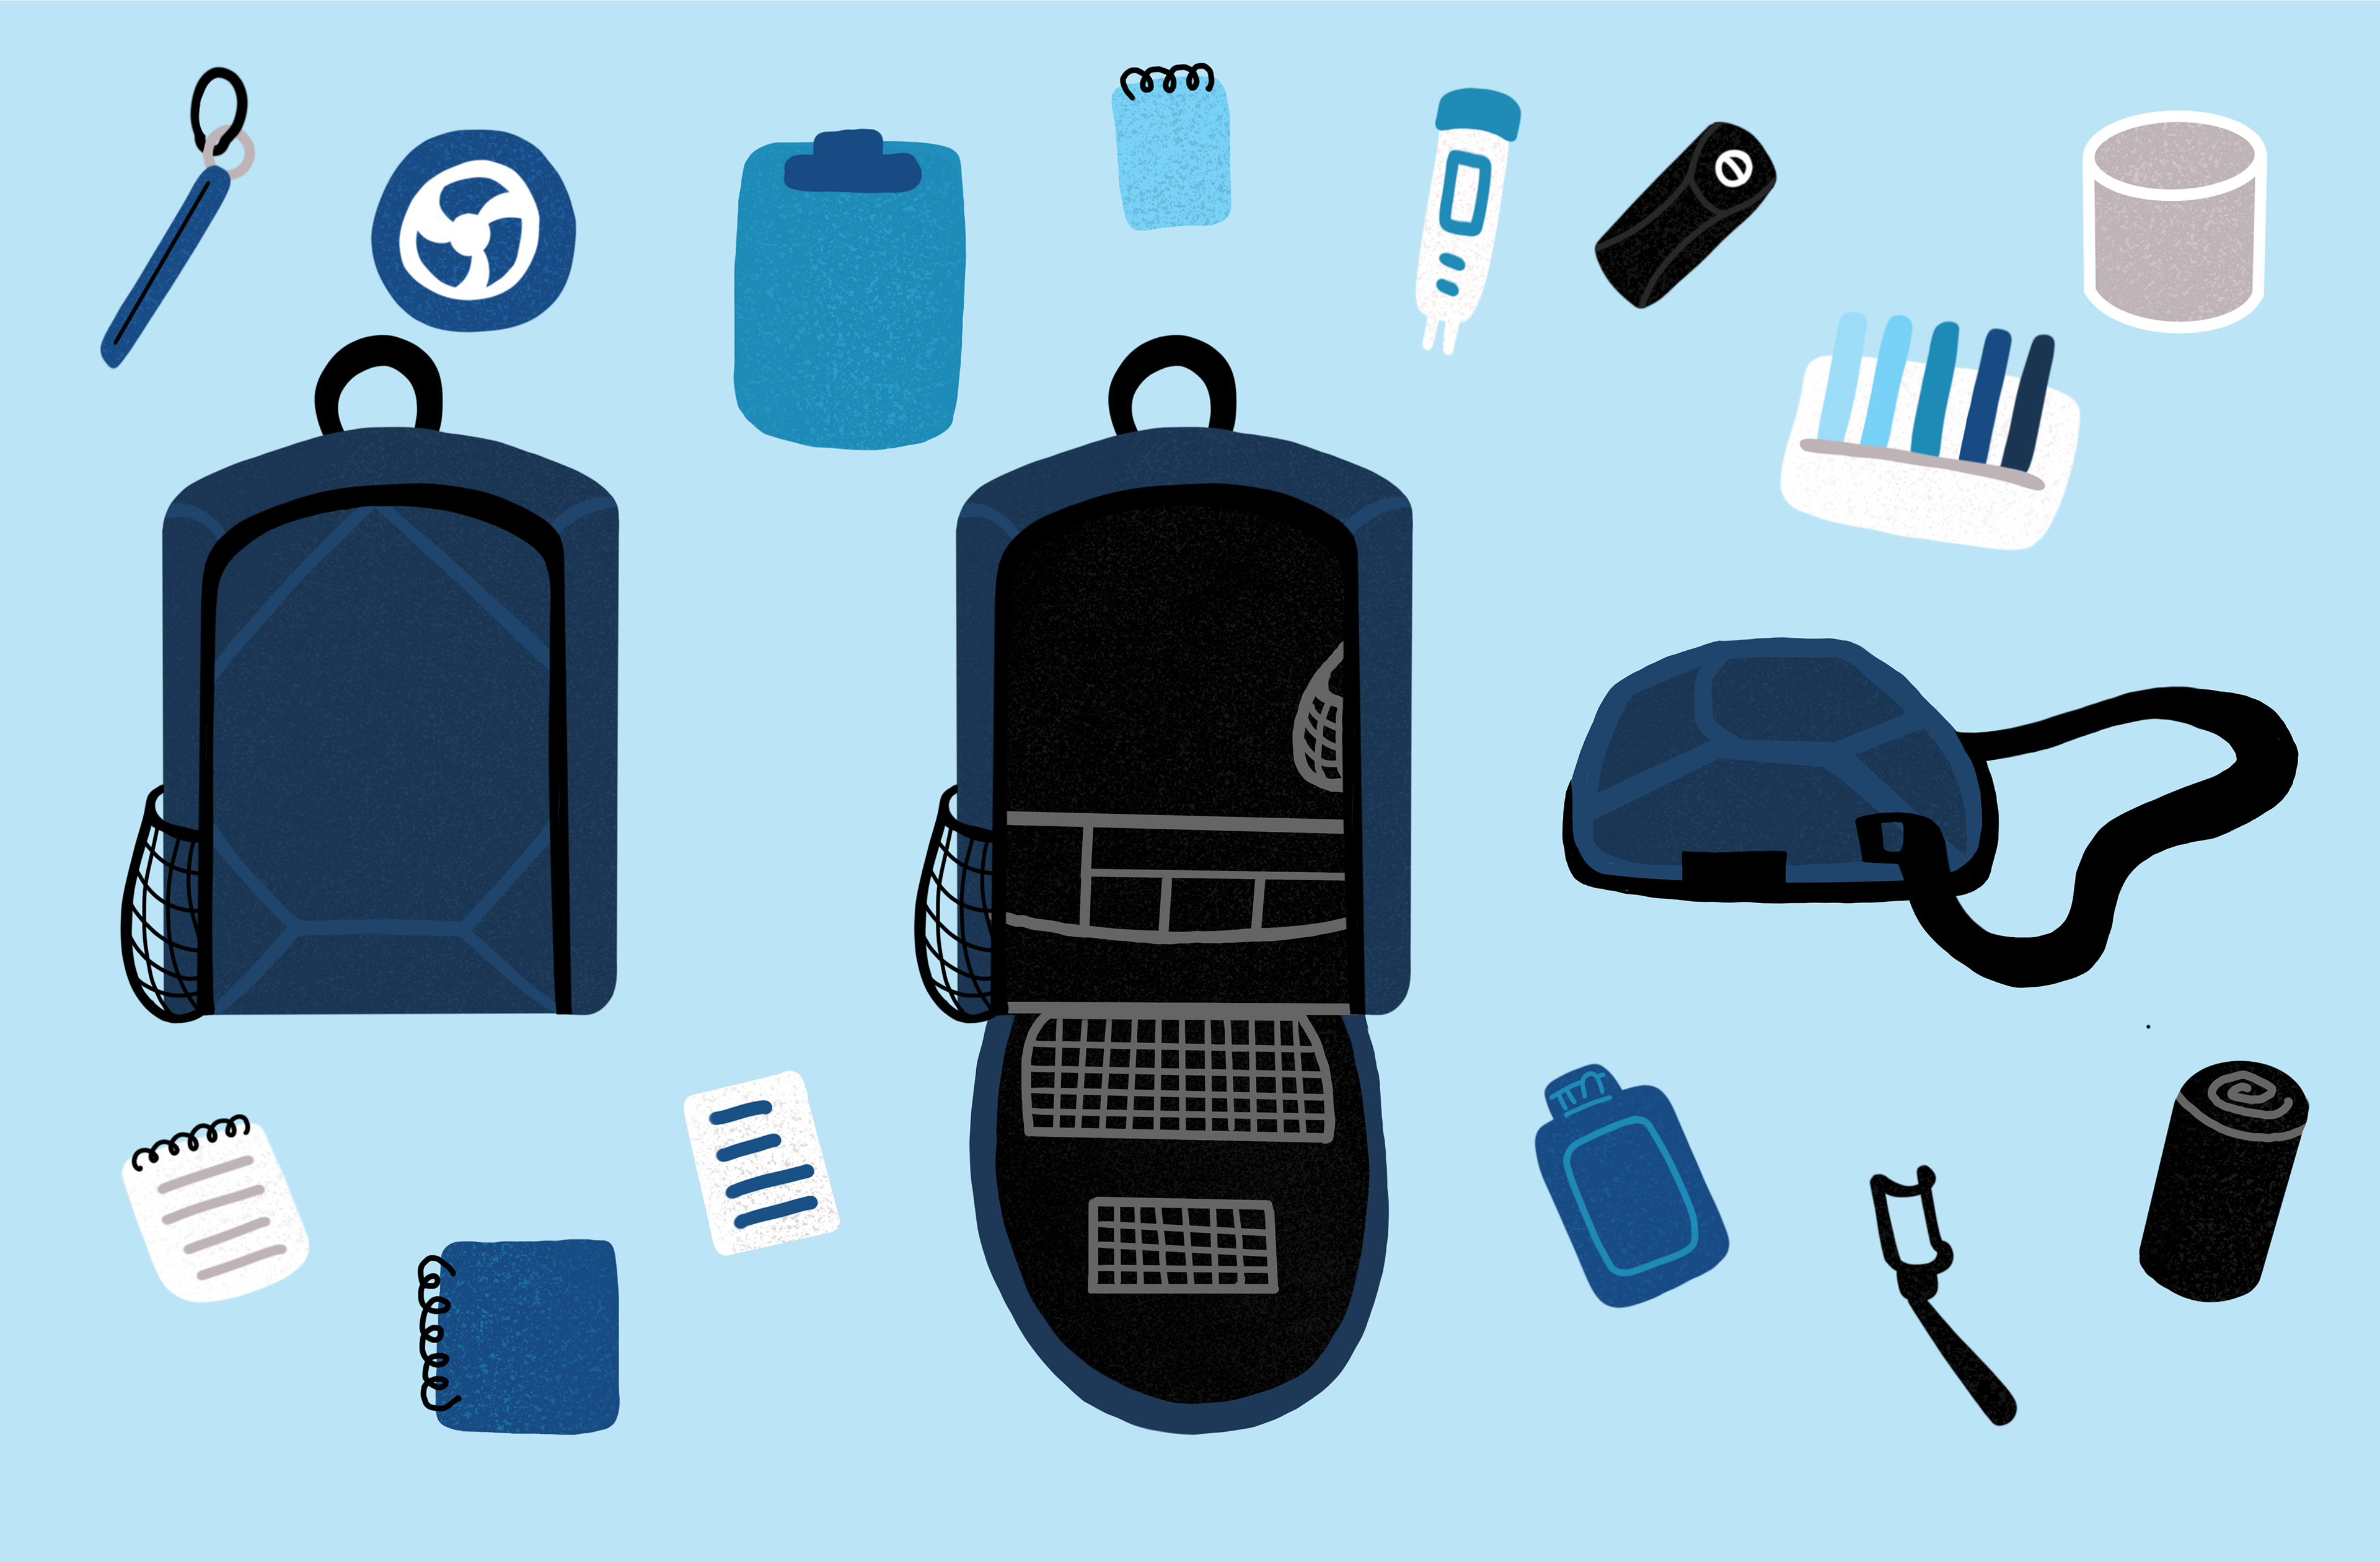
Illustrations of kit components
Final designs
Final testkit
Conclusion
Impact: Educators across Canada are now using the Education Kit in their classrooms to teach students about water chemistry, environmental science, and biodiversity.
What I learned: I learned quite a bit about product design during this process; I don't always have the chance to choose materials, finishes, and the way the products themselves are designed. It was very fun to think through creating an exciting experience for users of the testkit.
Next steps:
• Translate the Field Guide into French.
• Conduct research on user satisfaction with students and educators.
• Create a new iteration of the kit based on the year's research.
• Translate the Field Guide into French.
• Conduct research on user satisfaction with students and educators.
• Create a new iteration of the kit based on the year's research.